Leaders in Pipeline Survey Systems
OPERATOR’S MANUAL
Issue 4.04 - 1207 7
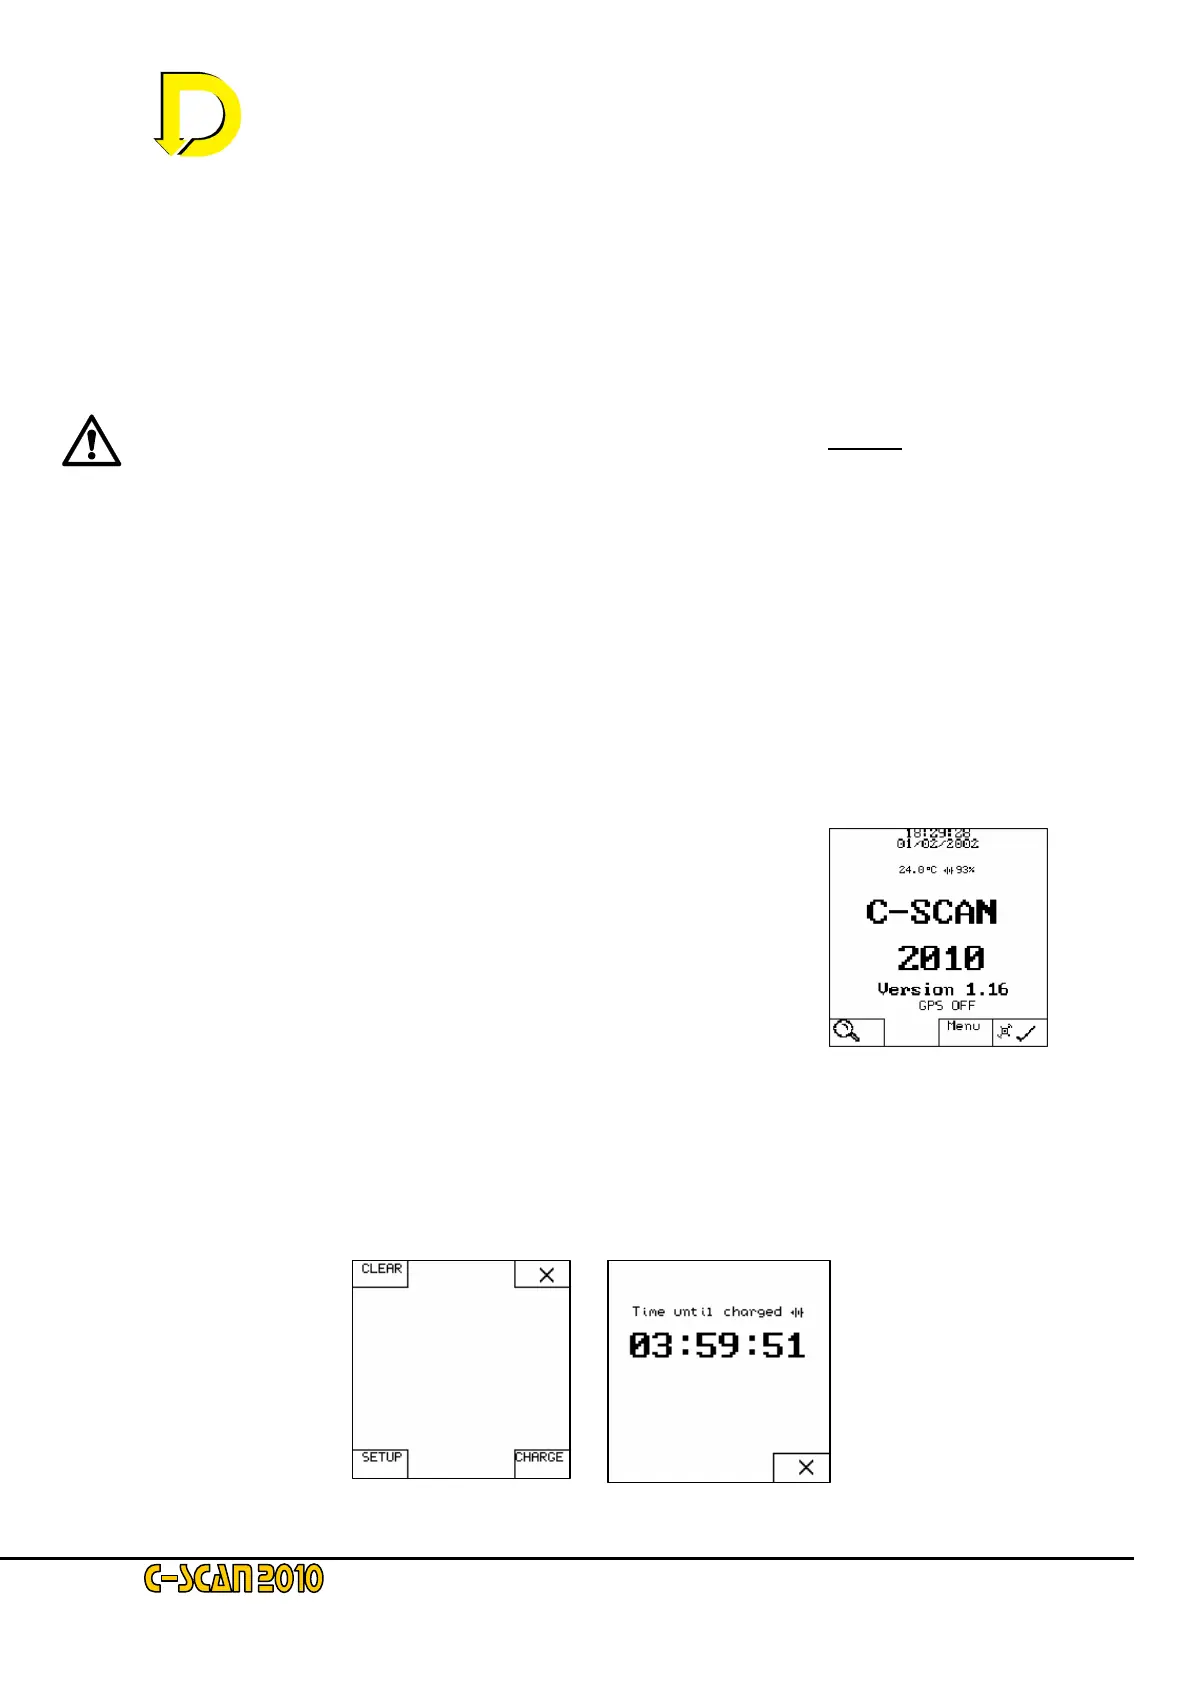
Fig 4 – the Start screen
NOTE: Subsequent removal/ replacement of the batteries will necessitate this same date/time setting
procedure because these batteries power the clock. Hence the clock settings are lost every time the
batteries are removed or replaced or the Main Power Switch in the battery compartment is turned to
‘OFF’. Except Version 2 software that holds the clock with no batteries.
If the display still does not activate this indicates the NiCad / NiMH batteries are exhausted and the 3rd
charging procedure detailed in Step 4 below must be followed. Proceed to 2
nd
charging procedure below.
Note also that up to this point no buttons have been pushed on the DU display panel. The only switch that
has been activated is the Main Power Switch in the battery compartment.
WARNING! In all below procedures the mains switch must be on before
the charger is
attached..
• 1st charging procedure (for partially discharged NiCad / NiMH batteries and DU
switched off)
Locate the battery charger port to (the black connector below the battery compartment cover).
Unscrew the port cover and attach the battery charger to this port. Connect the charger power
cord to a mains outlet socket. Make sure the mains outlet is ‘live’.
Switch on DU by I/O key. Charge should commence at charge screen (Fig.5b below)
• 2nd charging procedure (for partially discharged NiCad / NiMH batteries and DU
already switched on)
Step 1 Locate the battery charger port (by the black
connector below the battery compartment cover).
Unscrew the port cover and attach the battery charger to this port.
Connect the charger power cord to a mains outlet socket. Make
sure the mains outlet is ‘live’.
Step 2 To begin the automatic charging cycle Press MENU on the Start screen – see
Fig. 4 above. The display will now show the Menu screen – see Fig. 5a below. Press CHARGE
(lower RH corner) and after a few seconds the Charge screen will appear – see Fig. 5b below.
Fig. 5a – the Menu screen Fig. 5b – the Charge screen
 Loading...

