EC-PM-80320 User's Manual
- 38 -
3.3 Hex Dump Printing
This function allows you to check whether the connection between the printer and the computer or the
terminal device works properly or not.
The method is that holds on pressing the FEED key while turn on the printer, the ERROR LED blinks
once with two beeps. Go on holding the key for about one second, and then loosen it after the ERROR
LED blinks once again with a beep. Turn off the printer when you want to exit this print mode.
3.4 Restoring Factory Printer Settings
The function is to clear the settings stored in the printer and to restore the factory settings for
correlative parameters.
The method is that holds on pressing the FEED key while turn on the printer, the ERROR LED blinks
once with beeping twice at the same time. Do not loosen the key until the ERROR LED blinks once
with beeping once in about one second. Keep on pressing the key until ERROR LED blinks one more
time with a beep in about one second. At this time, turn off the printer and the function takes effect.
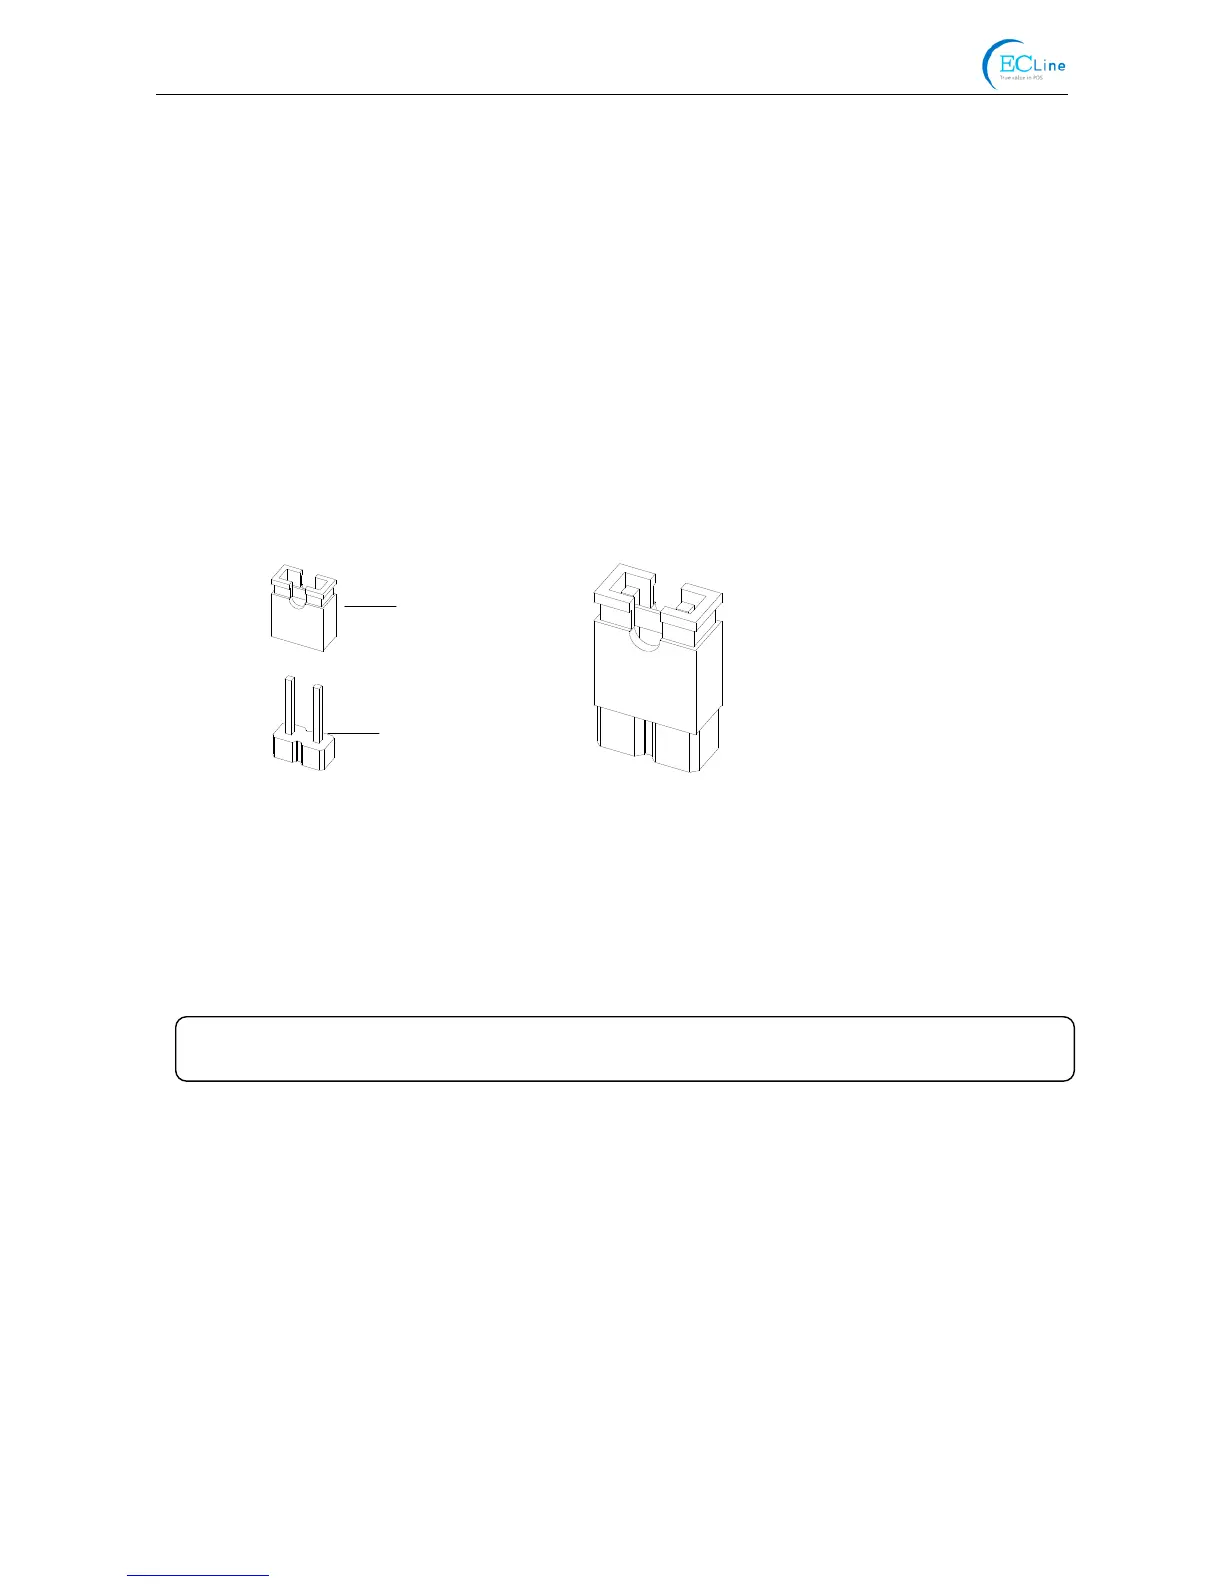
3.5 Setting Slip Stitch
If needed, Slip Stitch is used to upgrade printer firmware or it should be closed in normal working
condition. When to upgrade, pull out the Slip Stitch Cap after the printer is turned off, and then holds
on pressing the FEED key while turn on the printer, the ERROR and PAPER OUT LEDs blink once at
the same time, which denotes that the printer enters the online-upgrade mode. Loosen the key and
then use the computer software equipped with the printer to upgrade. Turn off the printer after
finishing upgrading, plug Slip Stitch Cap and then the printer can work normally.
3.6 Online-aptitude Parameter Settings
EC-PM-80320 supports the function of parameter settings, which can be set in the PC with the
driver installed in
The serial parameter settings can be changed through the window of “Properties” in the driver. (As
shown below)
The concrete setting steps are shown as follows:
1. Make sure that the computer and the printer are connected with the USB cable and both the
computer and the printer are turned on, the printer should be in normal working condition as well.
2. Under the operating system of WIN 2000/WIN XP/VISTA/WIN 7, click “Start” → “Settings” →
“Printers”, and open the window of “Printers”.
Under the operating system of Windows 8, click “Desktop” in the main panel firstly, and then
double click “Control panel” after entering the window of “Desktop”, click “Hardware and Sound”
When Plugging Into
When Pulling Out
Slip Stitch Cap
Slip Stitch
Figure 3-2 Setting slip stitch
Note: Do not change the Slip Stitch without any permission of the factor