A705-40-880 Issue B
Page 18 © Edwards Limited 2011. All rights reserved.
Edwards and the Edwards logo are trademarks of Edwards Limited.
Installation
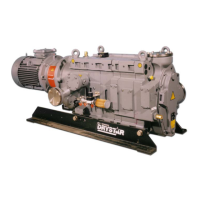
3.3 Locate the pump
Use suitable lifting-equipment to move the pump; use one of the following methods:
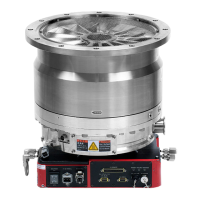
Use the four lifting bolts on the frame (Figure 1, item 5). If you have received a service module, use the four
lifting bolts (Figure 1, item 19) on the cartridge.
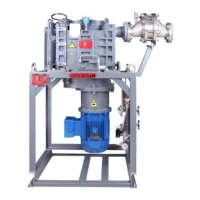
On EDP250 and EDP400 pumps, use a fork-lift or pallet truck through the frame lower cross members
(Figure 1, items 11 and 24).
Locate the pump on a firm, level surface. Ensure that the surface is clean and free from debris and contamination
(such as oil).
Use suitable bolts through the four fixing holes (Figure 1, item 9) to secure the pump in position.
3.4 Check the coolant level
Ensure that you correctly fill the EDP80 and EDP160 pumps with coolant, as described below. If you do not, an
air-lock may develop in the cooling-jacket and the pump may overheat.
Note: Edwards coolant is available as a spare: refer to Section 7.3.
1. Refer to Figure 3, detail A. Press down the coolant filler-cap (1), turn it anticlockwise and remove it from the
pump.
2. Refer to Figure 3, detail A. Remove any dirt or water-scale from the seal of the filler-cap (1) and from the filler-
tube (4).
3. Refer to detail B. Check the level of coolant (6); if it is more than approximately 25 mm below the bottom of the
filler-neck (5), continue at Step 4, otherwise continue at Step 10.
4. Remove the cap from a new container of coolant. Place a clean funnel into the container and fill the container
with clean water.
5. Replace the cap on the container, shake the container to fully mix the water and coolant, then remove the cap.
6. If you have a EDP250 or EDP400 pump continue at Step 9, otherwise continue at Step 7.
7. Refer to Figure 1. Remove the bleed plug (21) from the heat exchanger of the EDP80 or EDP160 pump.
Use suitable lifting equipment to move the pump. If you do not, you can injure yourself or damage
the pump. Refer to Section 2.3 for the mass of the pump.
When you move or install the pump, the baseframe of the pump must be no more than 10° from
horizontal. If it is, it may topple.
Ensure that the cooling-air flow around the pump-motor is not restricted.
 Loading...