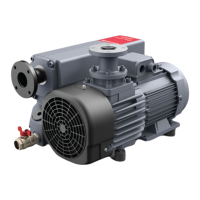
nES630, nES750
Tools required: Tubular box wrench 16 mm.
1. When the exhaust lter elements are clogged, the integrated bypass opens and
the lters are bypassed.
2. Oil mist at the exhaust and high oil consumpon are signs that the exhaust lters
are clogged.
3. The exhaust lters must be replaced more oen if subjected to increased oil
cracking products at high operang temperatures and aggressive media.
4.
Remove the cover with gasket. Remove the exhaust deector by unscrewing the
bolt. Remove both demister support units by unscrewing the nuts.
5.
The exhaust lters can be removed individually. Check also the oat valve.
6.
Plug new exhaust lters into the oil casing. Carefully insert the demister support
units over the new exhaust lters threaded bars (M6) and slightly compress the
demister springs.
7.
Tighten the demister support units and the exhaust deector. If necessary, mount
a new seal and mount the cover.
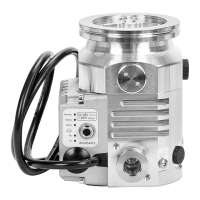
nES470, nES570
Tools required: Tubular box wrench 16 mm.
1. When the exhaust lter elements are clogged, the integrated bypass opens and
the lters are bypassed. Oil mist at the exhaust, and high oil consumpon are signs
that the exhaust lters are clogged.
2. The exhaust lters must be replaced more oen if subjected to increased oil
cracking products at high operang temperatures and aggressive media.
3. Remove the cover with gasket. Remove the exhaust deector by unscrewing the
bolt.
4. Remove both demister support units by unscrewing the nuts.
5. The exhaust lters can be removed individually.
6. Check the oat valve.
7.
Plug new exhaust lters into the oil casing.
8.
Carefully insert the demister support units over the new exhaust lters threaded
bars (M6) and slightly compress the demister springs.
9.
Tighten the demister support units with the 4 nuts and the exhaust deector. If
necessary, mount a new seal and mount the exhaust plate.
07/2020 - Page 39
A35104880_B - Adjustments and servicing procedures