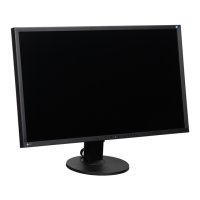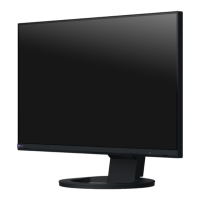

E
Elizabeth RichardSep 12, 2025
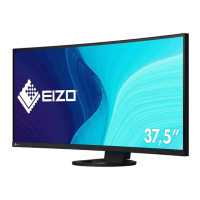
Why is there no audio output from my Eizo FlexScan EV3895 Monitor?
- SShannon GuerreroSep 12, 2025
If there is no audio output from your Eizo monitor, check whether the volume is set to 0. Also, check the PC and audio playback software to see whether they are configured correctly. When using PbyP display, check the settings for “Sound Selection (PbyP).