- 13 -
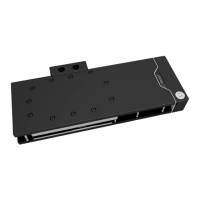
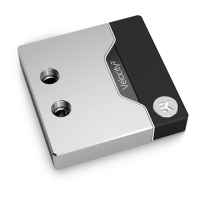
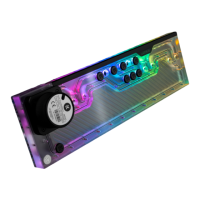
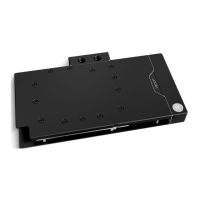
ATTACHING THE WATER BLOCK (Option 1: GeForce RTX 4090 ROG Strix)
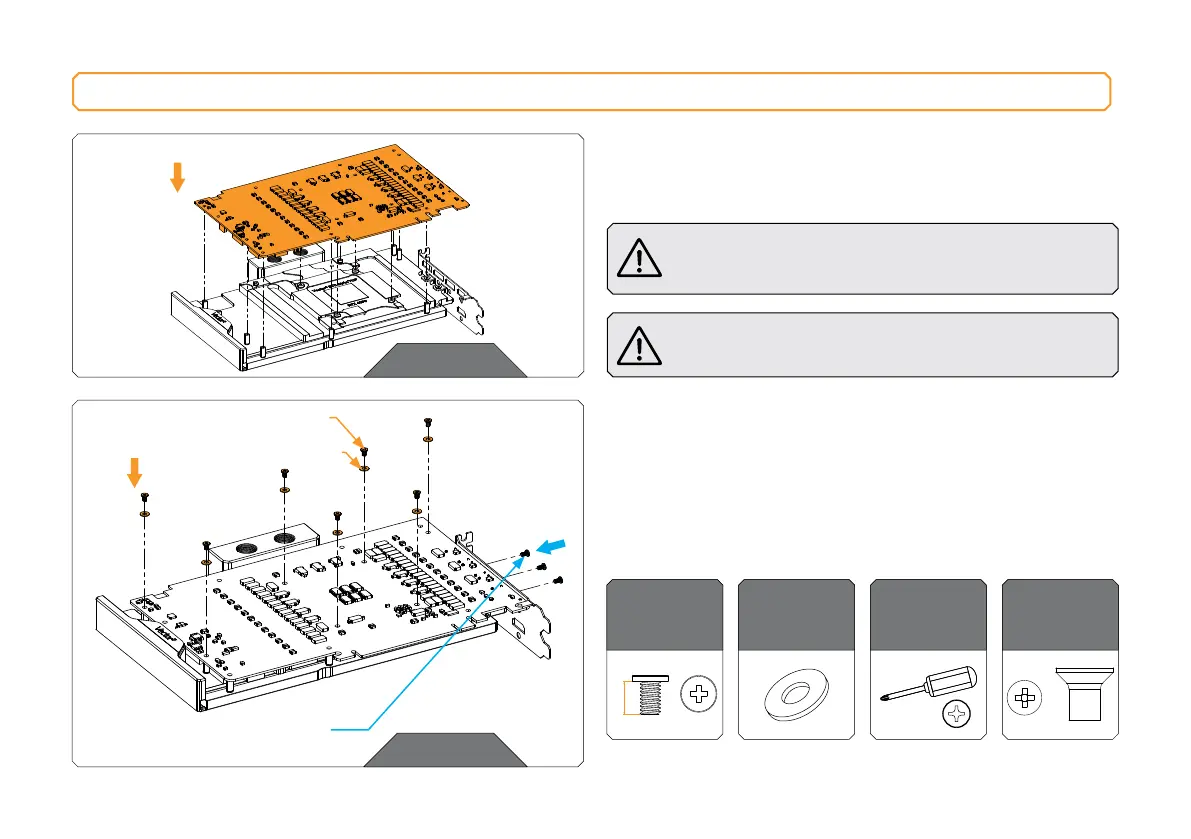
STEP 1
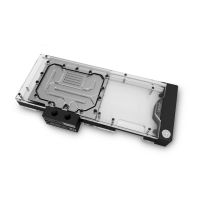
Carefully position the PCB on the water block. During this process,
make sure you have aligned the mounting holes of the PCB with the
holes of the water block.
Pay attention not to use too much force when pressing
the PCB down to the block since chip dies are prone
to cracking.
Before attaching the PCB to the Water Block, make sure
all the Thermal Pads are placed correctly!
STEP 1
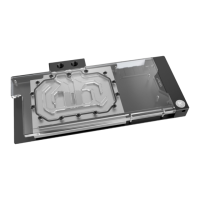
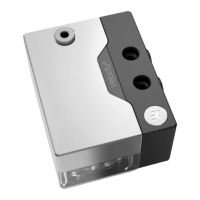
STEP 2
Use seven (7) M2.5 x 4 AX1 Screws and PVC washers to tighten
the PCB on the water block. Tighten the screws evenly using the
Phillips-head screwdriver. EK recommends you start tightening the
screws around the GPU core first, and then continuing outward to
prevent damage to the GPU. After attaching the water block, three
(3) saved Factory provided I/O Bracket screws can be reused.
For this step, you will need:
M2.5 x 4 AX1 SCREW
M2.5 PVC WASHER
STEP 2
PVC Washer
(7 pcs)
M2.5 x 4
AX1 Screw
(7 pcs)
Phillips Head
Screwdriver
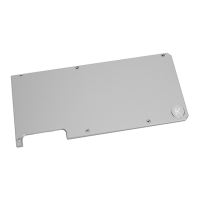
Factory provided
I/O Bracket
screw (3 pcs)
FACTORY PROVIDED I/O
BRACKET SCREWS
 Loading...