38
Calibration
All calibration steps are performed at the
factory. If you wish to re-do any calibration steps,
be sure you have the test equipment specified.
To view the tech-mode menu entries used for
calibration: Hold MENU, then use
OFS/B to
locate the TECH MD menu entry. Change the
parameter to ON. Then exit the menu.
To unlock the parameter for any tech-mode menu
entry: Hold FREQ until you see the lock symbol
( ) turn off (about 3 seconds).
Reference Frequency
Using the calibration procedure below, you can
achieve accuracy of better than +/- 10 Hz. This
procedure requires a stable signal generator, or an on-
air signal at a known frequency, such as WWV at 5,
10, or 15 MHz. The carrier of a commercial AM
broadcast station can also be used.
§ Select CW mode by tapping MODE.
§ Hold MENU. Rotate OFS/B to find DUAL
RX. Set it to OFF. Next, locate MENU:CWT and
set it to ON. Then exit the menu.
§ If you’re using a signal generator, set PWR to
0.0 watts to avoid damaging it.
§ Use direct frequency entry (pg. 15) to set VFO A
to the exact frequency of your signal generator or
on-air signal source.
§ Set AF gain for a comfortable listening level. You
should be able to hear a carrier.
§ Tap FIL , then tap
AF/MON to normalize the
filter passband (0.40 kHz). Tap FIL again to exit
FIL ADJ mode.
§ Hold MENU, then rotate OFS/B to locate the
REF CAL menu entry. Hold FREQ for about 3
seconds to unlock the parameter.
§ Write down the current 8-digit parameter value:
_________________ .
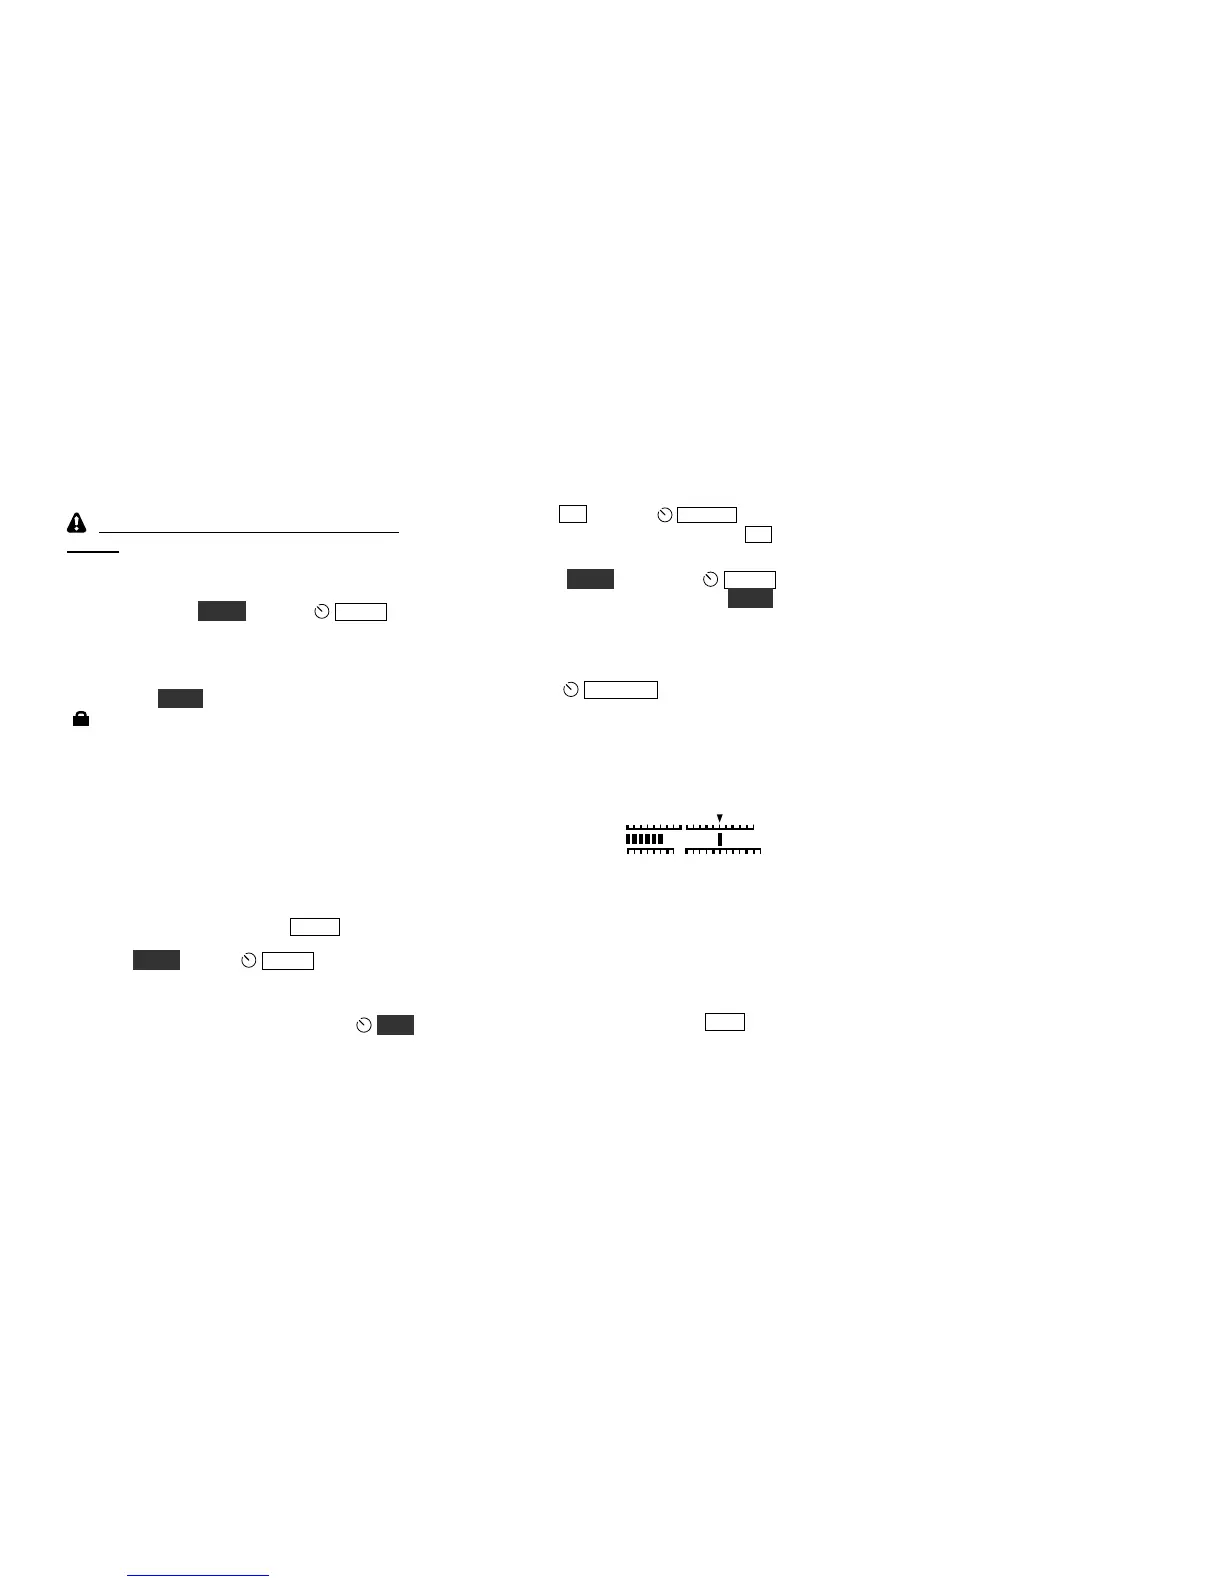
§ Tap KYR- SPT to auto-spot the signal. The
REF CAL parameter value should automatically
move up or down a small amount. When it stops
moving, the bar directly beneath the CWT icon
should be turned on as shown below. You can also
adjust the frequency manually using VFO A.
§ If you have difficulty with this procedure, or if
you’re not sure that it worked correctly, set the
parameter value to its original value (recorded
above) using VFO A.
§ Write down the new 8-digit parameter value:
________________ .
§ Exit the menu by tapping DISP.
§ Save your configuration using KX2 Utility.