CTC-1132 868AM 2007.07.18
11
<
<
I
I
M
M
P
P
O
O
R
R
T
T
A
A
N
N
T
T
N
N
O
O
T
T
E
E
>
>
When entering the following individual
setting screens, the value displayed on the
screen is the current setting of each item.
If it is not necessary to change the current
setting, just press “ “ to escape.
If the code is correct, the screen
returns to “General Setting” menu,
setting the Duress code is completed.
z To Delete Duress Code
After the DuressCode is programmed, it can be
deactivated/deleted by following the steps
below:
Step 1. To delete programmed Duress code,
select the “Duress Code” from the
“Gen. Setting Menu”, then, the
screen will show:
D e l e t e
P i n - C o d e ( + O k ) ?
Step 2. Press “OK” to confirm.
z To Edit Duress Code
After the DuressCode is programmed, it can be
edited by following the steps below:
Step 1. To edit programmed Duress code,
select the “Duress Code” from the
“Gen. Setting Menu”, then, the
screen will show:
D e l e t e
P i n - C o d e ( + O k ) ?
Step 2. Press “ “ key, the next screen will
ask you to enter your new Duress
code and repeat it for double
confirmation.
Step 3. Press “OK” and editing the Duress
code is completed.
4. Master Code
z Master Code is used for accessing the
Programming mode and it is set to “1111”
as factory default. Before you set your
own Master PIN code, “1111” has to be
keyed in every time it is required.
z To set your Master Code, follow the same
steps as in setting the “Duress Code”
described above.
z To Edit Master Code
After the Master Code is programmed, it can
be edited by following the same steps as in
editing the Duress Code described above.
<
<
N
N
O
O
T
T
E
E
>
>
) The Master code can not be
deactivated (same as the User #1 PIN
Code).
) The Master Code is used only when
you enter the Programming mode.
In
other cases, only PIN Code should be
entered.
5. A. Entry Time
This is for you to select the Entry Delay time
when Away Arming. Options available are 0
sec., 10 sec., 20 sec., up to 70 sec. in 10-sec
increments.
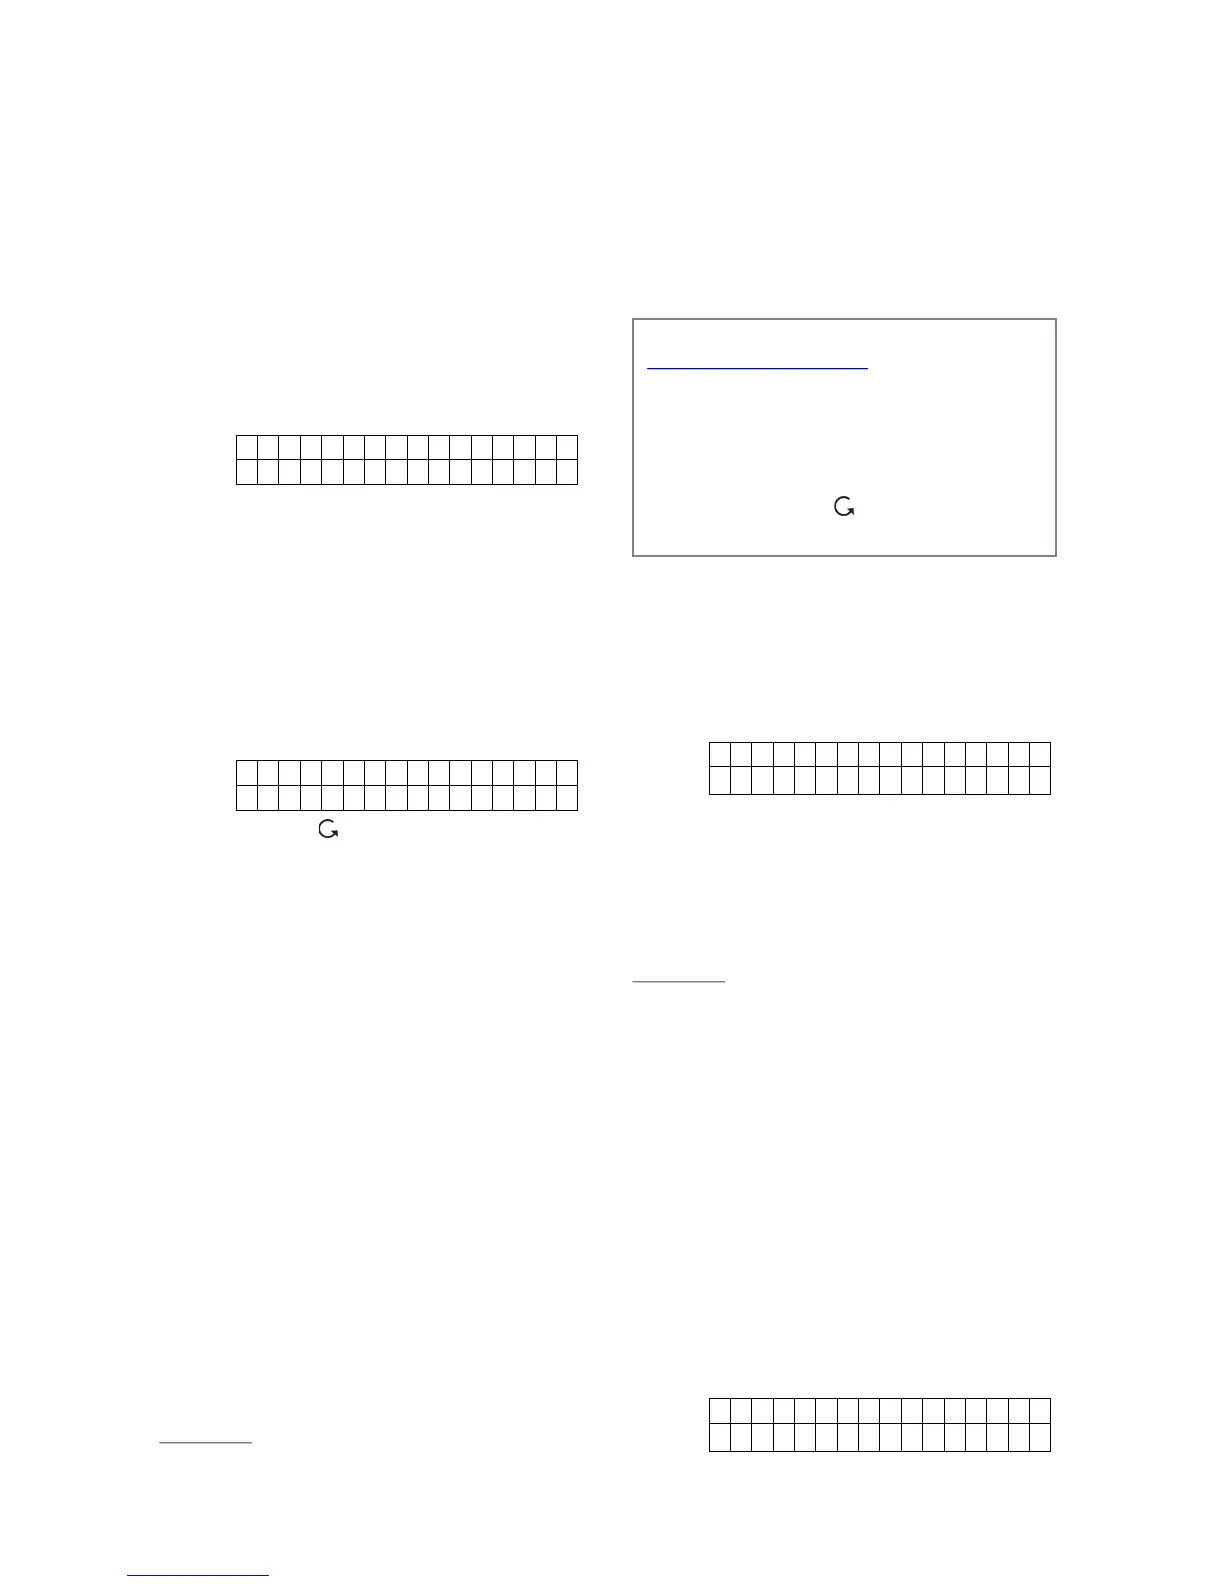
A.Ent r y T i me
2 0 s e c . (
Λ
VOK)
z Use “S”,“T” keys to switch between
options.
z Press “OK” to confirm.
z 20 sec. is set as factory default.
<
<
N
N
O
O
T
T
E
E
>
>
) Full Arm Entry time applies only to the
zone that a Door Contact or PIR
Detector is installed and is set to
“Entry”.
) If incorrect PIN code is entered and/or
the entry delay time has expired, then
the system will trigger the Burglar
alarm.
6. A. Exit Time
This is for you to select the Exit Delay time
when Full Arming. Options available are 0 sec.,
10 sec., 20 sec. up to 70 sec. in 10-sec
increments.
A . E x i t T i m e
3 0 s e c . (
Λ
VOK)