Upon receipt of the instrument proceed consecutively as follows:-
4.2.1 Power Supply.
The power supply supplied with your new IA 9100 supports all A.C.
Mains supply voltages within the range of 100V to 240V inclusive at
50-60Hz. Do not use the power supply with a D.C. supply voltage or in
conjunction with any type of voltage regulation equipment. Do not use
with a mains supply supplying power at a different frequency other than
that stated.
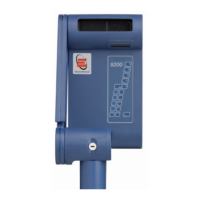
4.2.2 Set-Up
N.B. DO NOT ATTEMPT TO MOVE ADJUSTMENT ARM BEFORE
RELEASING CLAMP SCREWS. (See Figure 4.).
After releasing the clamp screws, adjust the angle and extension of the
arm, and rotate the oven head if required in order to establish the most
comfortable viewing position; re-tighten screws.
Do not over tighten.
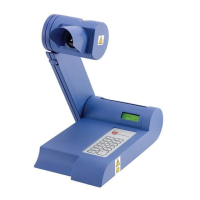
4.3.3 Connections (see Figure 5).
a) If a line printer is to be used it should now be connected to the instrument
using an approved cable. For PR2000B or PR2000S printer use the cable
supplied. For a parallel (Epson compatible) printer use cable AZ6732. For a
serial printer use cable AZ6731.
Always use an approved cable to prevent damage to your equipment.
b) Inset the jack connection Plug from the Power Supply Unit into the
instrument supply socket.
c) Connect the Power Supply mains cable to the Power Supply Unit.
d) Plug the Mains Power Supply cable into the supply outlet.