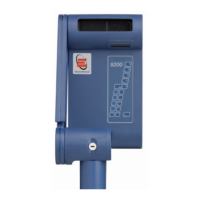
Switch the power on.
Observe all indicator lights flash
momentarily and then the display rolls
from 9999 to 0000 and settles at the
oven ambient temperature.
NOTE: In order to attain maximum
accuracy from the unit it is important to
allow all components to stabilise at their
working temperature. It is recommended
therefore that the unit is switched on for
30 minutes before use.
Alternatively the unit may be switched on
overnight at ambient temperature. The
bulb will supply sufficient heat to maintain
stability.
The insulation material of the oven may
absorb small amounts of moisture if left
un-powered for any length of time
(dependant upon ambient conditions). It
is suggested the oven is heated up to a
temperature of 300 C before use as
described in sections 4.3.7 and 4.3.8,
with the removed, and then allowed to
cool, switching the oven off as in section
4.3.14 before replacing the lens.
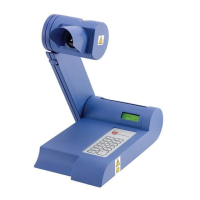
Up to three samples may be
accommodated in the tube guide. To
prepare a sample proceed as follows:
Break a new capillary tube in half and
insert the powdered sample in the tube.
The quantity should be such that the
height dose no exceed 1mm.
Locate the sample in the tube guide. It is
recommended that three tubes are
inserted even if each tube dose not
contain a sample.
Proceed as follows:
A figure of 95.6 C is given as an
example.
Press ENTER – the display will change
to register the previous „Set Point‟ if one
exists. Press CLEAR. Key in the figures
0; 9; 5; 6 and the display will show 095.6
as a „Set Point‟.
If an incorrect „Set Point‟ value is keyed
in, press CLEAR and key in the correct
value. Do not key in a value above 400 C