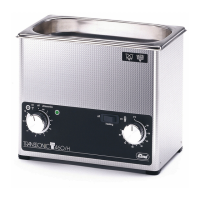
How to replace the ultrasonic generator
64
SM/Transsonic_LC/1104/D © Elma GmbH & Co KG
• If the fuse is intact (but no ultrasonic activity) the fault can
be in the output transformer, in the output capacitor(s) or in
the transducer system.
If a generator print is faulty we recommend to replace the
complete component.
See spare parts list in Annex B; selection according to unit type
and voltage.
Please see the following pages to find instructions on each unit
type.
General procedure:
How to repai
Elma Order No.
How to proceed
1. Open the unit.
2. Remove the generator print from the bottom plate.
3. Mark and loosen the electric cables.
4. Mount the new generator print on the bottom plate.
On units T460 – T700:
Ensure that the transistors are mounted correctly. Use new
insulating sleeves (delivered with transistors MJE 13009)
and fix the transistors on the bottom plate.
Caution! Check the insulating sleeves for damage.
Remove any dirt particles on the insulating disk.
The black insulating sleeve for the screw connection must
point with its flat side to the cooling body, as otherwise there
would be no connection between the transistor housing
(collector) and the generator print.
5. Adjustment of the generator as described in section 16.ff.
Wrong adjustment can destroy the generator and the
transducer disks.
6. Reconnect all other cables.
Caution! Observe correct polarization.
7. Reassemble the unit and ensure that all cables are
connected correctly.