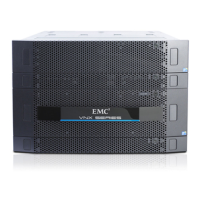
Figure 14 Installing 3U DAE rails
Installing DAEs
Use the following procedures to install any optional DAEs in to the cabinet.
The 4U 60 drive DAE and the 3U 120 drive DAE are not shown because they are not
customer installable.
Install the 2U DAE
Refer to Figure 15 on page 39 when installing a 2U DAE.
Procedure
1. Slide the disk-array enclosure (DAE) into the DAE rails in the cabinet.
Ensure that the enclosure is fully seated in the cabinet. The rail stops in the back will
seat into the back of the enclosure at the correct depth, and the front of the enclosure
will be flush with the cabinet face.
2. When the DAE is in place, insert and tighten all of the screws.
It may be easier to install the screws working in a diagonal pattern, such as bottom
left and top right, bottom right and top left.
Add additional storage
38 EMC VNX Series VNX5400 Block Installation Guide

 Loading...