12. Repeat Step 1 through Step 11 for all transducer holders to be replaced.
13. Slowly repressurize the meter to line pressure. Check for leaks as the meter is
pressurized. If you hear gas leaking from the threads, recheck all connections and
resolve the problem. Then, slowly repressurize the meter to line pressure.
14. Connect to the meter with Daniel MeterLink and update the transducer parameters.
From the Tools|Transducer Swap-out menu, run the Transducer Swap-out Wizard. This
utility allows you to update the parameters for the components that are replaced.
Note
Running the Transducer Swap-out utility is required when transducers, mounts, holders, or
stalks are replaced for a chord.
a. After writing all of the changes to the meter’s configuration, open the Monitor
(Detailed View) and verity the meter is acquiring data, the transducers have
good signals and flow profiles for the all of the chords displayed.
b. Collect and save a Maintenance Log and verify the meter is optimally performing.
Save the meter configuration file. If communicating with the meter via Modbus
or HART, manually update the parameters (see Section 3.2.4).
3.4 Transducer cable removal and installation
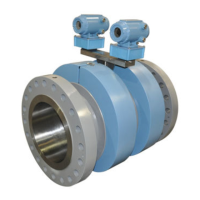
Daniel 3410 Series Ultrasonic Gas Flow Meters have red transducer cables that plug
directly in the back of the transformer retainer.
Note
Make a note of the exiting cabling path layout to allow proper tie-wrap configuration later in this
procedure.
Meter repairs
28 Gas Ultrasonic Flow Meter
 Loading...

