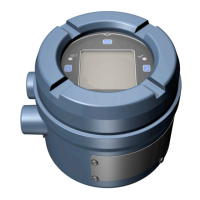
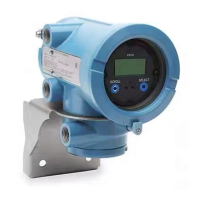
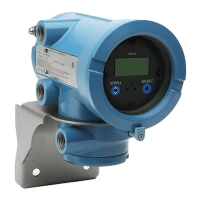
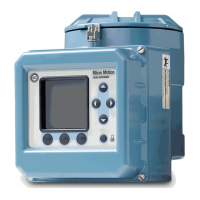
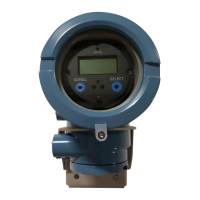
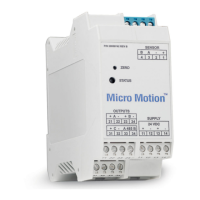
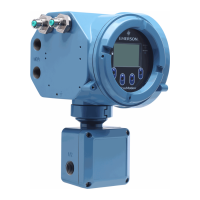
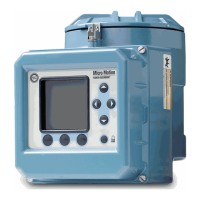
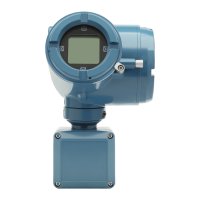
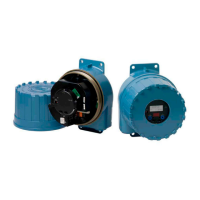
b. Inside the core processor housing, loosen the three screws that hold the core
processor mounting plate in place.
Do not remove the screws.
c. Rotate the mounting plate so that the screws are in the unlocked position.
d. Holding the tab on the mounting plate, slowly lower the mounting plate so that
the top of the core processor is visible.
Important
Do not disconnect or damage the wires that connect the transmitter to the core
processor.
e. Check the state of the core processor LED.
Postrequisites
To return to normal operation:
• For a 4-wire remote installation or a remote core processor with remote transmitter
installation, replace the core processor lid.
• For an integral installation:
1. Without pinching or stretching the wires, lower the transmitter onto the base,
inserting the cap screws into the slots.
2. Rotate the transmitter clockwise so that the cap screws are in the locked
position.
3. Tighten the cap screws, torquing to 20 to 30 in-lbs (2.3 to 3.4 N-m).
• For a 9-wire remote installation:
1. Without pinching or stressing the wires, slide the mounting plate into place.
2. Rotate the mounting plate so that the screws are in the locked position.
3. Tighten the screws, torquing to 6 to 8 in-lbs (0.7 to 0.9 N-m).
4. Replace the end-cap.
Important
When reassembling the meter components, be sure to grease all O-rings.
10.29.1 Core processor LED states
Standard core processor LED statesTable 10-13:
LED state Description Recommended actions
1 flash per second (ON 25%, OFF
75%)
Normal operation No action required.
1 flash per second (ON 75%, OFF
25%)
Slug flow (two-phase flow) See Section 10.25.
Solid ON Zero or calibration in progress No action required.
Troubleshooting
Configuration and Use Manual 205
 Loading...

