IQ7+ and I Q7A Installation and Operation Manual - India
13 © 2023 Enphase Energy Inc. All rights reserved. August 2023
USM-00002-1.0
regulations, improving the system reliability. IQ Relay automatically reconnects when valid
grid conditions resume and must be installed on all sites to improve the system reliability.
o All Enphase systems (single-phase and three-phase) shall need to mandatorily install IQ Relay
to benefit from our limited microinverter warranty. (Effective for systems activated on or after
September 01, 2022) You can find the Enphase Limited Warranty for India at
https://enphase.com/warranty/india
• Tie wraps.
• IQ Sealing Caps (Q-SEAL-10) for any unused drops on the IQ Cable (optional).
• IQ Terminator (Q-TERM-10). One for each AC cable segment end; typically, two IQ Terminators
(center feeding branch circuit) are required per branch circuit.
• IQ Disconnect Tool (Q-DISC-10).
• IQ Cable.
• Enphase Installer App.
Download the Enphase Installer App and open it to log in to your Enphase Account. With this mobile
app, you can scan microinverter serial numbers and connect to the IQ
Gateway Metered to track
system installation progress. To download, go to enphase.com/toolkit or scan the QR code at right.
Cable model Connector spacing PV module orientation Connector count per
Q-12-10-240
1.3 m Portrait 240
Q-12-20-200
Other tools
The other tools are:
• Screwdrivers (#1 and #3)
• Wire cutters, voltmeter
• Torque wrench, sockets, and wrenches for mounting hardware
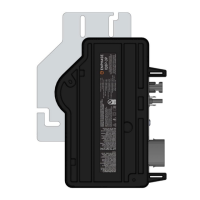
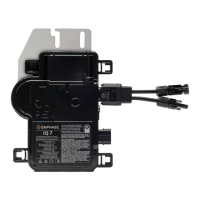
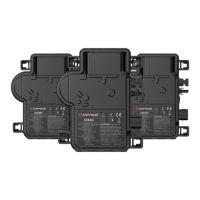
Enphase microinverter installation
Installing the Enphase IQ Series Microinverters involves several key steps. Each step listed here is detailed on
the following pages:
Step 1: Position the IQ Cable
Step 2: Position the junction box
Step 3: Mount the microinverters
Step 4: Create an installation map
Step 5: Manage the cabling
Step 6: Connect the microinverters
Step 7: Terminate the unused end of the cable
Step 8: Complete the installation of the junction box
Step 9: Connect the PV modules
Step 10: Energize the system