24
RAK111_ENG / © Ensto 2019
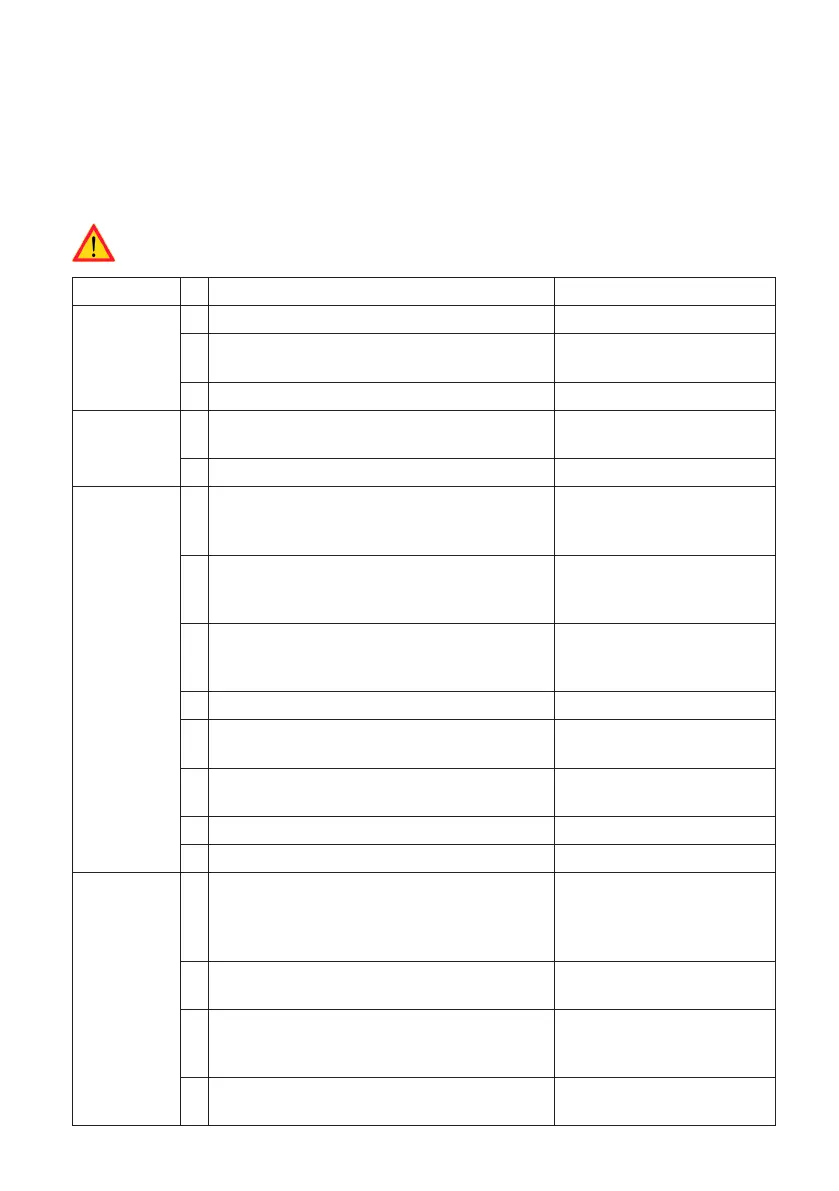
11. Installation / Commissioning Checklist
Introduction
This checklist is a guidance for ensuring both mechanical and electrical installation as well as
commissioning of the Wallbox.
Checking the Installation
Go through the visual, mechanical and electrical installation when the charging station
is un-powered.
CATEGORY X ITEM NOTES
Overall look Ordered material has been received.
Protective plastic wrapping have been
removed.
No scratches or damages may be seen.
Mechanical
installation
Charging station is xed properly on instal-
lation site.
The front cover opens and closes smoothly.
Electrical
installation
Charging station’s power supply capac-
ity meets electrical planning (cable size,
MCB…).
Review local electrical
design plan.
Gently push the charging station with a
hand to create vibration to ensure no bad
contact / connection exist (wire or PCB).
Gently push the controller to create vibra-
tion to ensure no bad contact / connection
exist (wire or PCB).
Check tightness of the PE-cable screw.
Power supply cables (L1, L2, L3, N and PE)
are properly connected.
Insulation of power supply cables is intact
(L1, L2, L3, N and PE)
Voltage between PE and N is less than 10 V
PE conductor resistance is less than 3 Ω
Operational
check
All the LED states / color (green, blue, red)
and RFID reader is functioning.
Create fail and charge (with
RFID tag). Red at bootup,
green at idle and blue
while charging.
Available electricity at the sockets. All the
contacts (L1, L2, L3) must be tested.
Use Mode 3 tester.
Verify that when charging station LED is
green, there is no power at the socket con-
tact (L1, L2, L3, N).
With Mode 3 tester, test the functioning of
Mode 3 (from green to blue).