Page 14
Always use a DMX terminator plug in the last fixture of the DMX chain. The terminator
prevents “ghost echoes” of the DMX signal from bouncing up & down the chain. Again,
this is more of an issue if you run very long DMX cables.
HOW DO I SET UP THE “DMX ADDRESSING”?
After connecting everything up, you need to set the DMX start address for each light.
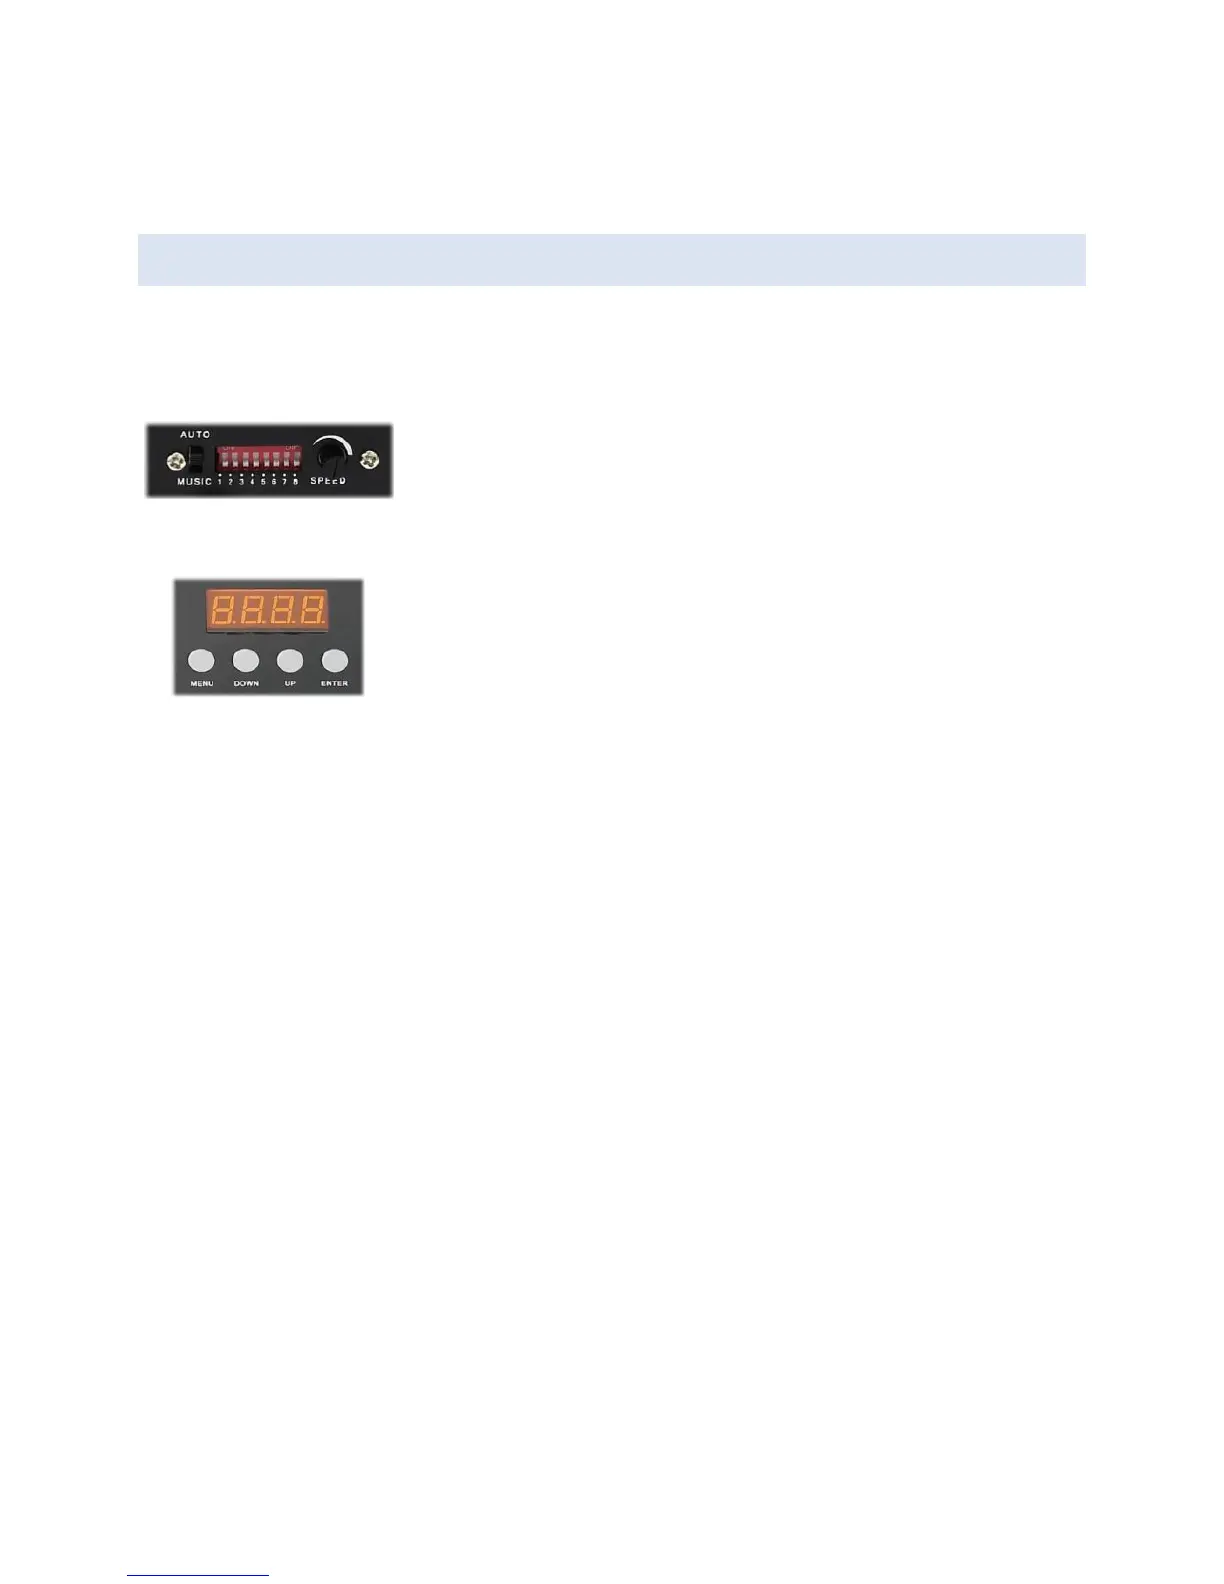
On each light, you will find a row of DIP switches or a small
control panel which you use to enter the DMX address. Consult
the addressing instructions for your own lights, as every light
can work in a slightly different way!
Think of DMX addressing like buildings on a street. Each building
has its own number (“3 Smith Road”, “4 Smith Road”). Large office
blocks can occupy a range of numbers (“22-35 Smith Road”). You
never see two houses with the same number, or adjacent office
blocks with overlapping ranges of numbers.
DMX is pretty much the same. Each light fixture has a unique start address, and occupies
a range of channels from that point onwards. Complex fixtures use more channels than
simple fixtures. You normally* don’t have multiple fixtures on the same start address, and
two fixtures using adjacent channel numbers must not overlap!
Example: Say you have two 4-channel dimmer packs, and two 13-channel scanners. The
simplest DMX addressing scheme would be:
Dimmer A = Ch 1-4
Dimmer B = Ch 5-8
Scanner A = Ch 9-21
Scanner B = Ch 22-34
A fixture’s start address does NOT need to immediately follow the previous fixture. You
could have a dimmer pack on Ch 1-4, then a scanner on Ch 18-25. It doesn’t matter that
channels 5-17 are unused. Why is this important? Well, it means that in DMXIS you can
address a fixture so that it begins on the first fader of a row, or on a specific page. For
example, Page 1 could be your dimmers, page 2 your scanners, and page 3 your LED spots.
*Actually, you CAN put multiple identical fixtures on the same start address – but they will
all do exactly the same thing! For example, if you set all your LED parcans to channels 10-