Maintenance 5. Joint #1
92
LS20-B R ev.4
5.1 Replacing Joint #1 Motor
Name Qty. Note
Maintenance
parts
Tools
Hexagonal
wrench
width across flats: 2.5 mm
Cross-point screwdriver (#2)
Grease (SK-1A) - -
1 motor
Remove the Connector Plate.
F
or details, refer to Maintenance: 3.4 Connector Plate.
Disconnect the connector.
Connectors: X41, X211 (Hold the clip to remove.)
F
or details, refer to Maintenance: 3.3 Arm #1 cover.
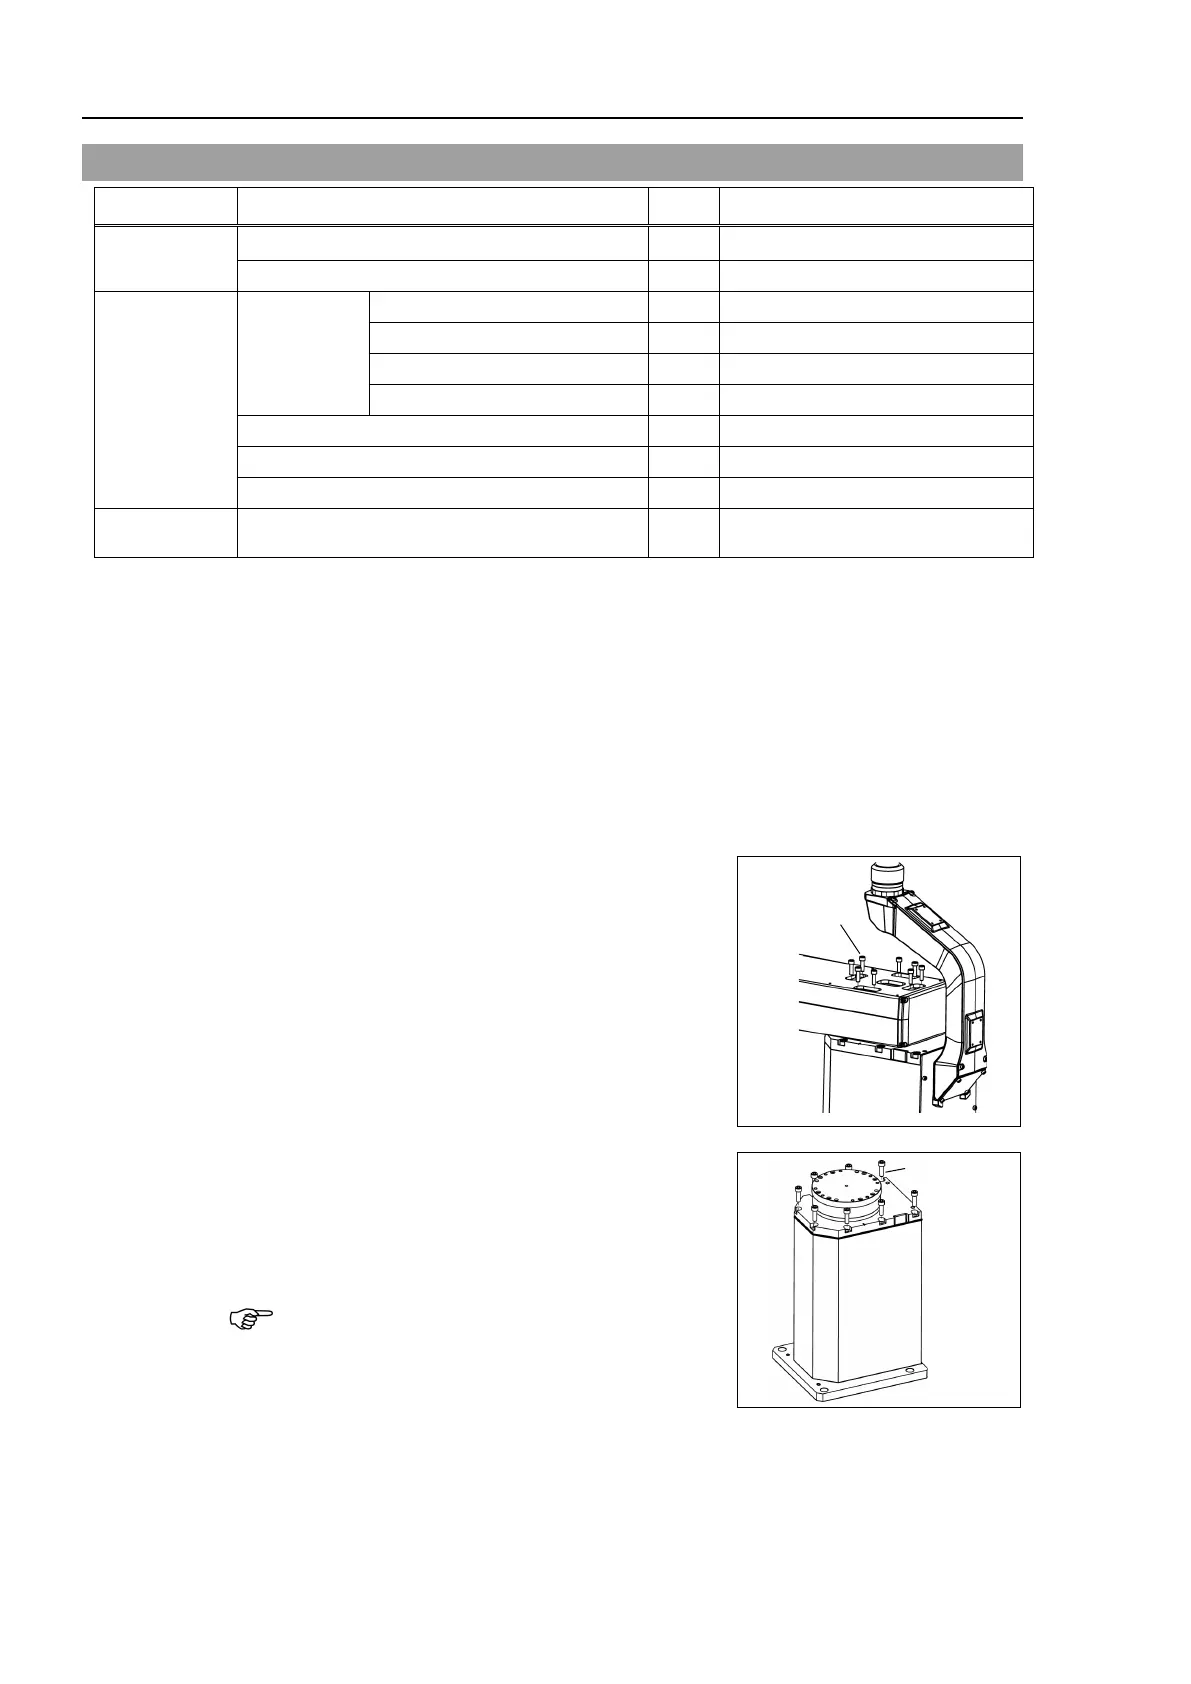
the Arm #1 mounting bolt on the Joint
#1 side and remove the Arm 1.
Remove the screws mounting the Top Plate on
the Base.
Hold up the Joint #1 unit and remove from the
Base.
The Joint #1 motor can be replaced
while the
Arm #1 and the Top plate are mounted.
Refer
next page for replacement steps.

 Loading...


