Maintenance 8. Joint #4
LS20-B Rev.4 133
belt
)
Hold up the spline plate and set the U belt
Make sure the gear grooves of the belt are
fit
into those of the pulleys completely.
3-M4×15
Spline Plate
Z Belt
U Belt
Hold up the spline plate and set the Z belt
around the Z pulley.
Make sure the teeth of the timing belt are
engaged with those of the pulley.
Loosely secure the spline plate on the
Arm #2 and
move the shaft up and down
several times before
spline plate.
the screws so that the spline plate
hand. Fix the spline plate with
pushing the front side of the Arm
the right side face.
Faces to push
the spline plate
Loosely secure the Joint #3 motor unit to
the Arm
Make sure the teeth of the
timing belt are engaged
with those of the pulley.
Joint #3
Motor Unit
3-M5×20
+washer for
slotted hole
At this point, make sure that the Joint #3 motor unit can be moved by hand, and it
will not tilt when pulled.
If the unit is tilted, the belt will not have the proper tension.
pply the proper tension to the Z belt, and then secure the Joint #3 motor unit.
For details, refer to Maintenance: 7.2 Replacing the Timing Belt.
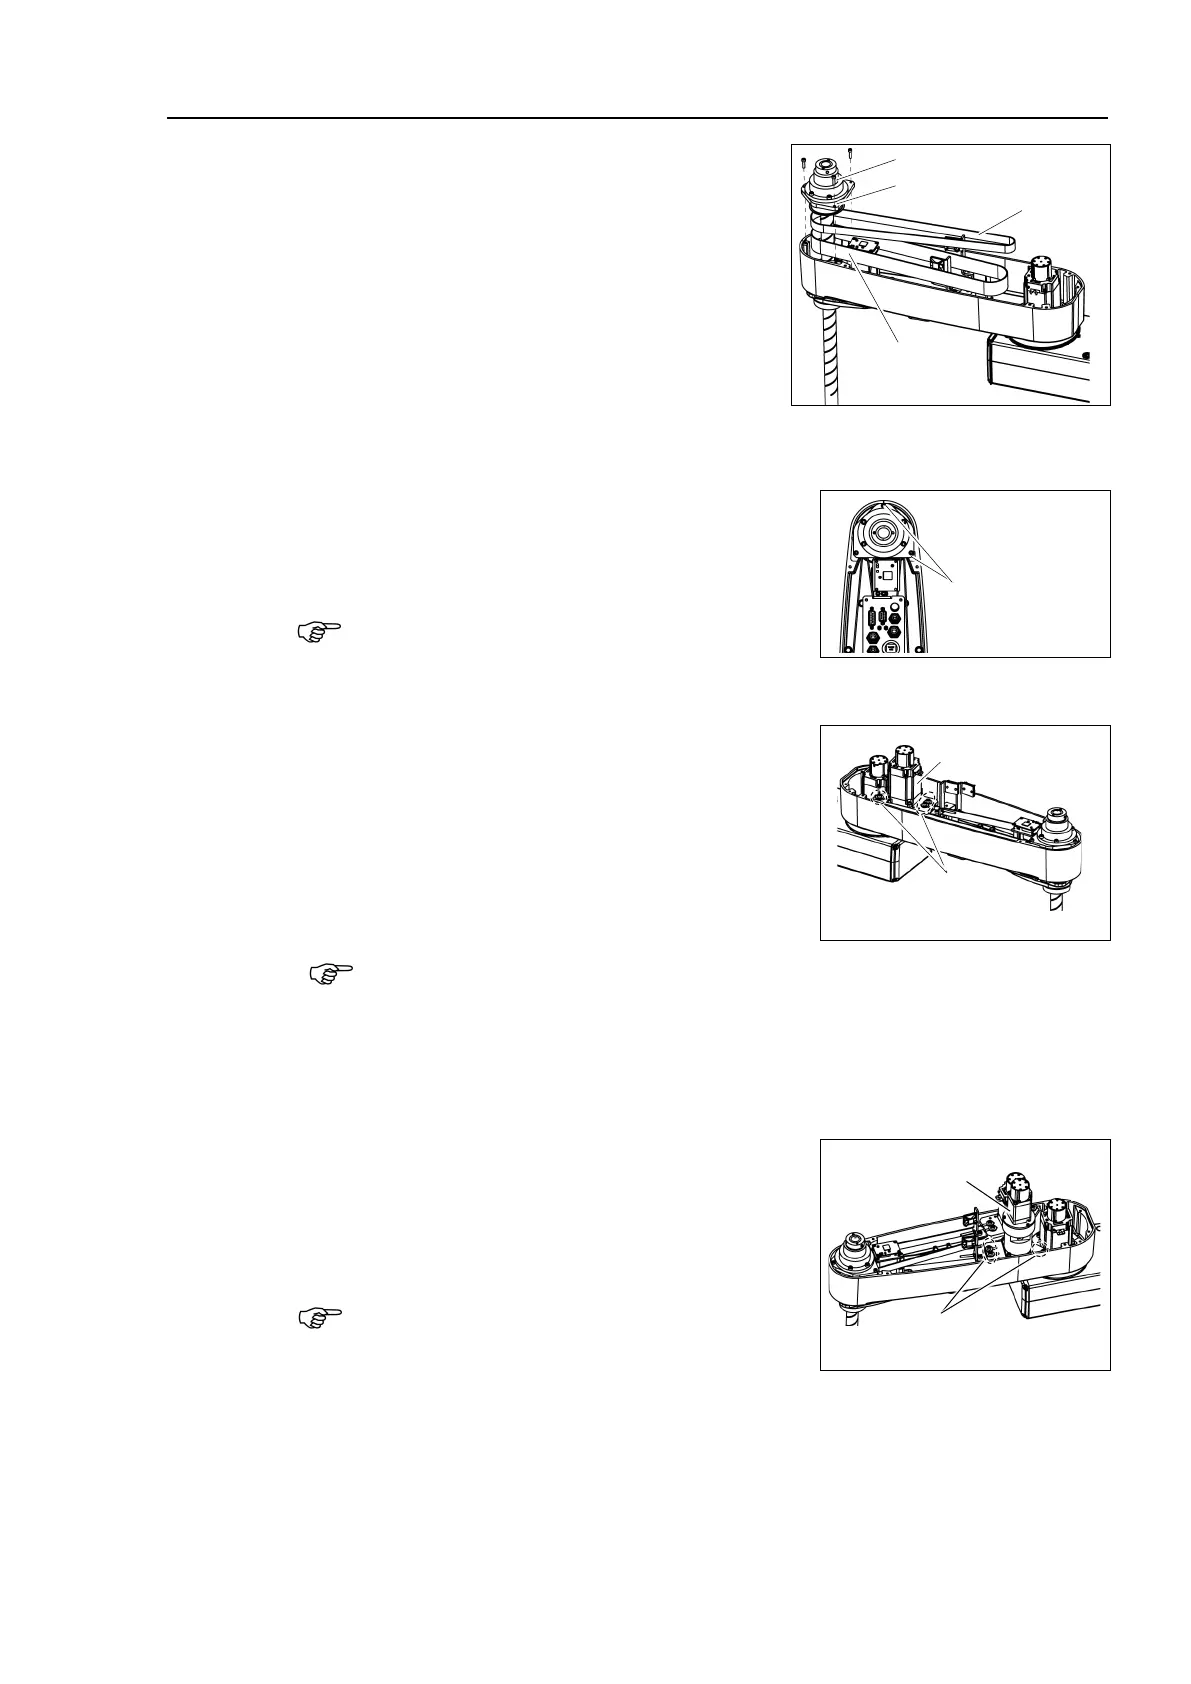
Loosely secure the Joint #4 motor unit to
the Arm
teeth of the timing belt are engaged
with those of the pulley.
ake sure that the Joint #4 motor unit can be
will not tilt when pulled.
3-M5×20
+ washer for slotted hole
Joint #4
Motor Unit
If the unit is tilted, the belt will not have the proper
tension.

 Loading...


