Maintenance 10. Ball Screw Spline Unit
LS Rev.10 145
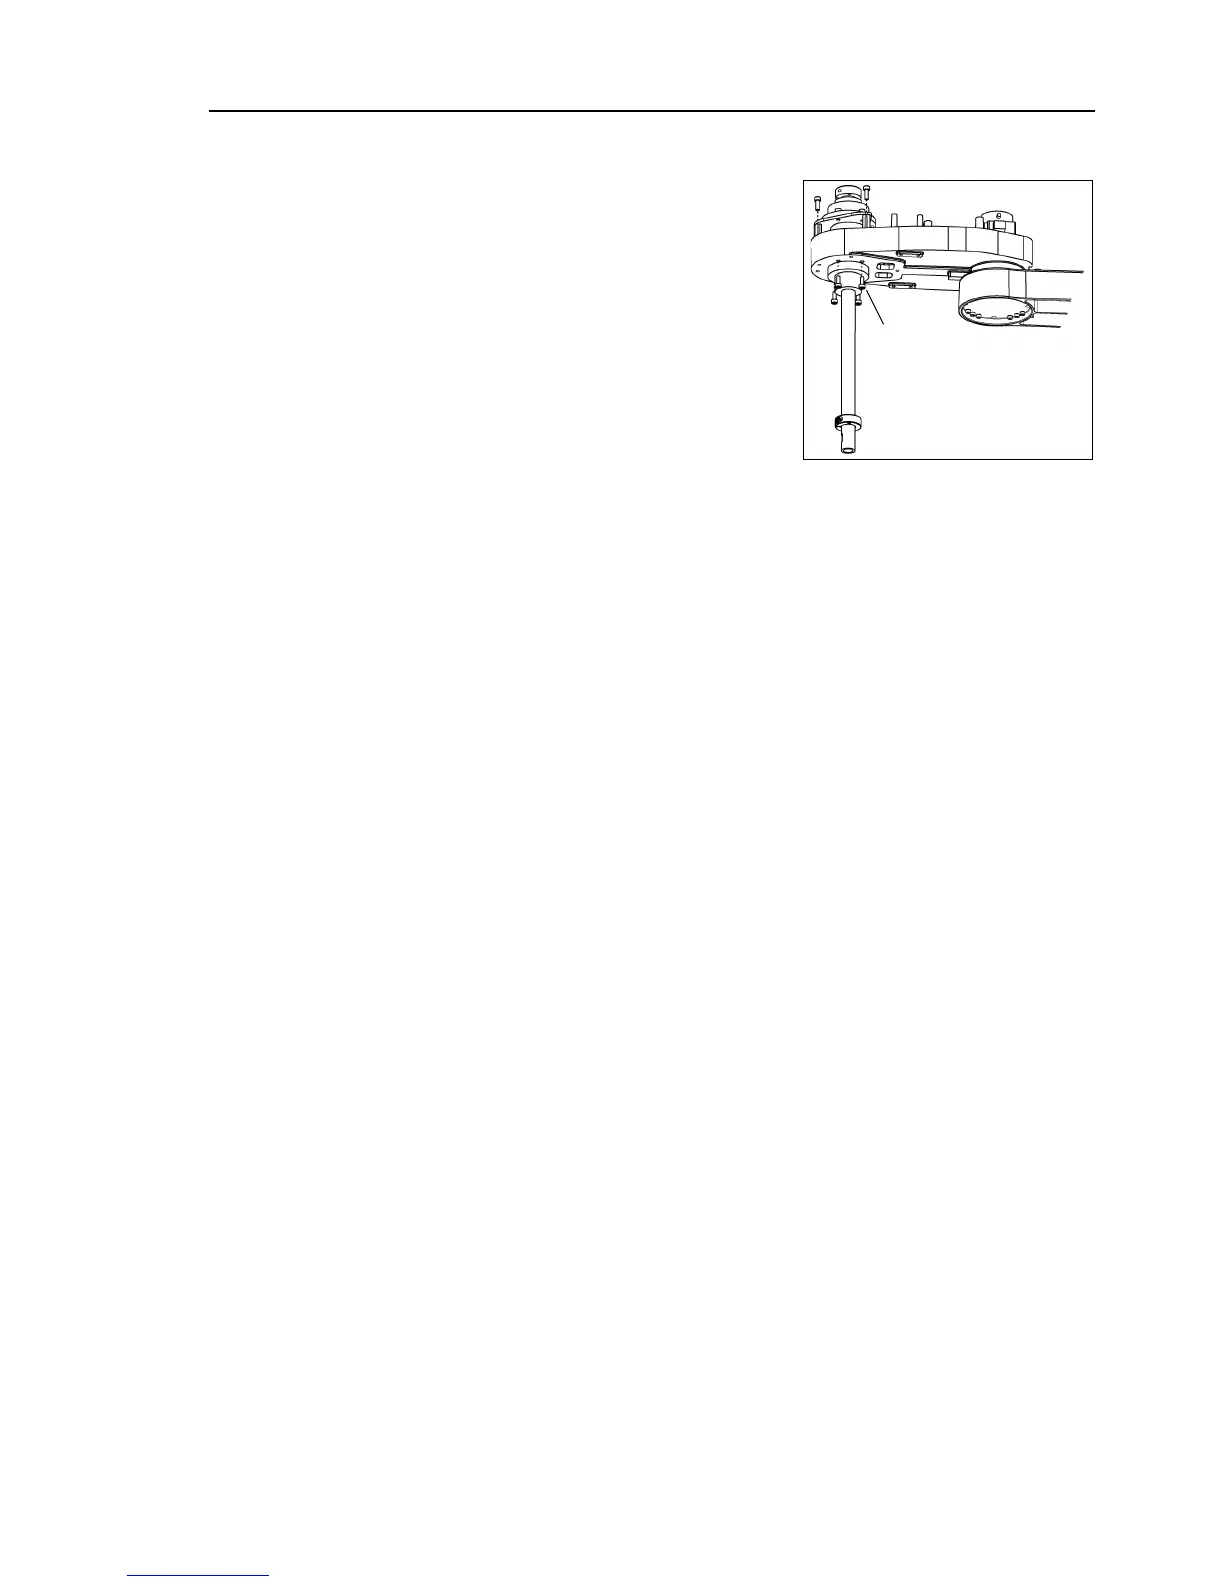
screw spline unit in the Arm #2.
Secure the spline nut from the bottom side of
the Arm #2.
LS3:
4-M4×10
LS6: 4-M4×12
Joint #3 motor unit / Joint #4 motor unit / Joint #4 intermediate pulley /
U1 belt / U2 belt / Z belt
the U2 belt installation steps in Maintenance: 8.2 Replacing the Timing Belt.
Mount the Arm Top Cover and Arm Bottom Cover.
For details, refer to
Grease the shaft.
For details, refer to
Maintenance: 10.1 Greasing the Ball Screw Spline Unit.
-model, mount the bellows.
Mount the end effector, cables, and tubes.
Perform the calibration of Joints #3, #4.
For details, refer to
Maintenance: 13. Calibration.

 Loading...


