28 Setting Up the Projector
Projector Placement Options
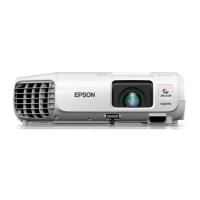
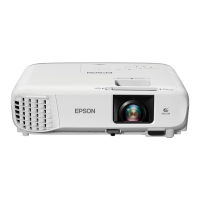
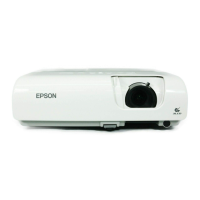
When projecting from the front, you should place the projector
directly in front of the center of the screen, facing the screen squarely.
The center of the lens should be about level with the bottom of the
screen.
If you place the projector below screen level, you may need to tilt it up
by extending the front adjustable foot. Tilting the projector causes the
image to become “keystone” shaped, but you can correct the
distortion (see page 50). The PowerLite X10+/PowerLite W10+ may
be able to correct the distortion automatically.
You can also install the projector in three other viewing setups: ceiling
projection, rear projection onto a semi-transparent screen, or rear/
ceiling projection.
To project from overhead, you’ll need the optional ceiling mounting
hardware (see page 17). You’ll also need to select the appropriate
Projection setting in the projector’s Extended menu to orient the
image correctly (see page 75).
note
After positioning the
projector, you may want to
connect a Kensington
MicroSaver
®
anti-theft
device to the lock port on the
projector. You can purchase
this from an authorized
Epson reseller; see page 17.
Front projection
Rear projectionCeiling projection Rear/ceiling projection
 Loading...


