Setting Up the Projector 37
Connecting a Component Video Source
If your video equipment has component video connectors (three
connectors labeled either Y/Cb/Cr or Y/Pb/Pr), you can purchase a
component-to-VGA video cable from an authorized Epson distributor
(see page 17) or an electronics dealer.
1. Connect the component end of the cable (3 male RCA) to the Y/
Cb/Cr (or Y/Pb/Pr) connectors on your device.
2. Connect the other end of the cable (HD15 male) to the
Computer (Component Video) port on your projector using an
optional component-to-VGA video cable or adapter.
3. You may need to change the
Input Signal setting in the
projector’s Signal menu to
Auto (see page 72).
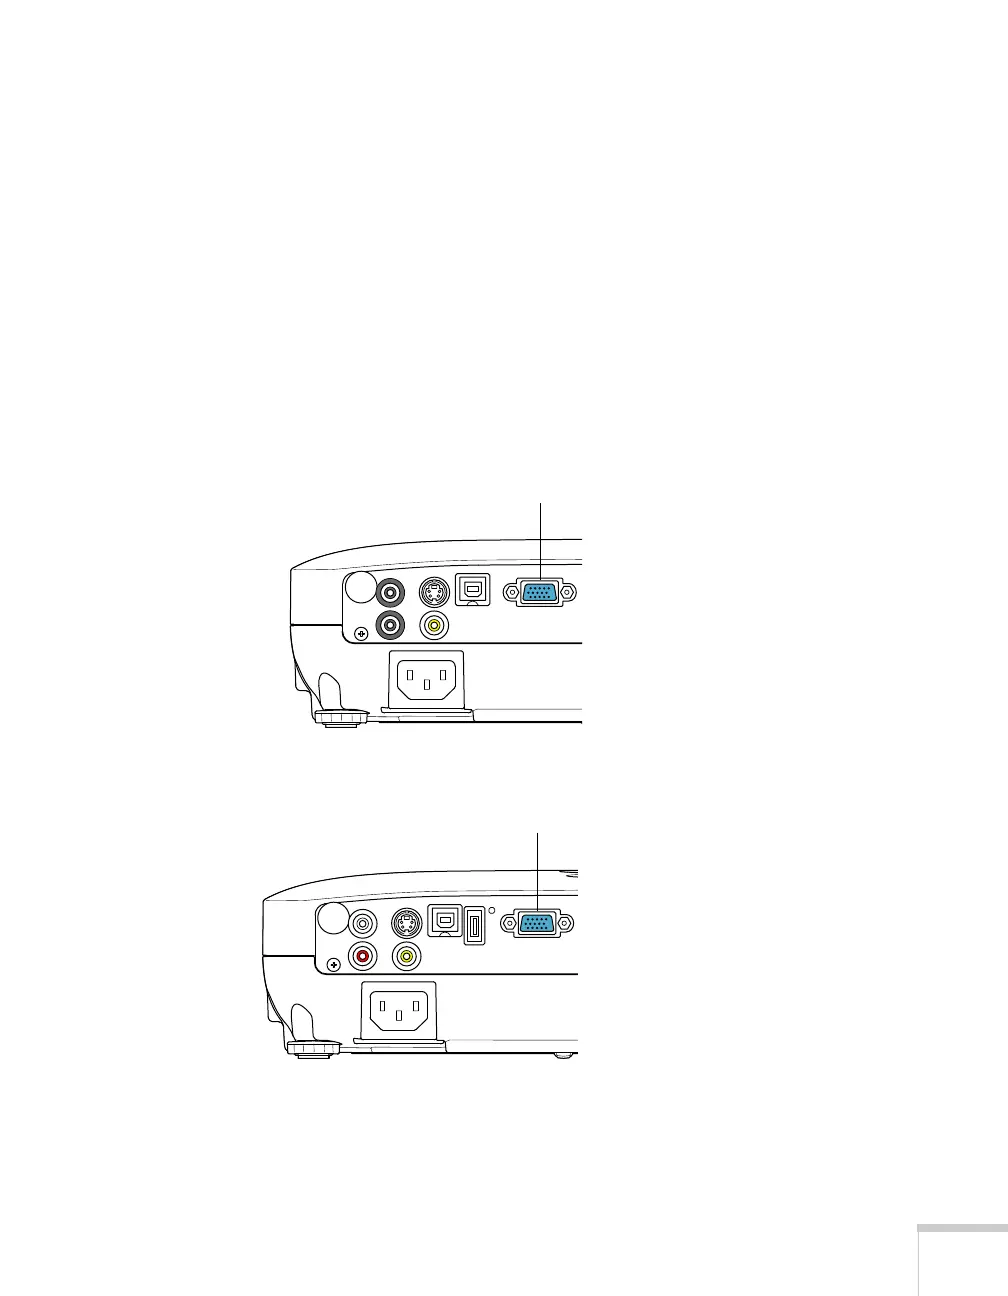
PowerLite S10+
Computer (Component
Video) port
PowerLite X10+/PowerLite W10+
Computer (Component
Video) port