26
Setting Up the Projector
Connecting to the USB Port
You can connect a PC with a 32-bit version of Windows 7, Windows
Vista
®
, Windows XP, or Windows 2000 (SP4) or a Macintosh
computer with OS X 10.5.1 or 10.6.x to the projector’s
TypeB
(square) USB port and project your computer’s display. A USB
2.0 connection (recommended) provides better picture quality and
response than USB 1.1.
1. Follow the instructions beginning on page 37 to turn on the
projector.
2. Make sure the
USB Type B
setting on the Extended menu is set
to
USB Display
(see page 62).
3. Turn on your computer.
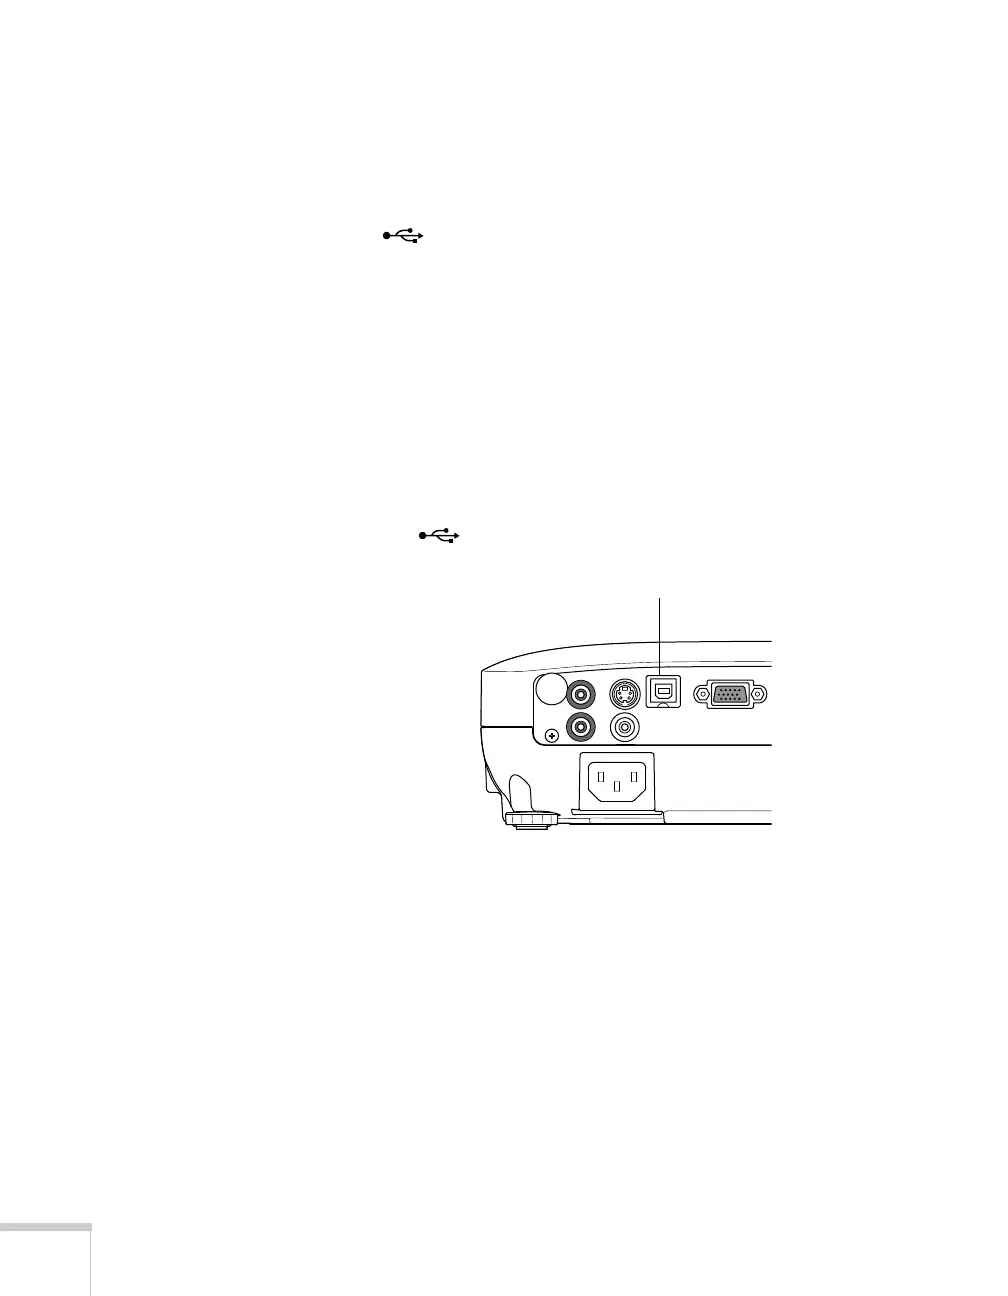
4. Connect the square end of a USB cable to the projector’s
TypeB
(square) USB port.
5. Connect the flat end of the cable to any available USB port on
your notebook or desktop computer.
The first time you connect a computer to the projector’s USB
port, you will need to install software from the projector on your
computer (see page 27).
6. You can connect an optional audio cable if you want to play
sound through the projector (see page 35).
USB TypeB port