148
Note: When multiple screens overlap, start your adjustments on the area with the most overlap (the
brightest area).
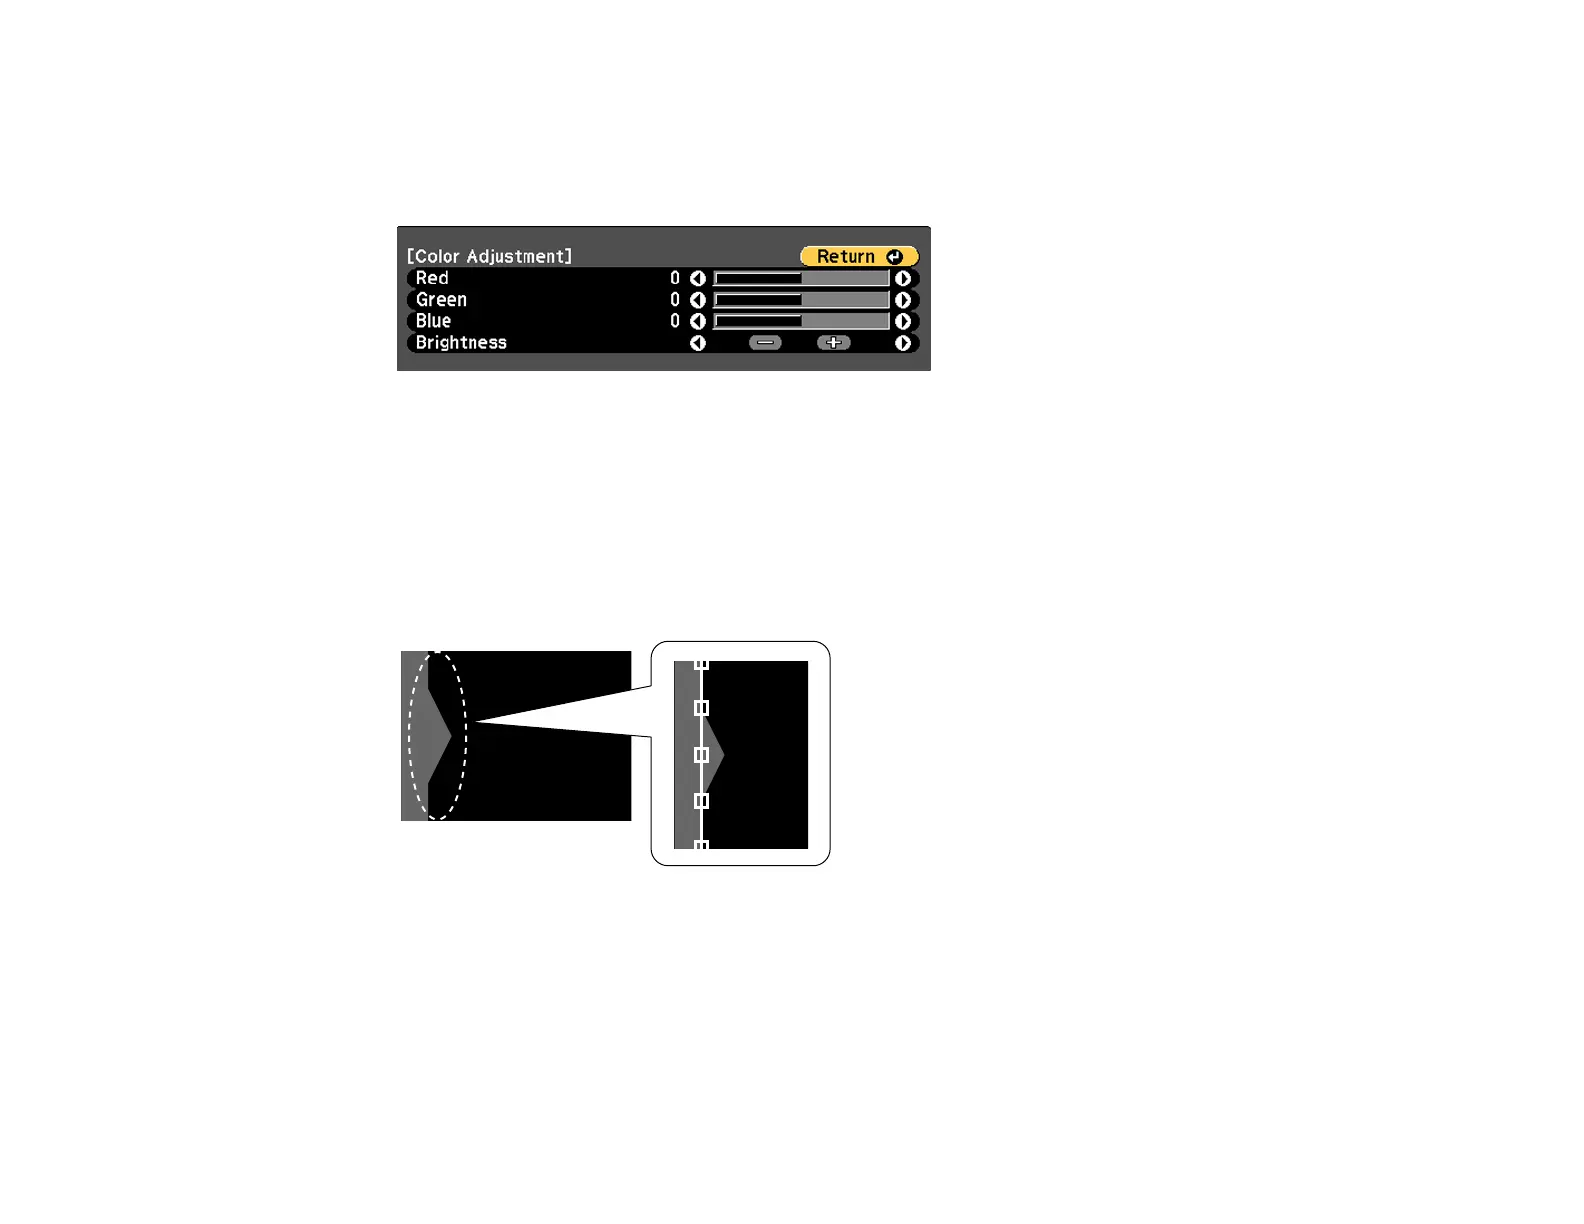
You see this screen:
7. Adjust the brightness and tone of the areas that do not overlap to match the areas that overlap using
the displayed adjustment sliders. Repeat this step on any overlapping areas.
8. Press the Esc button to return to the Black Level menu screen.
9. Select the Area Correction setting and press Enter.
10. Select the Start Adjustments setting and press Enter.
You see a screen like this displaying the points you can use to set the range for black level:
Note: The points displayed differ depending on the Edge Blending and Point Correction settings.
11. Use the arrow buttons to select an adjustment point and press the Enter button.
 Loading...