94
2. Press the Menu button.
3. Select the Extended menu and press Enter.
4. Select Display > Screen > Screen Position.
5. Use the arrow buttons on the remote control or projector to adjust the position of the image.
6. When you are finished, press the Menu button.
Parent topic: Using Basic Projector Features
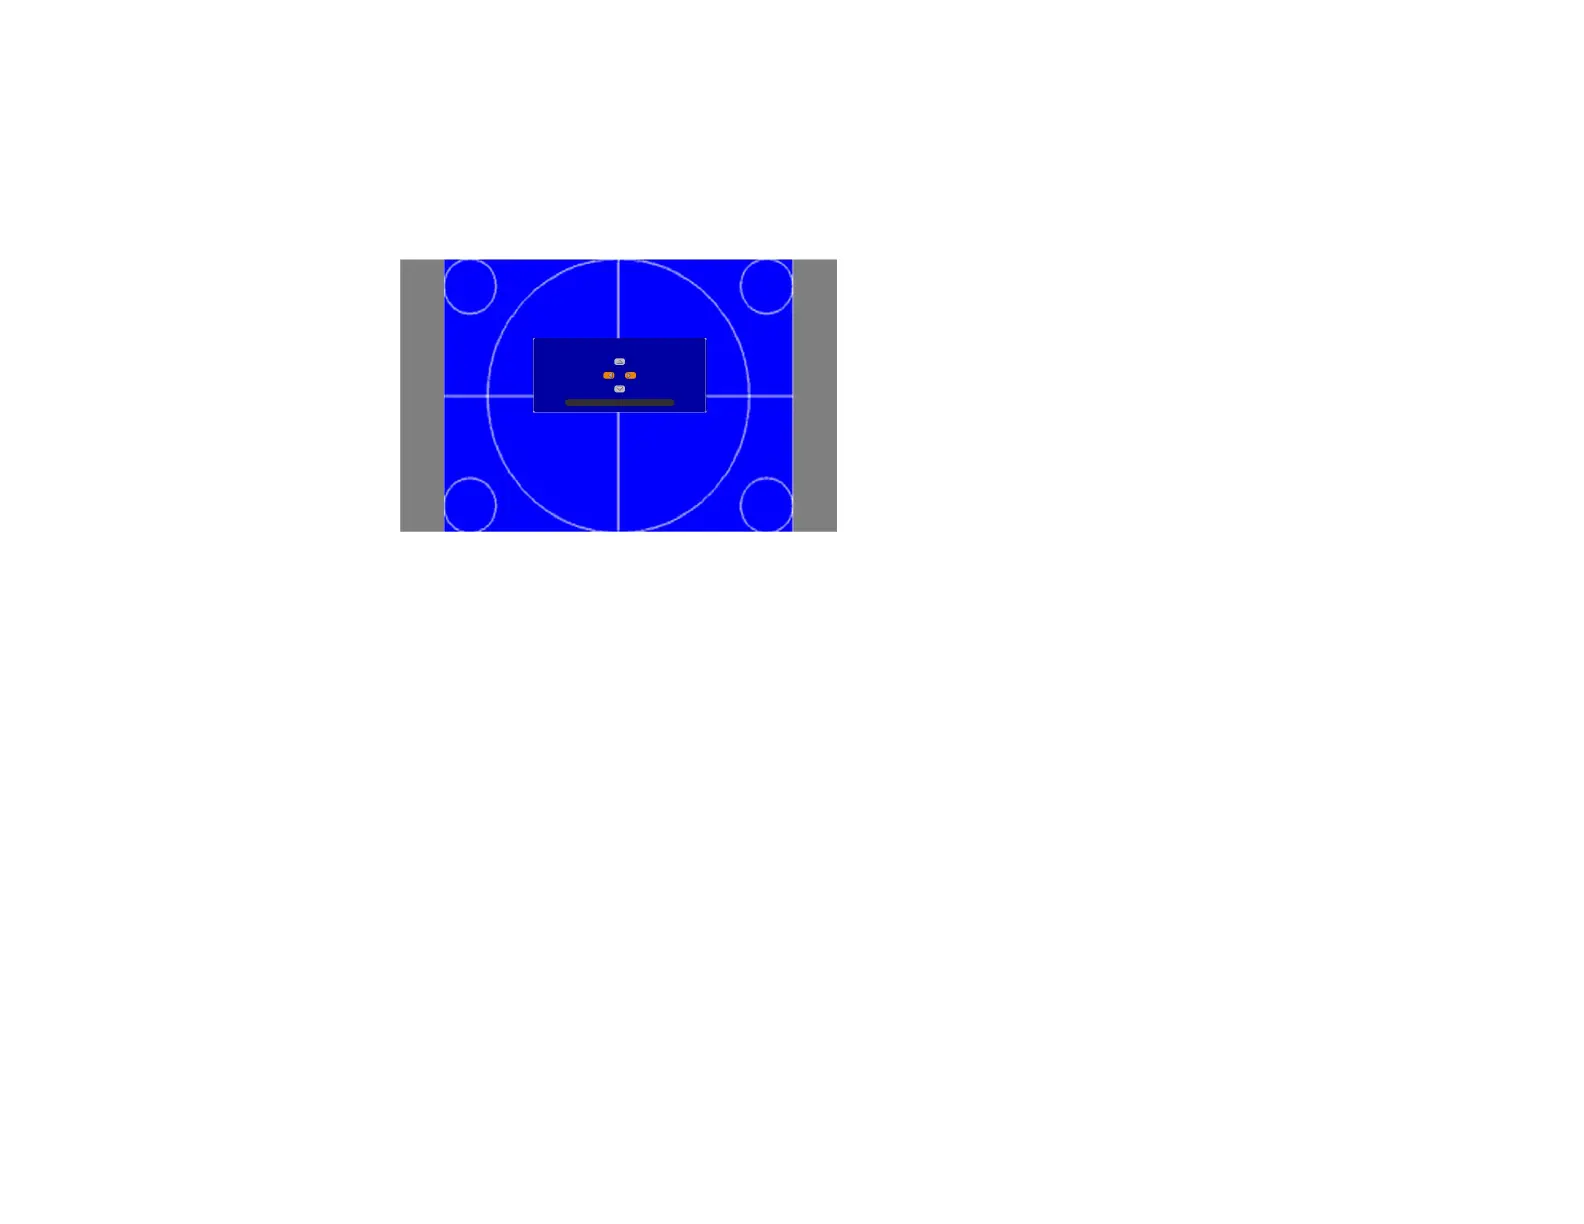
Displaying a Test Pattern
You can display a test pattern to adjust the projected image without connecting a computer or video
device.
Note: The test pattern's shape is determined by the Screen Type setting. Be sure to set the correct
screen type before adjusting with the test pattern.
1. Turn on the projector.
2. Press the Test Pattern button on the remote control or the down arrow button on the control panel.
3. Press the left or right arrow buttons on the remote control or press Enter on the control panel to
cycle through the available test patterns.
4. Adjust the image as necessary.
5. Press the Esc to clear the test pattern.
Available Test Pattern Image Adjustments
 Loading...