EPSON Stylus C67/C68/D68 Revision A
DISASSEMBLY/ASSEMBLY Disassembly Procedures 58
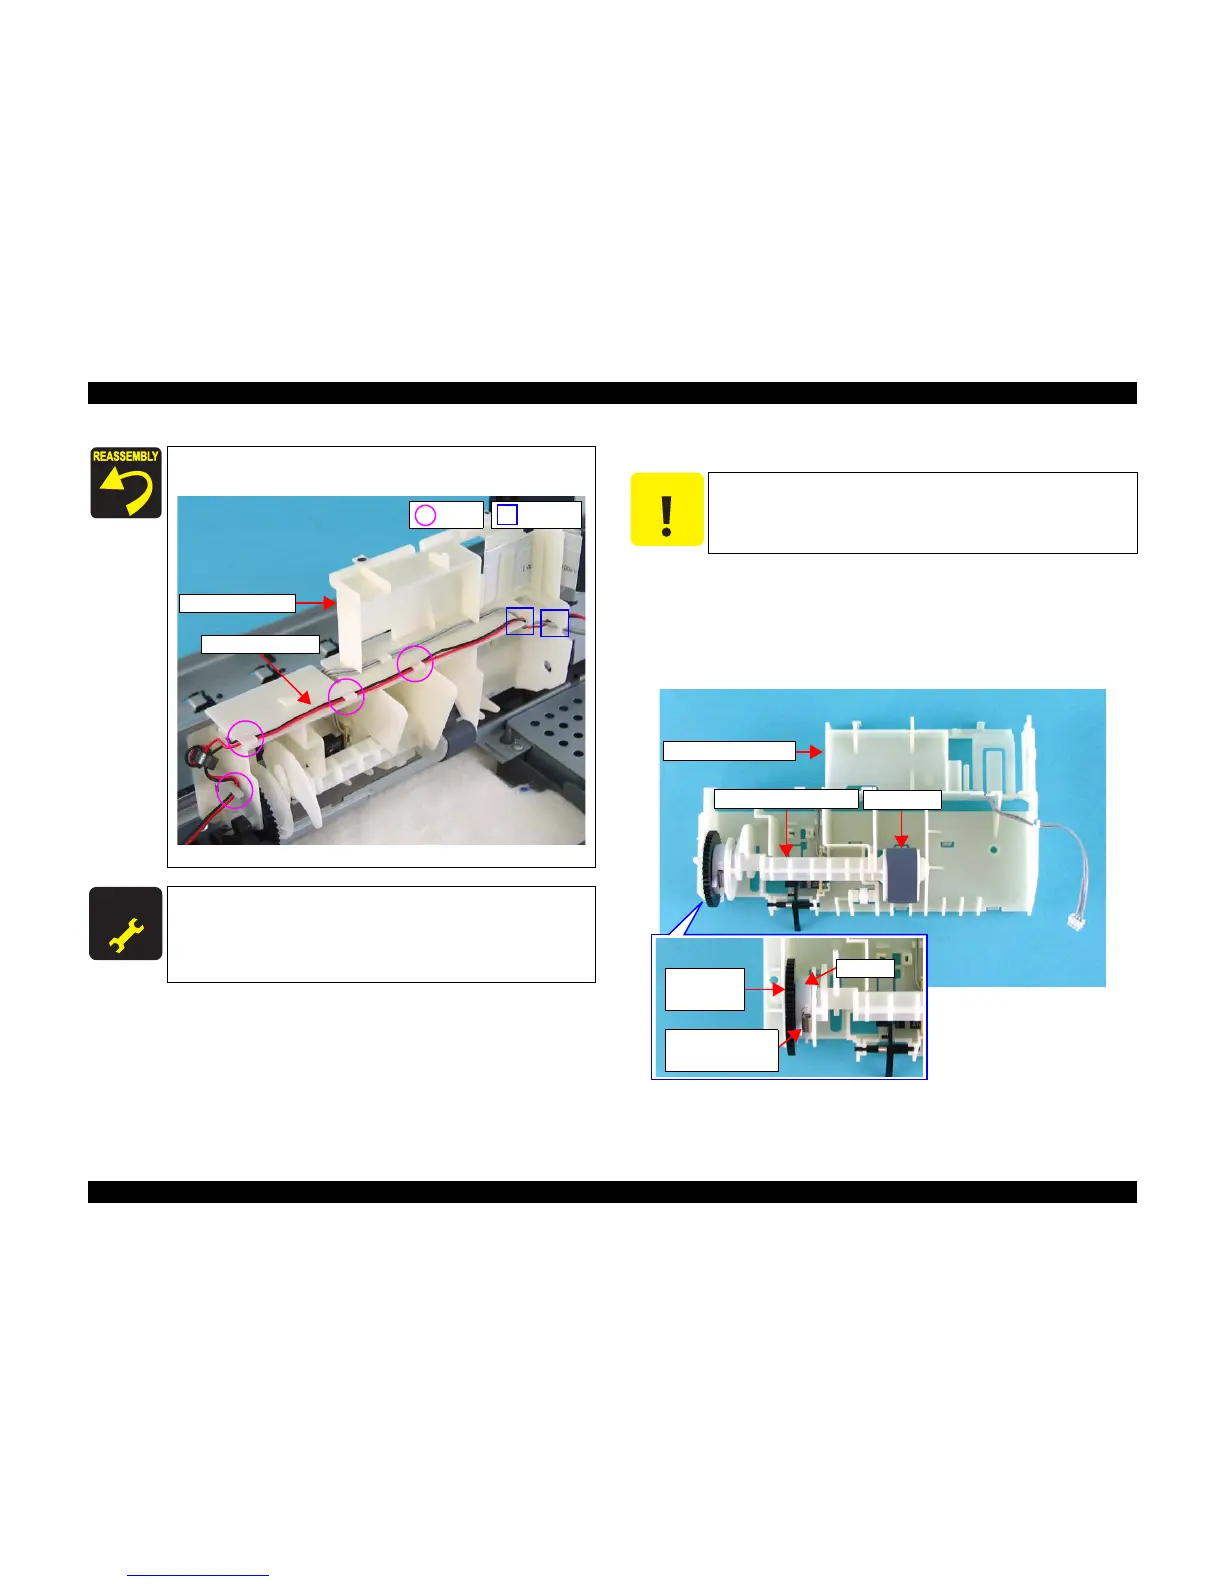
4.3.3.3 Spool Gear 36.8/Extension Spring 0.143/Clutch
1) Remove the Holder Shaft Unit. (p56)
2) Remove the LD Roller Shaft Unit from the Holder Shaft Frame.
3) Remove the Spool Gear 36.8 from the LD Roller Shaft Unit.
4) Release the Extension Spring 0.143 that joins the LD Roller Shaft Unit and
the Clutch, and remove the Clutch.
Figure 4-37. Removing LD Roller Shaft Unit
When installing the CR Motor Cable to the Holder Shaft Unit, be
sure to route the cable as shown below.
Figure 4-36. Routing CR Motor Cable
A D J U S T M E N T
R E Q U I R E D
When Holder shaft unit is removing or replacing Holder shaft Unit
with new one, the following adjustment must be performed in the
order below.
1. “Top Margin Adjustment”
2. “First Dot Adjustment”
NotchTab
CR Motor Cable
Holder Shaft Unit
C A U T I O N
Never touch the LD Roller.
When removing the LD Roller Shaft Unit, pay attention not to
drop the Spool Gear 36.8, Extension Spring, and Clutch.
Spool Gear
36.8
Extension Spring
0.143
Clutch
Holder Shaft Frame
LD Roller Shaft Unit
LD Roller

 Loading...


