EPSON Stylus C67/C68/D68 Revision A
DISASSEMBLY/ASSEMBLY Disassembly Procedures 70
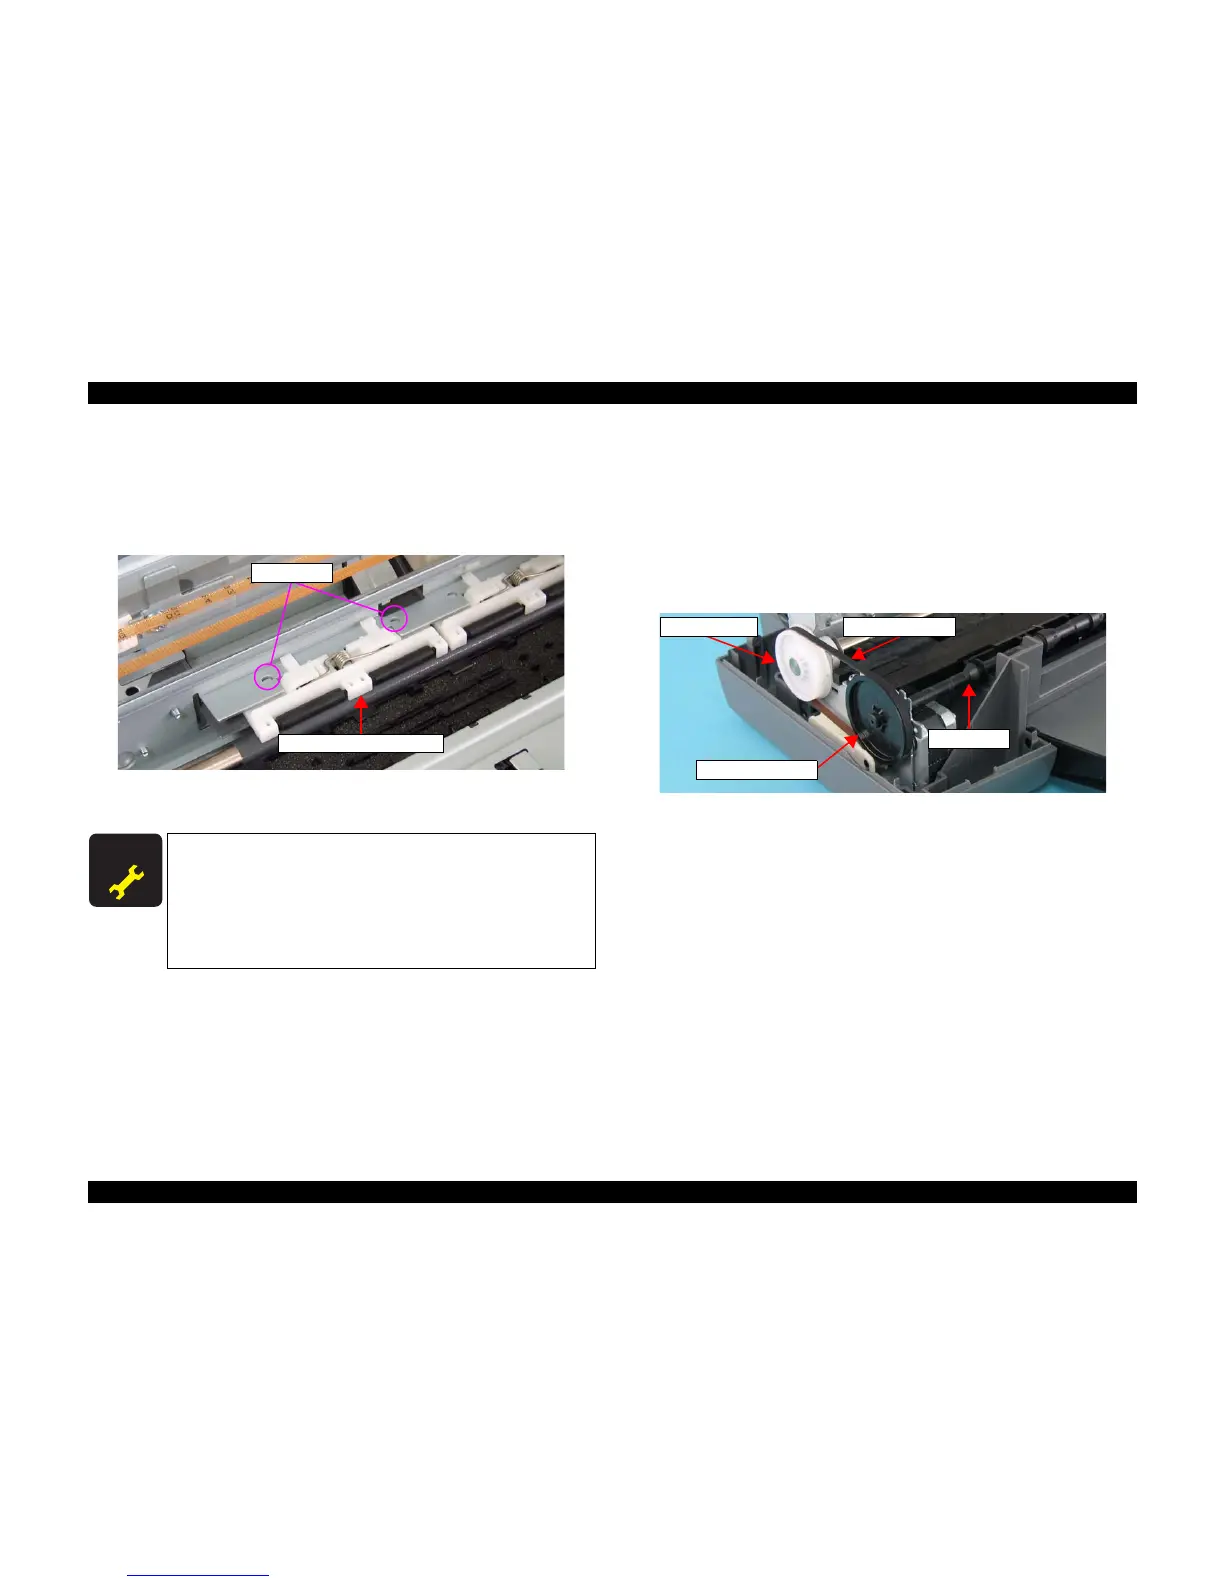
4.3.3.14 Paper Guide, Upper Assy.
1) Remove the Housing, Upper. (p43)
2) Push the two guide pins on the Paper Guide, Upper Assy. with a flathead
screwdriver or a similar tool, and remove the Paper Guide, Upper Assy.
toward you.
Figure 4-63. Removing Paper Guide, Upper Assy.
3) Repeat the steps above, and remove all the Paper Guide, Upper Assys.
4.3.3.15 Eject Roller
1) Remove the Housing, Upper. (p43)
2) Remove the Front Frame. (p62)
3) Move the CR Unit to the home position.
(See 4.3.3.2 Removing Holder Shaft Unit Step 3)
4) Remove the PF Timing Belt from the PF Drive Pulley.
5) Remove the Eject Drive Pulley from the Eject Roller.
Figure 4-64. Removing Eject Drive Pulley
A D J U S T M E N T
R E Q U I R E D
When Paper guide upper is removed or replaced with new one, the
following adjustment must be performed in the order below.
1. “Top Margin Adjustment”
2. “PF Adjustment”
3. “Bi-D Adjustment”
4. “Head Angular Adjustment”
5. “First Dot Adjustment”
Paper Guide, Upper Assy.
Guide Pins
PF Drive Pulley
PF Timing Belt
Eject Drive Pulley
Eject Roller

 Loading...


