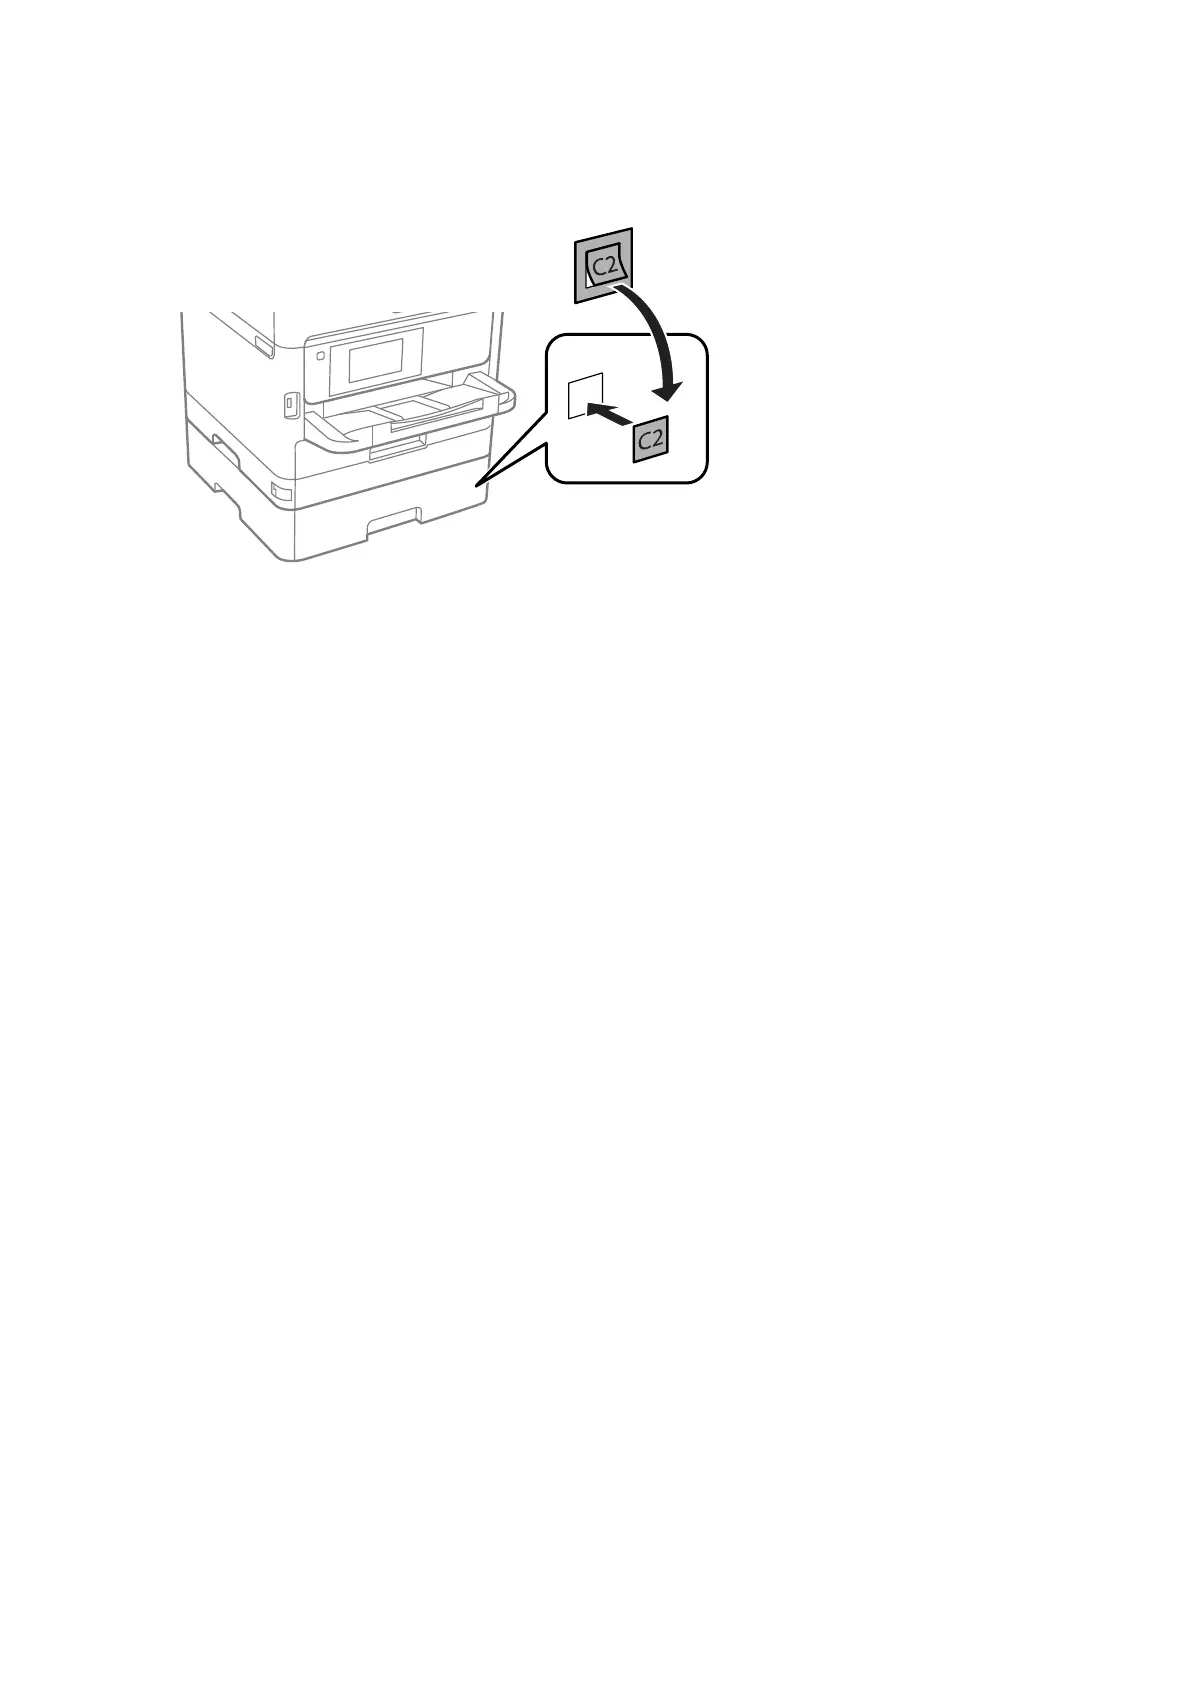
6. Place the sticker indicating the cassette number.
7. Reconnect the power cord and any other cables, and then plug in the printer.
8. Turn on the printer by pressing the
P
button.
9.
Pull out and reinsert the optional paper cassette unit to check that the optional paper cassette unit is displayed
on the Paper Setting screen.
Note:
When uninstalling the optional paper cassette unit, turn o the printer, unplug the power cord, disconnect any cables,
and then perform the installation procedure in reverse.
Proceed with the printer driver settings.
Related Information
& “Optional Paper Cassette Unit Code” on page 130
Setting the Optional Paper Cassette Unit in the Printer Driver
To use the installed optional paper cassette unit, the printer driver needs to acquire the necessary information.
Setting the Optional Paper Cassette Unit in the Printer Driver - Windows
Note:
Log on to your computer as an administrator.
1. Open the Optional Settings tab from the printer properties.
❏ Windows 10/Windows Server 2016
Right-click on the start button, or press and hold it and then select Control Panel > View d e v i c e s a n d
printers in Hardware and Sound. Right-click on your printer, or press and hold it, select Printer
properties, and then click the Optional Settings tab.
❏ Windows 8.1/Windows 8/Windows Server 2012 R2/Windows Server 2012
Select Desktop > Settings > Control Panel > Vi e w d e v i c es a n d p r in te r s in Hardware and Sound. Right-
click on your printer, or press and hold it, select Printer properties, and then click the Optional Settings
tab.
User's Guide
Appendix
132

 Loading...


