EASY-ROTOR-CONTROL M V2.2 Instructions
___________________________________________________________________________
© Ing.-Büro E. Alba de Schmidt web : www.schmidt-alba.de
Tannenstr. 16 Page 9 of 44 email : erc@schmidt-alba.de
86836 Untermeitingen / Germany
This document is for the user only. Any publishing (printed or in electronic form) is not allowed.
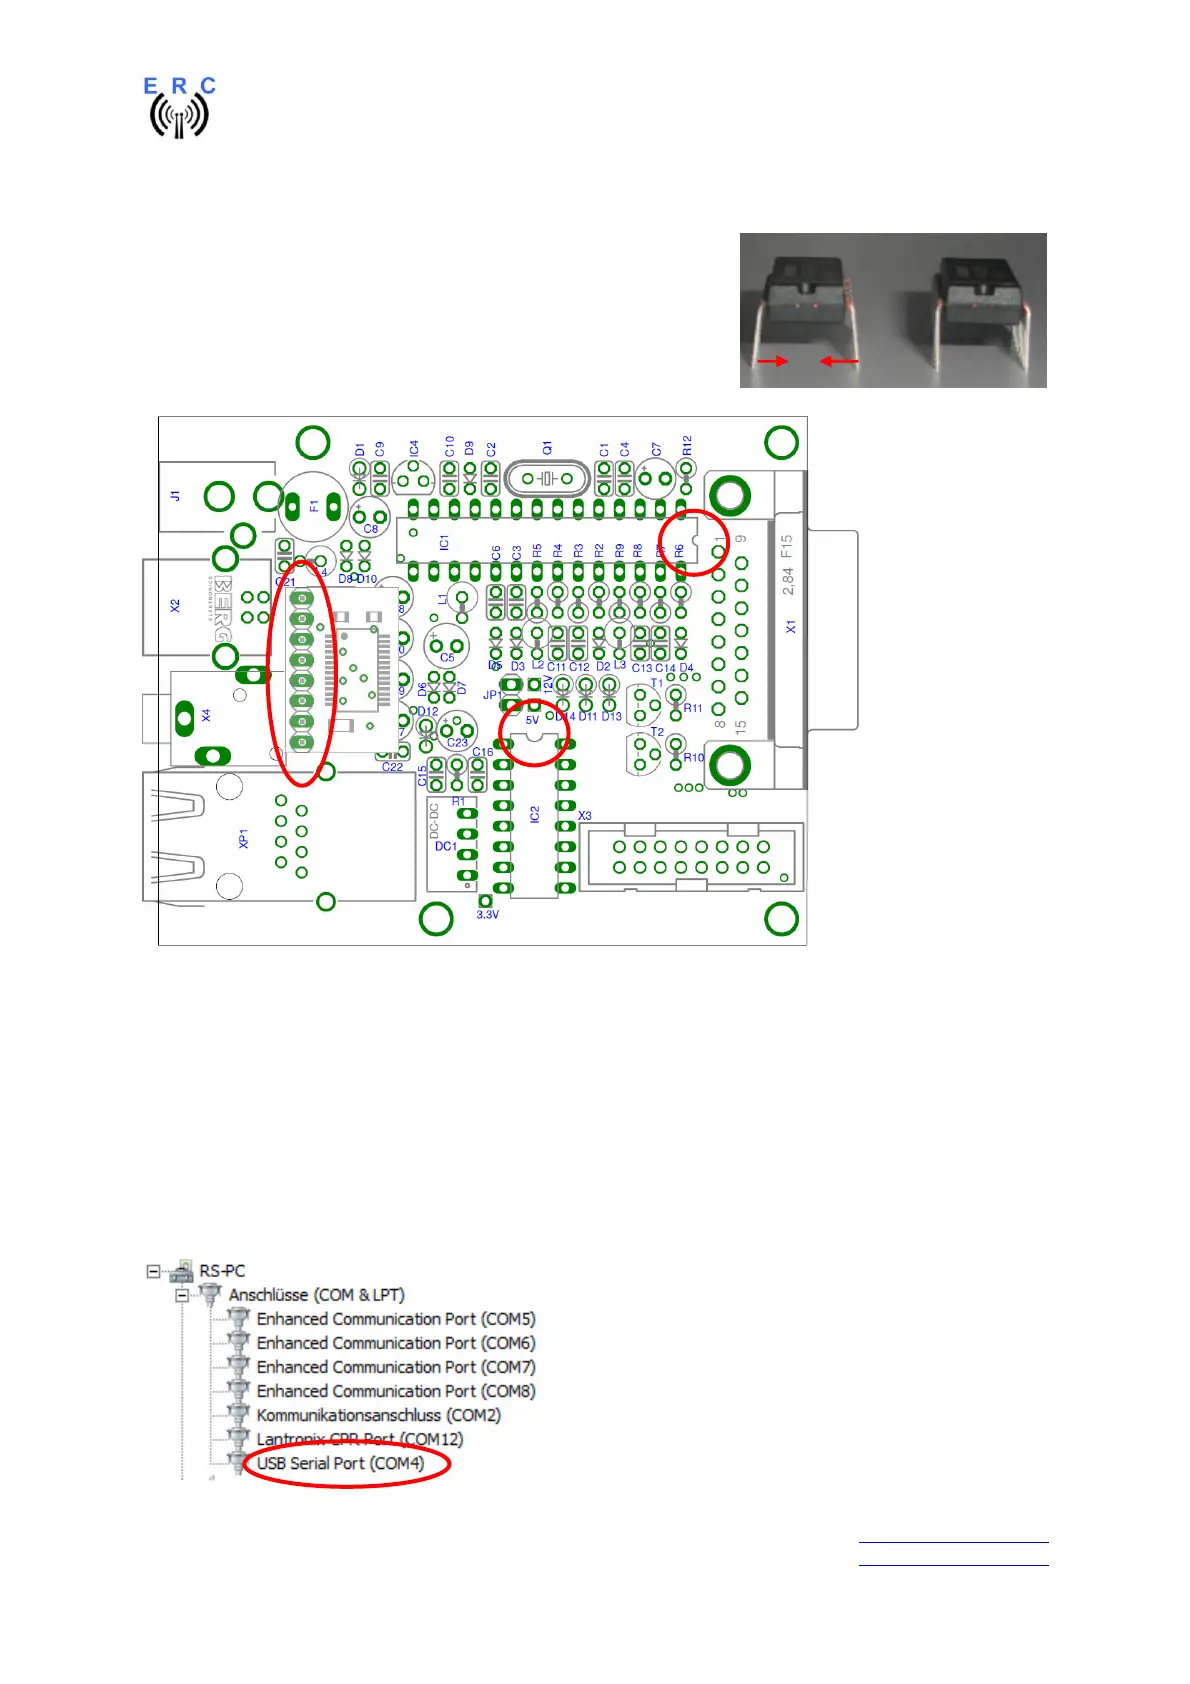
1.5 Insert ICs and the USB-module
The pins of the ICs have to be bend before you can put them into
their sockets. Use a hard base (e.g. your working desk) and
bend the row of pins slightly, that they get an angle of 90°.
Now insert the ICs and take care about direction of the components
and not to bend any pins while inserting the components into the
sockets.
Also insert the USB-module on the socket of IC3 as shown.
1.6 Establishing the USB-connection
Plug the USB-B-connector to the ERC-M and the USB-A-connector to a free USB-connector on your
PC.
Depending on your operating-system, you will be asked to install an USB-driver. This driver is
available on the CD delivered with your kit.
After successful installation of the driver, a new COM-Port (COMn) is available. You can identify the
COM-port-number by inspecting the hardware-settings of your PC. In case you have a conflict with
another COM-port (e.g. virtual COM-port), change the COM-port-number in the properties.