Clarity Edge Install Guide
1.
2.
3.
4.
5.
6.
7.
8.
9.
Mounting the optional Fatigue Camera
Each Fatigue camera will have the ordered mounting option presented with it: A-Pillar, Windshield, or bracket
(often for dash mounts).
A-Pillar Trim Installation
Fatigue Camera install video - https://vimeo.com/955628260/5b4d861ea3
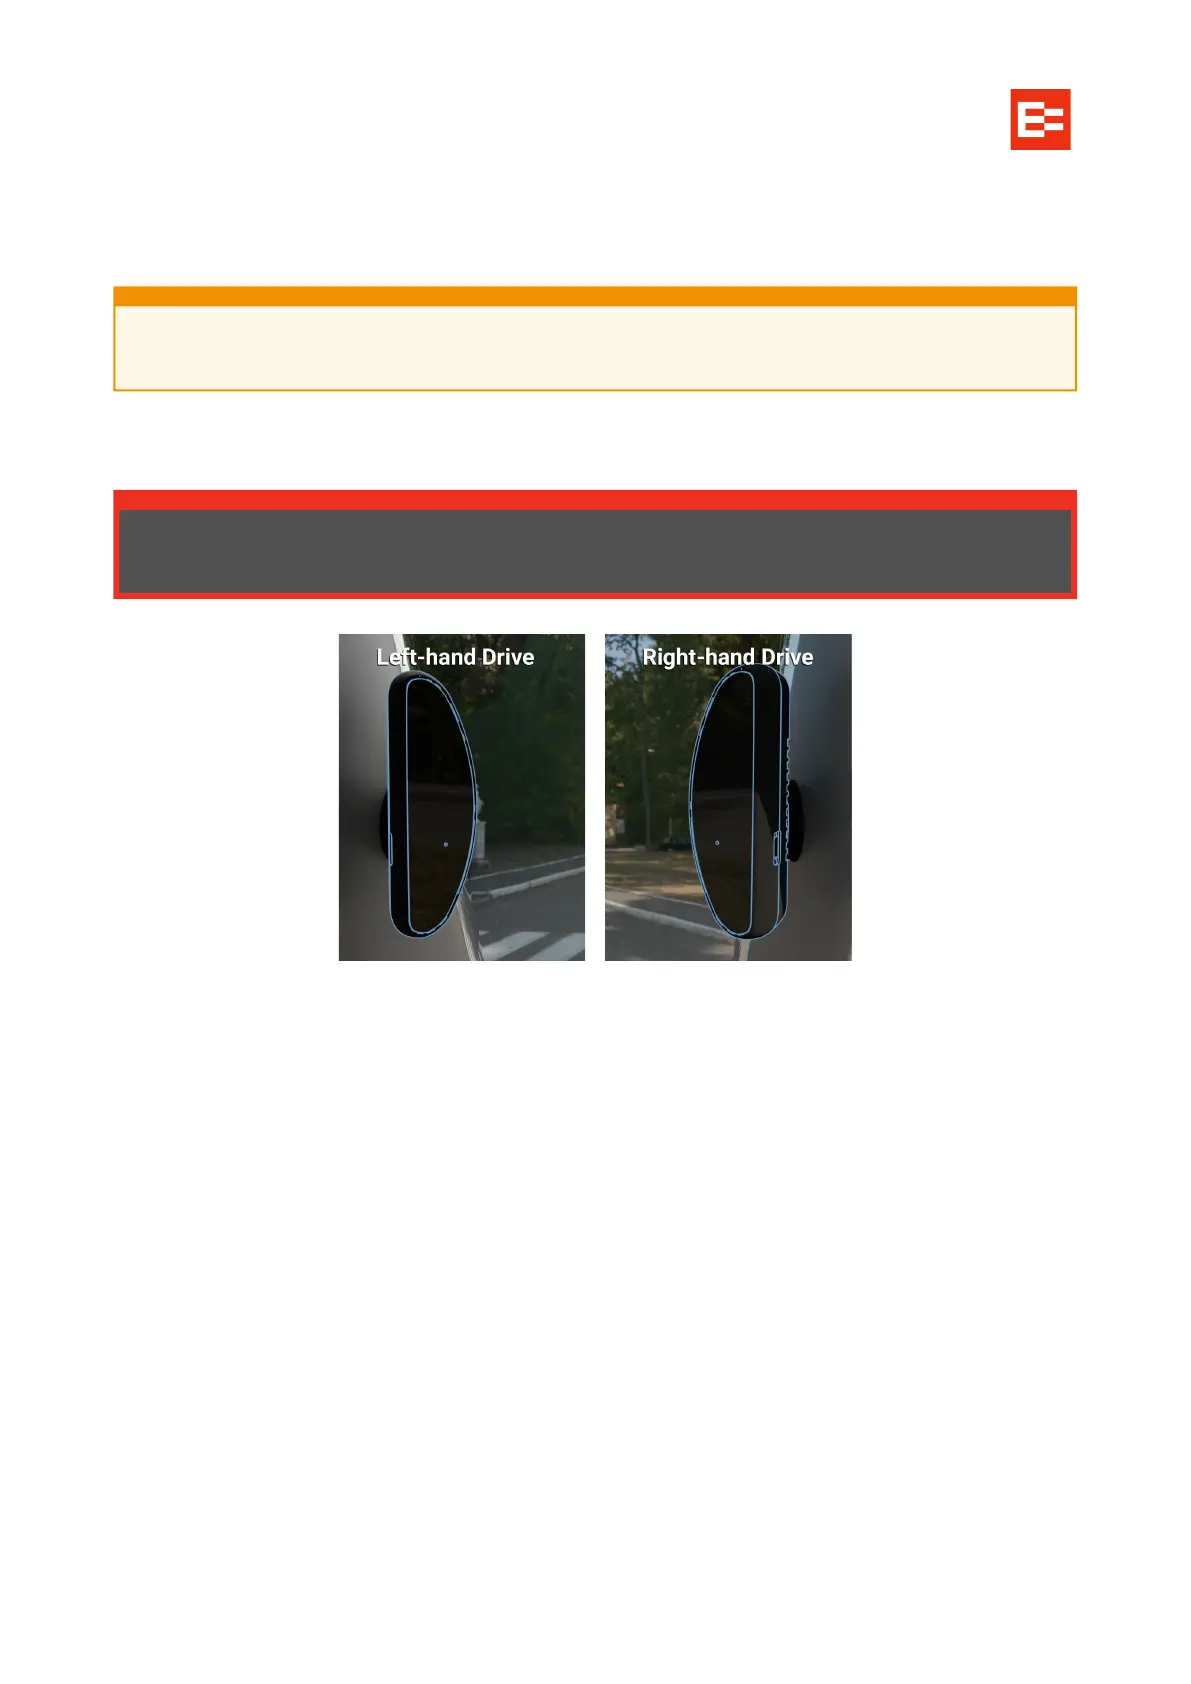
Mounted on the left A-pillar trim for left-hand drive vehicles; Right A-pillar trim for right-hand drive vehicles.
The fatigue camera should align long-side vertically, curved side facing the cab’s windshield, flat-face
directly towards the driver.
The height must be lower than that of the driver’s face, but clear of the steering wheel.
The distance between the camera’s flat face and the driver’s face should be 50–100 cm (20–40 in).
Follow the above video on how to install including drilling of two holes for the mount.
Connect the fatigue camera cable to the IPC connection of the 3-way extension cable.
You should be able to tuck the cable under the A-Pillar trim, so no need for an additional hole to be
drilled.
Tuck and fit the cable behind the A-Pillar, run it up and along the cab roof trim, to the Clarity Edge unit.
Thread the fatigue cable through the fatigue cable clamp, such that the white dot faces through the
gap, and near the eye end.
Using the screw near the unit’s main cable exit, screw in the fatigue cable clamp.
If the customer has ordered mounts that are inappropriate or dangerous for Fatigue camera
installation, inform the customer before proceeding.
Check the vehicle for side-curtain airbags. If present, the Fatigue camera MUST NOT be fitted
to the A-Pillar frame, nor the A-Pillar trim.