Clarity Edge Install Guide
1.
2.
3.
4.
5.
6.
7.
8.
Windshield installation
Tuck the base of the windscreen mount as close to the A-Pillar trim as possible without impacting its line of
sight to the driver.
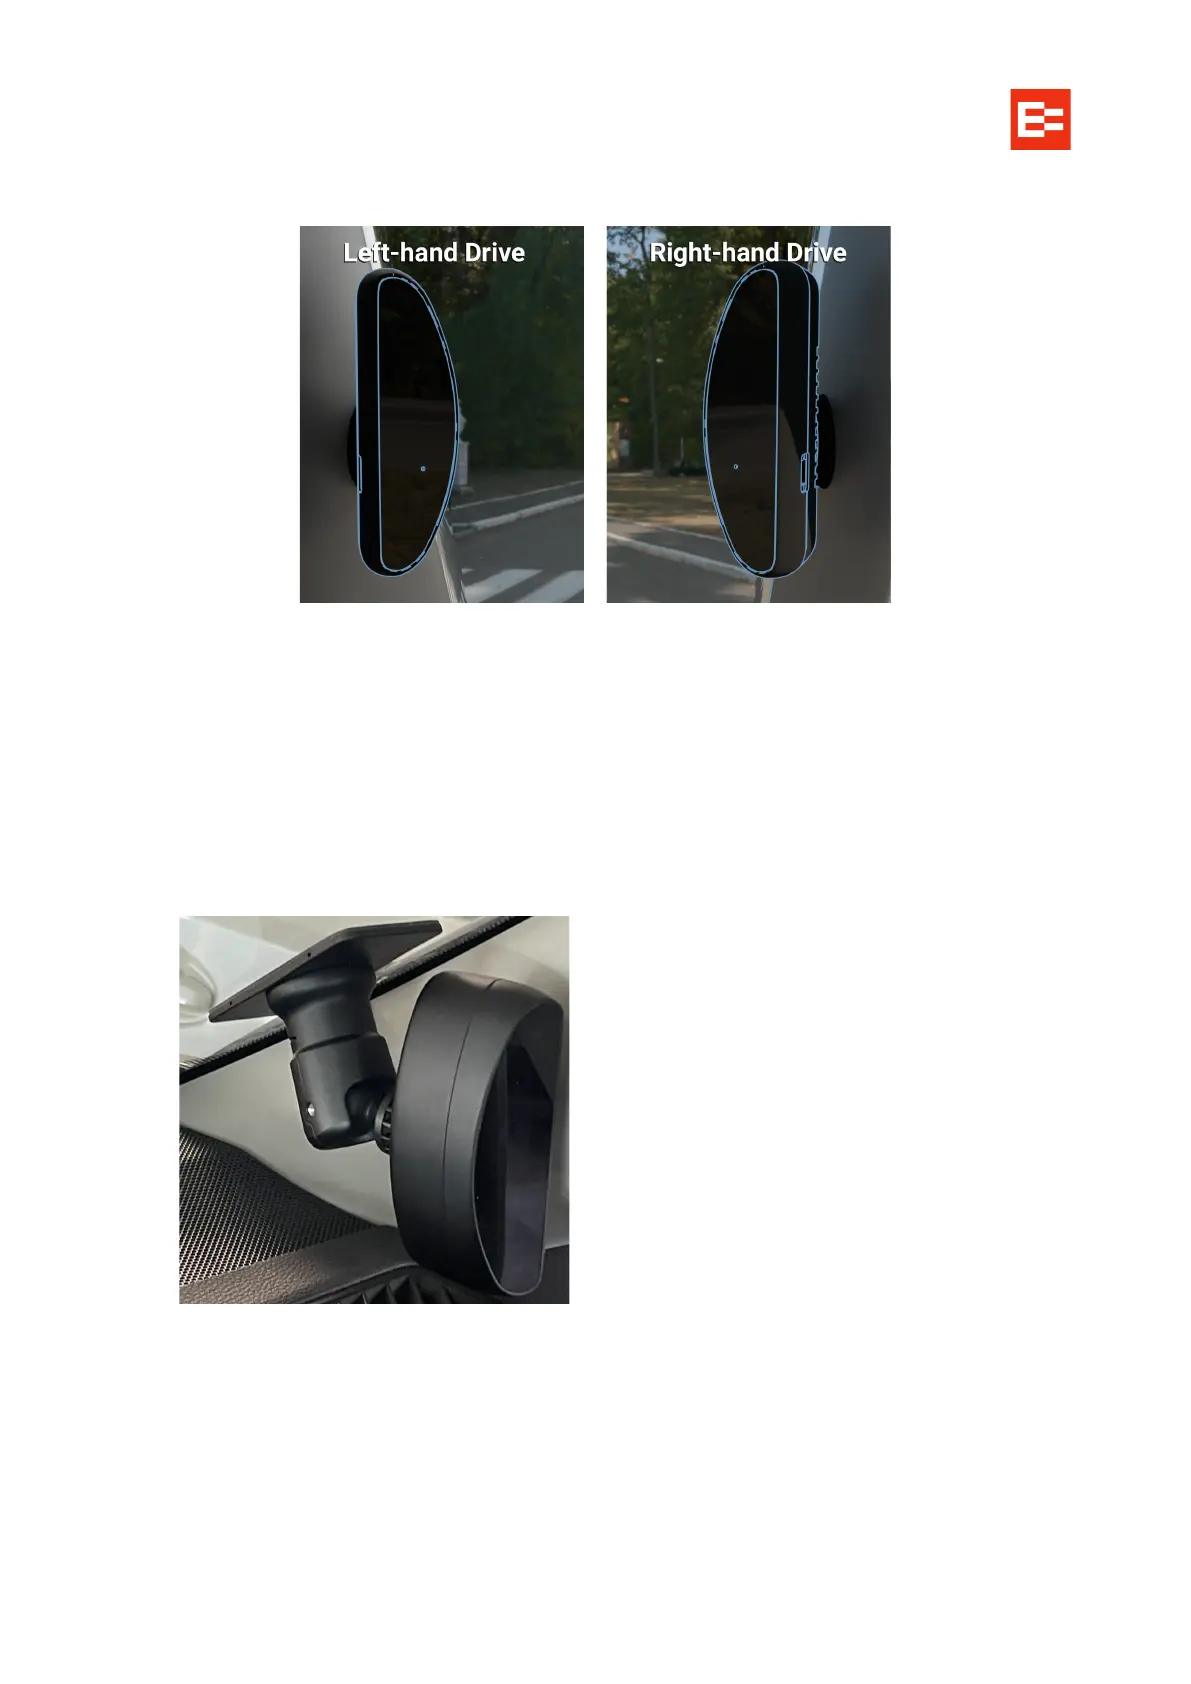
The fatigue camera should align long-side vertically, curved side facing the cab’s windshield, flat-face
directly towards the driver.
The height must be lower than that of the driver’s face, but clear of the steering wheel.
The distance between the camera’s flat face and the driver’s face should be 50–100 cm (20–40 in).
Before sticking the camera to the windscreen ensure you have used the EZInstaller app to
determine the best position and use a black marker to note the install position of the base. Also
ensure the postion will allow 100% adhesion of the double sided tape on the base.
Note that the slot in the base is facing upwards.
Ensure two grub screws are tightened fully, one as pictured above and one on the rear of the mount.
Connect the fatigue camera cable to the IPC connection of the 3-way extension cable.
You should be able to tuck the cable under the A-Pillar trim, so no need for an additional hole to be
drilled.
Tuck and fit the cable behind the A-Pillar, run it up and along the cab roof trim, to the Clarity Edge unit.