DOKP4M4060 3.0 -13- © ESAB/TBi 2021
3.3.4 Changing the torch neck
The MXH cable assembly may only by equipped with a suitable MXH PP torch neck. Different removable torch
necks, which are very easy to fit, are available for optimal adjustment to different tasks.
Important note!
Water-cooled cable assemblies must always be equipped with a water-cooled neck; gas-
cooled cable assemblies must always be equipped with a gas-cooled neck!
1. Switch off the cooling device for water-cooled torches. If another neck is not installed immediately,
empty the cooling circuit by blowing through with compressed air. The torch should be laid horizontally
for this task.
2. Cleanly cut off any welding wire still in the torch neck in front of the contact tip.
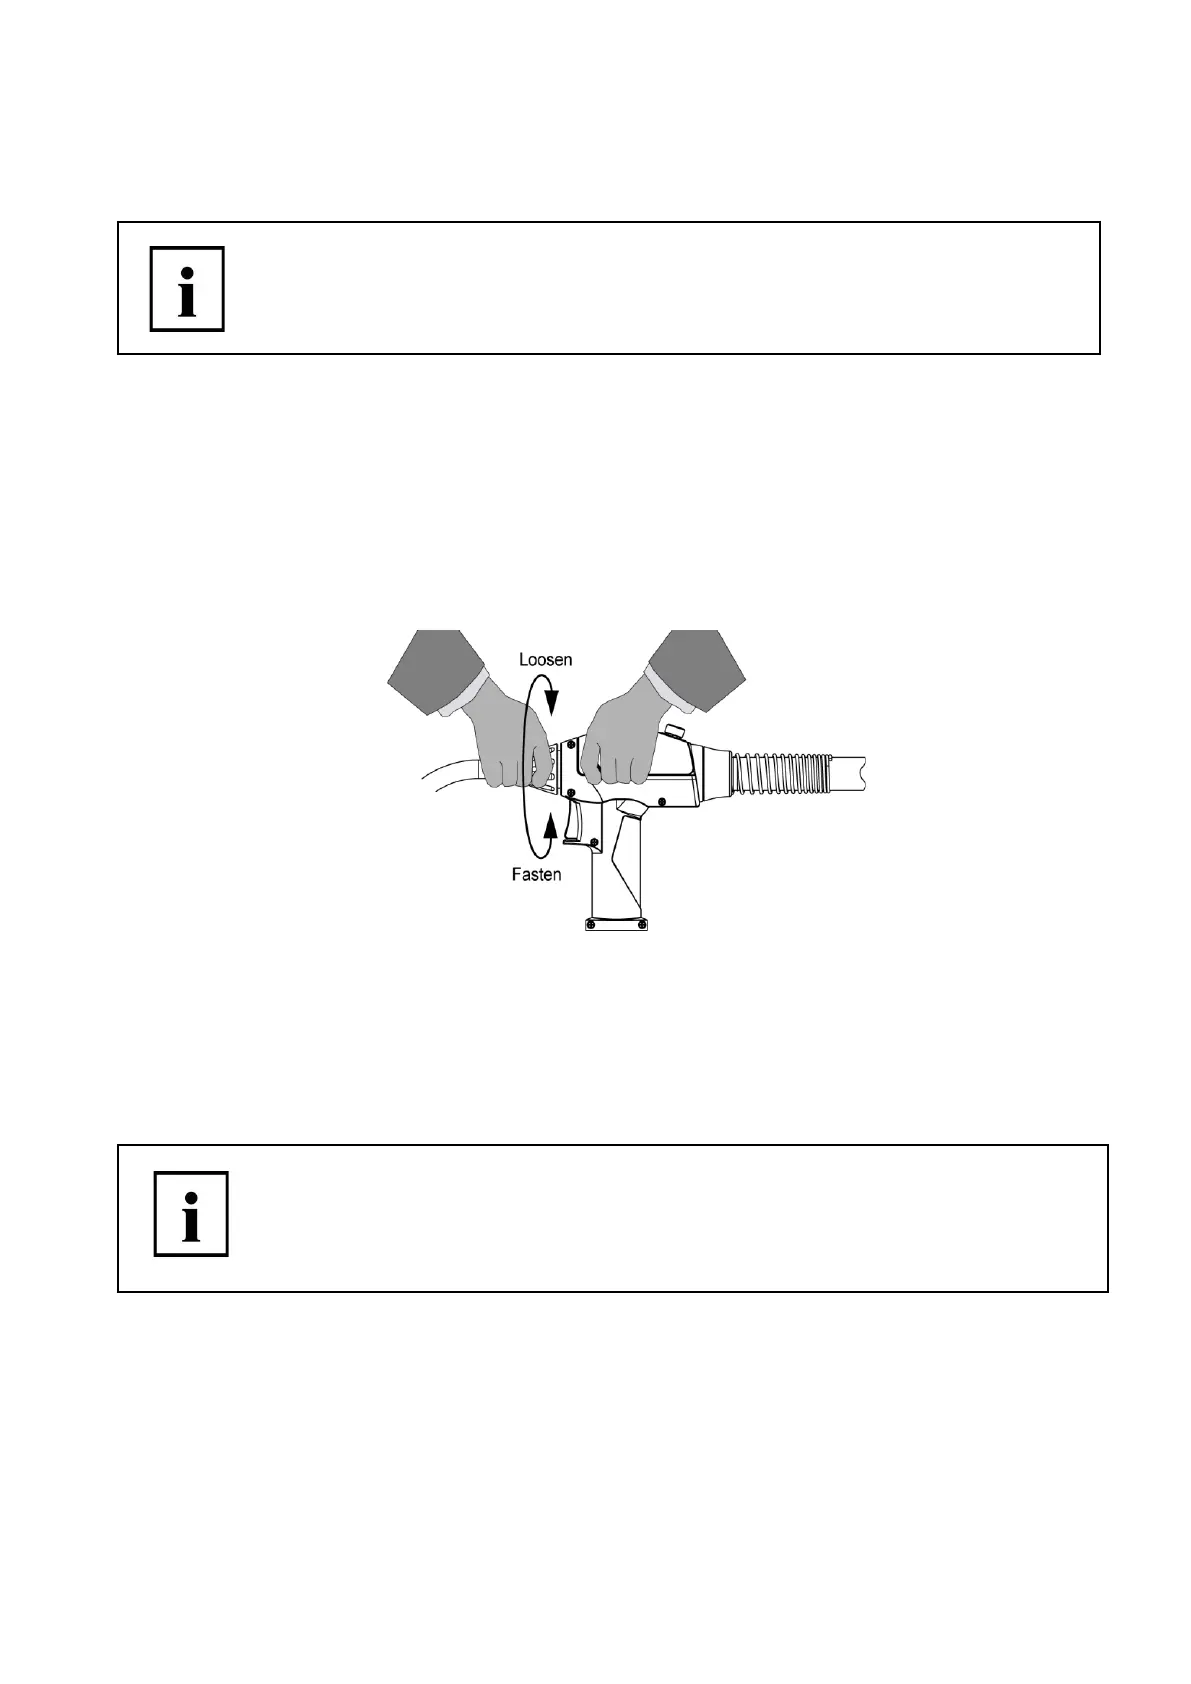
3. Loosen locking nut and pull the torch neck out of the MXH body.
Attention: Cooling liquid can leak from the neck and cable assembly of water-cooled torches. This must
not get into the handle and torch body.
4. Check the O-rings on the flange of the new torch neck to be installed for damage or loss, replace if
necessary.
5. Put on the torch neck and tighten the locking nut by hand. Do not use any tools!
Important note!
Water-cooled cable assemblies may only be transported and stored with mounted torch
neck in order to prevent the water from leaking out of the cooling circuit and getting into the
inside of the handle. The torch could be damaged from intruding liquids.