DOKP4M4060 3.0 -17- © ESAB/TBi 2021
3.4 Electrical connection
Danger!
The supply voltage to the welding machine must be disconnected before starting installation
work. It must be ensured that the entire facility remains switched of for the duration of the work.
There is a risk of fatal electric shock.
You must observe the ‘Safety instructions’ at the beginning of this document.
3.4.1 Connectivity
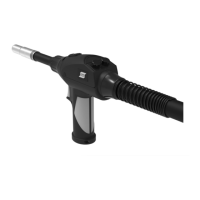
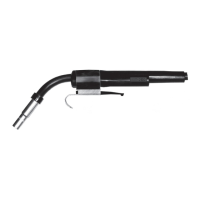
3.4.1.1 Connection via Push-Pull interface of the power source
To connect the MXH PP torch to the power source, it is possible to use the push-pull interface of the power
source. This is available as a connection kit on many models.
For commissioning and wiring of this interface, please observe the instructions of the welding machine. The
assignment of the burner control line can be found in the following diagram.
Important note!
The following conditions must be met to connect the ESAB MXH PP welding torch to the
Push-Pull interface:
P
max
17W / 100%
P
max
25W / 60%
Please note the operating instructions of the welding machine. If in doubt, please contact
your welding machine retailer.
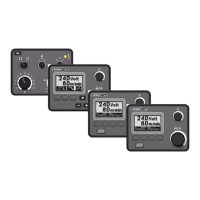
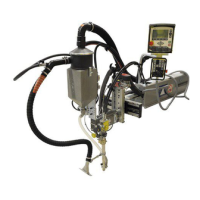
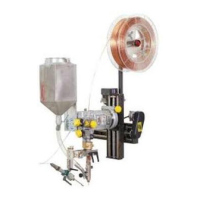
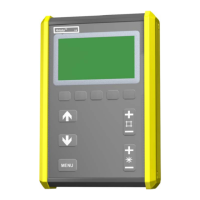
3.4.1.2 Connection via Syntronic 3
The Syntronic 3 (ESAB Part No. 0700 025 311) can be used as an alternative to the Push-Pull interface of the
power source. The Syntronic 3 is an independent motor control unit that allows the characteristics curve
between the main drive unit and Push-Pull drive to be calibrated accurately. The main feed unit is not influenced
by the Syntronic, so that even complex regulated systems are not impaired and operate at full capacity even
with the Push-Pull torch.
The wire feed speed can be regulated between 2 m/min and max. 15 m/min.
Please follow the separate instructions for connecting the Syntronic 3.