DOKP4M4060 3.0 -21- © ESAB/TBi 2021
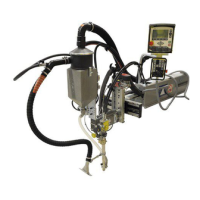
1. Open cover (4) towards cable assembly, loosen tension spring holder (14) from locking device
and flip up to open.
2. Open pressure roll holder (20) and fold to the side.
3. Check that the drive roll has been correctly installed.
4. Manually straighten the first 10 cm of the welding wire to be inserted and work the tip and/or cut edge of
the wire in such a way that it is free of burrs and as “round” as possible. This can be done with a file or
with abrasive paper.
5. Now, with the cable assembly straightened out, manually insert the welding wire about 20 cm. To do
this, disengage the pressure roll of main drive unit and then engage it again.
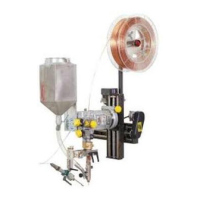
6. Gradually feed the welding wire through the whole cable assembly until it emerges from the inlet nozzle
(101). Place welding wire in the groove of the drive roll and feed it into the liner nipple (102). Stop feed
when the welding wire emerges from the contact tip.
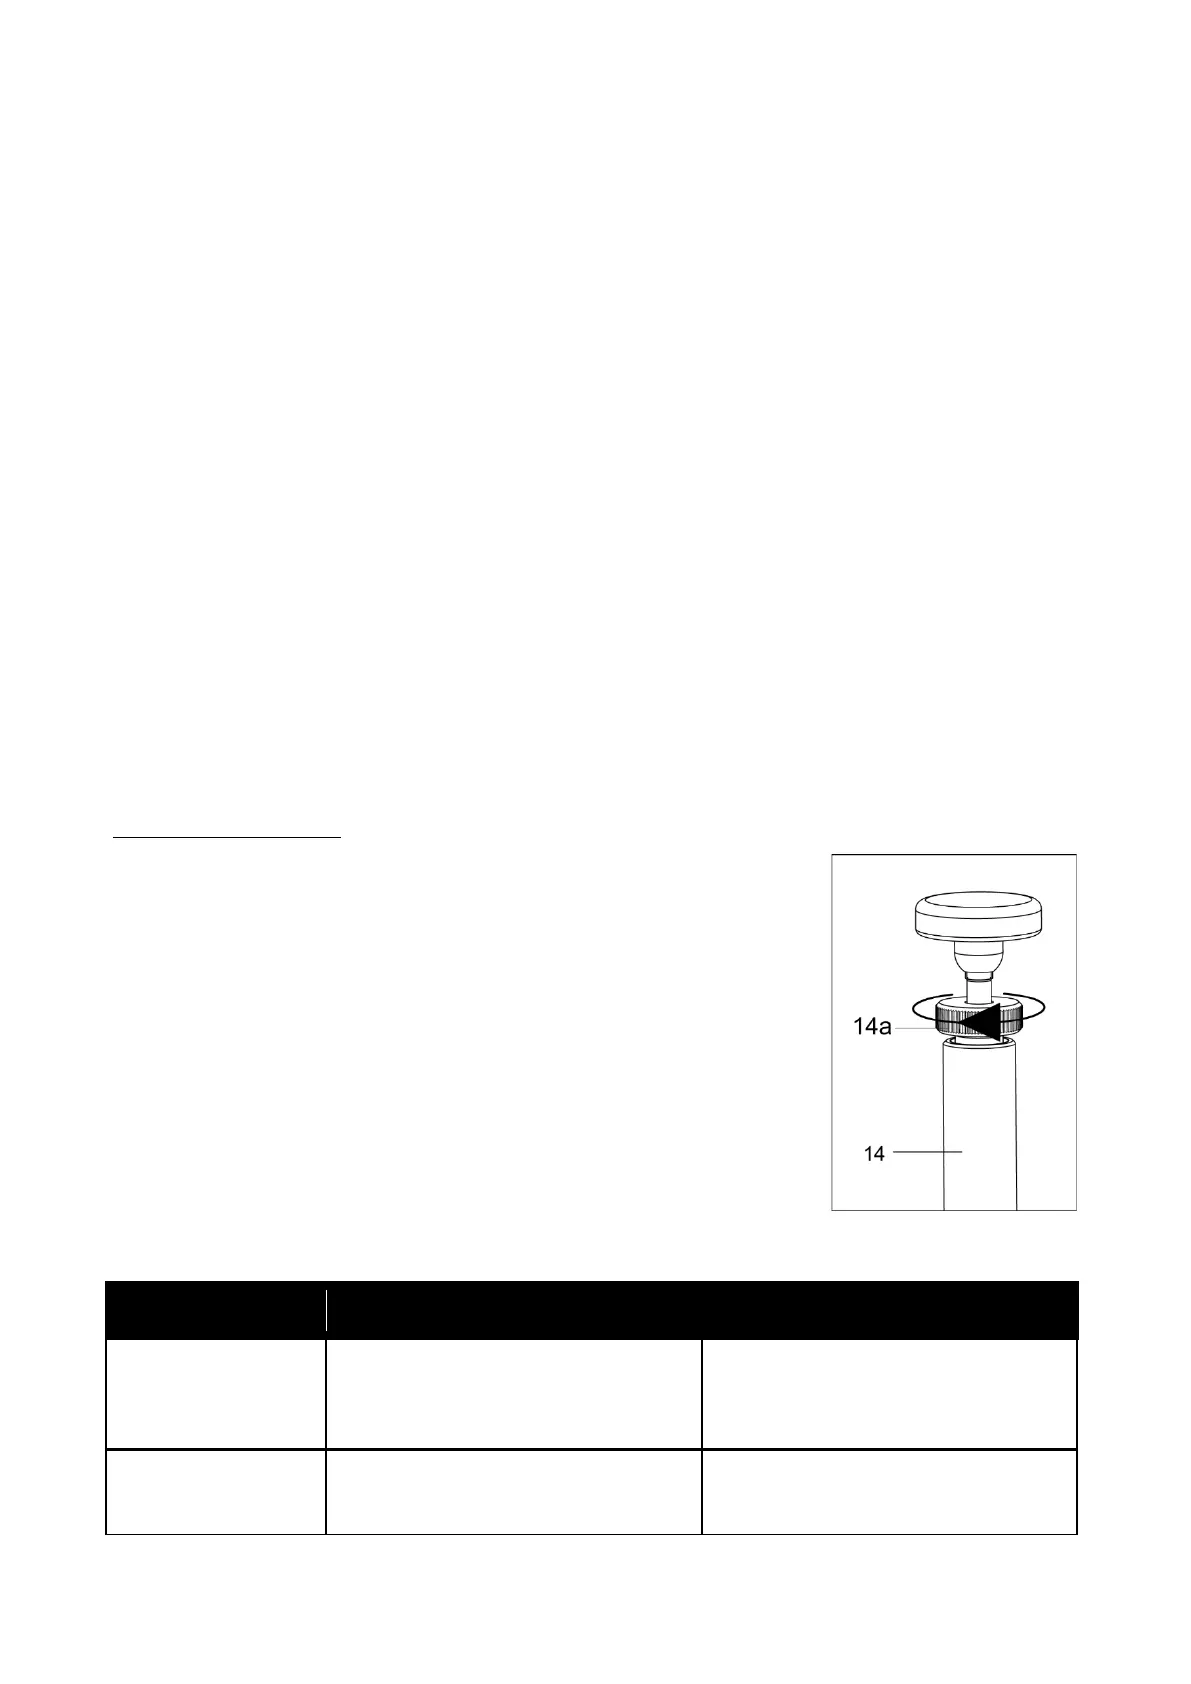
7. Fold in and lock pressure roll holder (20) and tension spring holder (14). Set the pressing force of the
holder or the counter-pressure roll using the adjusting screw (14a). The spring installed inside the
tension spring holder (14) determines the pressure. Turning the adjusting screw (14a) clockwise
increases the pressure. Turning the adjusting screw (14a) anti-clockwise reduces the pressing force of
the closed holder and/or the counter-pressure roll.
8. Finally close the cover (4).
4.4 Adjusting the pressing force
The pressing force of the counter-pressure roll can be adjusted to accommodate different welding wire
materials. This is performed using the adjusting screw on the tension spring holder. The pressing force must be
adjusted in such a way that a soft welding wire is not deformed and to prevent slippage of the welding wire.
The welding wire must be fed smoothly without stopping in order to ensure optimal welding results.
Please note the following:
▪ Always set the contact pressure as weak as possible. The optimum
setting depends on the welding wire used. A hard wire will tolerate even
a strong contact pressure without problems.
▪ Particularly for aluminum wire, the contact pressure must be adjusted
carefully to achieve good feeding properties. Let the wire run out of the
torch a little and check whether the surface is damaged and/or whether
any parts of the wire have been flattened. If yes, reduce the contact
pressure by unscrewing the adjusting screw (14a).
▪ If the wire cannot be fed smoothly, the contact pressure should
probably be increased. It is easiest to check for correct setting during
welding. If the arc tends to burn back too strong or the length does not
remain stable, increase the pressing force by tightening the adjusting
screw (14a).
Steps for correcting the pressing force: