DOKP4M4060 3.0 -16- © ESAB/TBi 2021
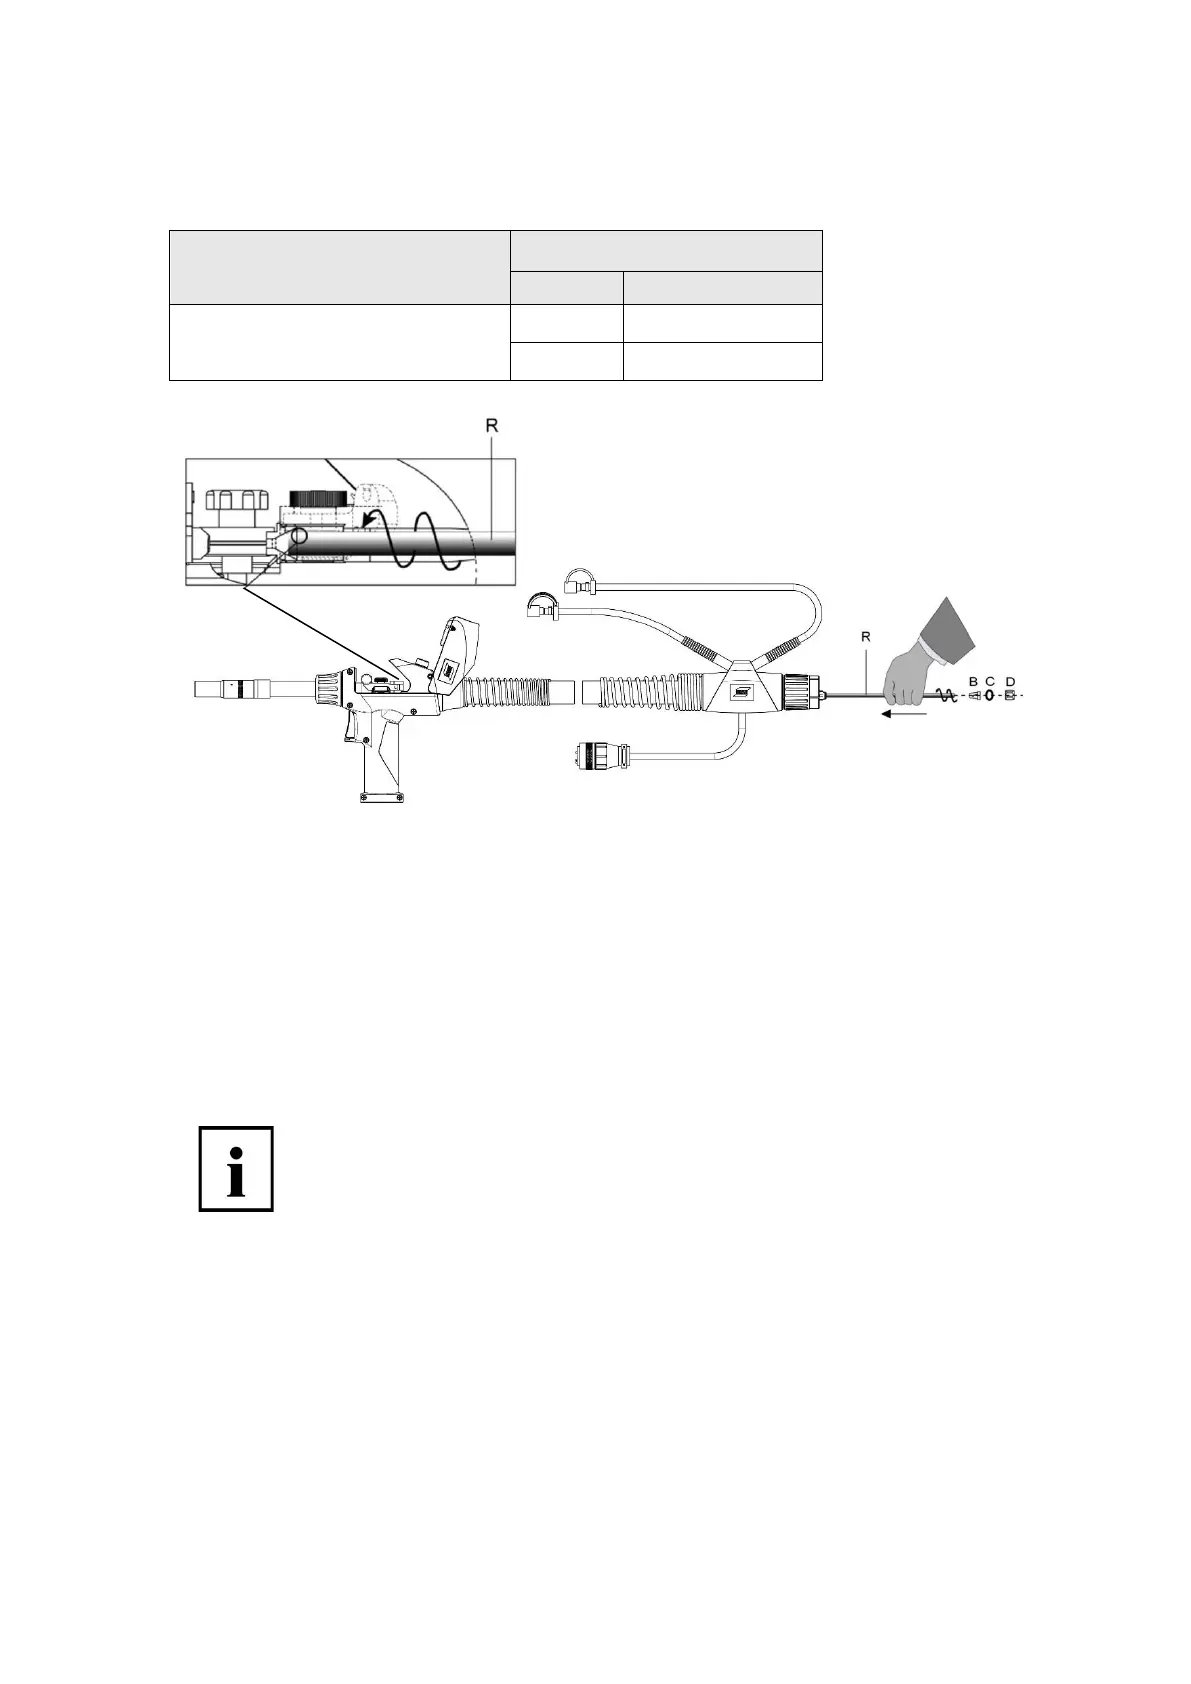
3.3.6 Installing or changing the wire guide in the cable assembly
A universal PA wire guide (see Table 3) is recommended for all wire types.
Table 3
1. Straighten out cable assembly
2. Any welding wire remaining in the torch must be removed.
3. Loosen the locking nut (D) at the central adaptor; if necessary, strip the liner nipple (B) and O-ring (C)
from the old wire guide (R) and pull out whilst turning slightly.
4. Blow dry and oil-free compressed air through the cable assembly before installing the new wire guide
(position on central adaptor wire nipple).
5. Lightly sharpen the front end of the plastic liner, then insert as far as it will go whilst turning slightly.
Note:
Ensure that the wire guide is as far forward as it can go.
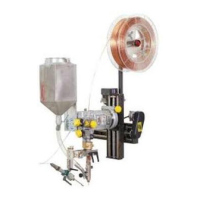
To do this, open the cover (4), lift up tension spring holder (14), push pressure roll holder
(20) to the side and use the viewing window (13) to check whether the wire guide has
been fed through to the viewing window (see Figure above). If necessary, push it further
forward by simultaneously pushing and turning the wire guide.
6. Slip the liner nipple (B) and O-ring (C) over the wire guide (R) and fasten the locking nut (D) using the
spanner.
7. Shorten the wire guide behind the central adaptor to the required length. Follow the operating
instructions of your power source.