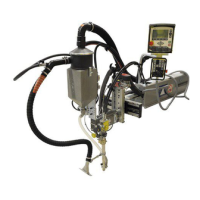
5.2 Repairs on the MXH PP
Repairs on the ESAB MXH PP that go beyond replacing wear parts may only be performed by ESAB or by an
authorized representative.
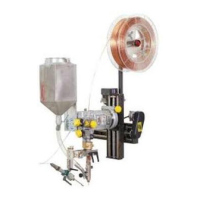
5.3 Changing the inlet nozzle
The ESAB MXH PP is equipped with an inlet nozzle (101, part no. 0459 990 079) that is designed for all
permissible welding wires (0.8-1.6 mm). It should be cleaned regularly with compressed air, checked for wear
and replaced if necessary.
Proceed as follows to replace:
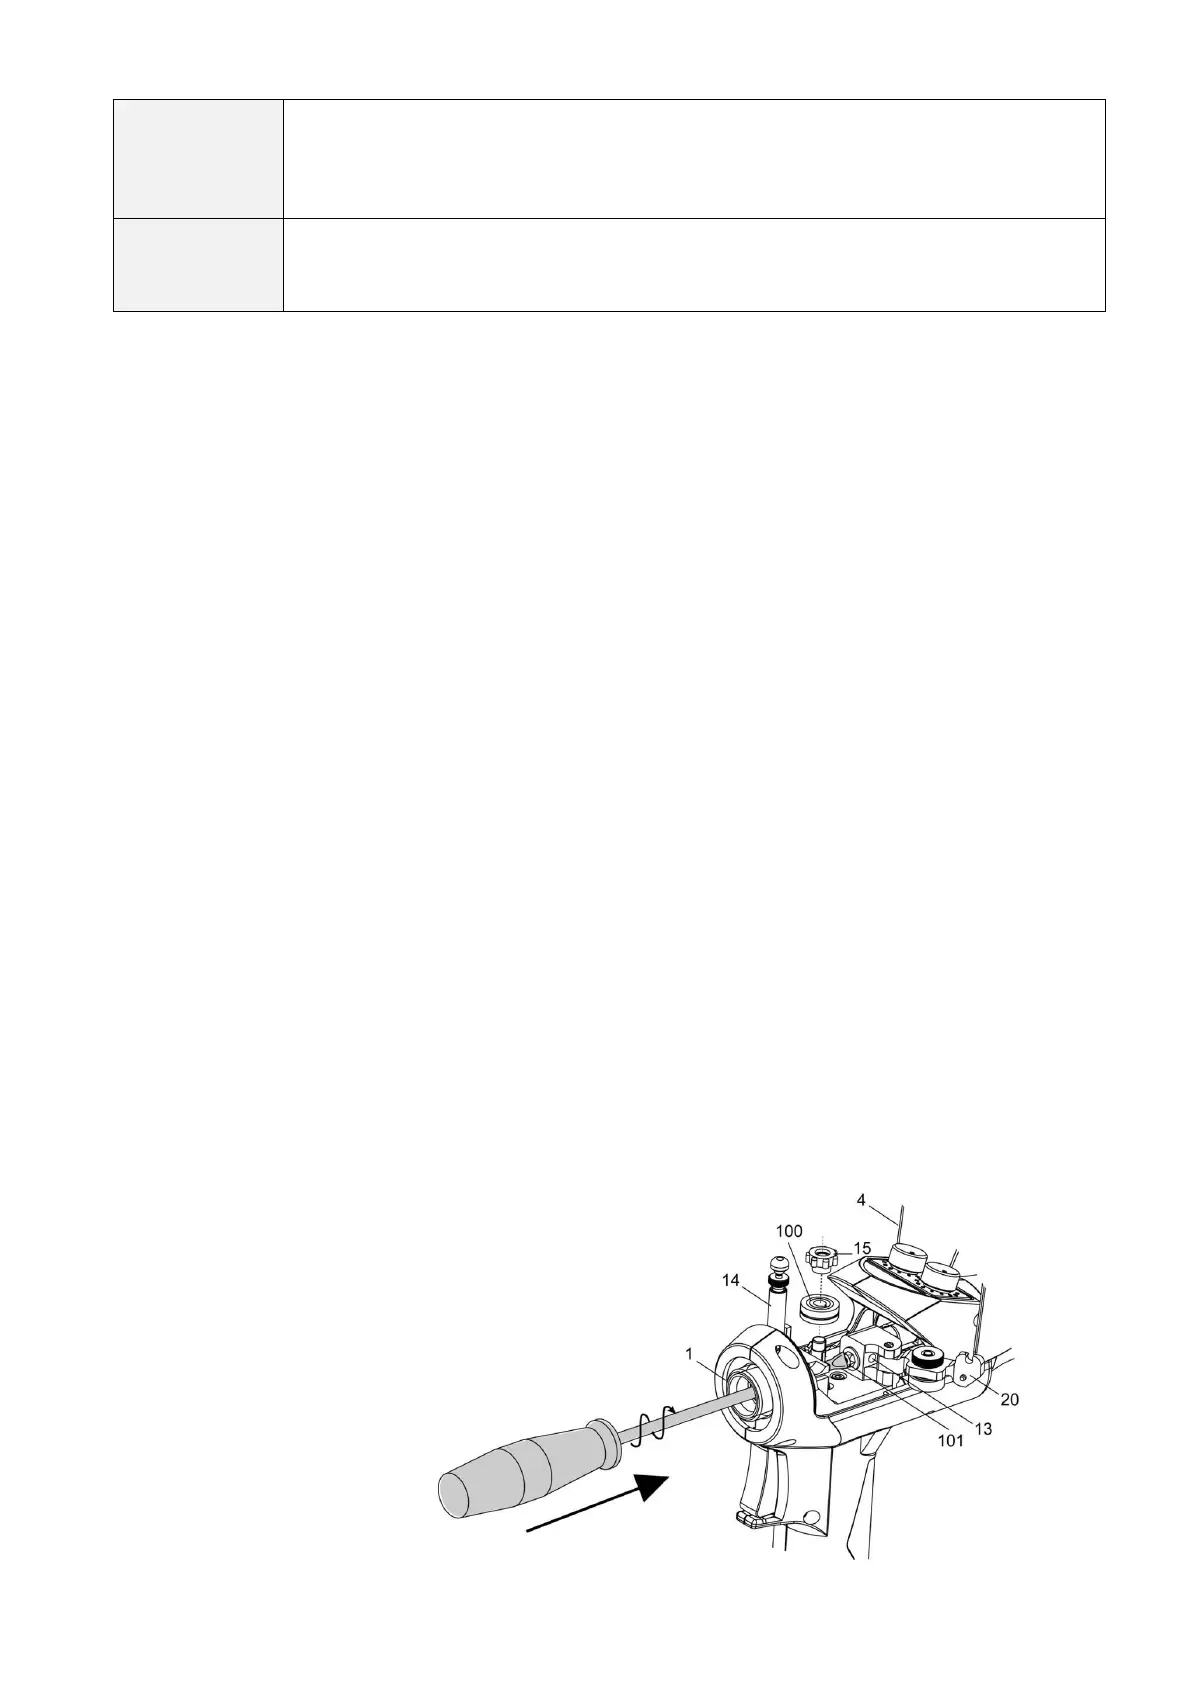
1. If necessary, remove torch neck.
2. Open (4) cover, loosen tension spring holder (14) from locking device and fold upwards.
3. Open pressure roll holder (20) and fold to the side.
4. Remove any welding wire still in the torch or pull back as far as the cable assembly.
5. Loosen and unscrew knurled nut (15). Carefully remove the drive roll (100) from the drive shaft. Please
do not use any tools!
6. Insert a flat-head screwdriver (4.5 x 100) through flange (1) and position on inlet nozzle (101). Unscrew
inlet nozzle (101) counter-clockwise and remove.
7. Insert new inlet nozzle and screw tight. In doing so, the inlet nozzle must be pushed over the wire guide
in the cable assembly.
If the inlet nozzle cannot be used without force, the wire guide must first be pulled a few cm out of the
cable assembly. Proceed as described under Section 3.3.6
.
8. If necessary, install the wire guide correctly in the cable assembly, and monitor correct positioning
through the viewing window (13). (see Section 3.3.6)
9. Slip the drive roll (100) on and fix with the knurled nut (15). (see Section 3)
10. Reassemble torch neck.
11. Wire inlet can now proceed again, please observe Section 4.3