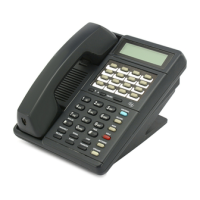
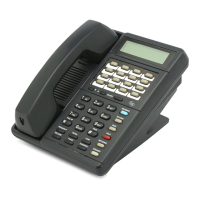
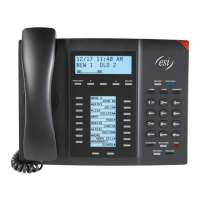
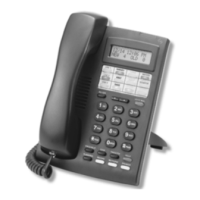
Hardware overview/installation IVX 20
B.12
6.
Double-click on the Unimodem service provider. (In Windows 98, this is located under the
Telephony Drivers tab.)
The Install New Modem dialog box will appear. (The PC will “consider” the TAPI Phone to be a
modem.)
Check “Don’t detect my modem; I will select it from a list.”
(For Windows 98, also check “Don’t run the Hardware Installation Wizard.”)
Click Next >.
Click Have disk... .
Insert the TAPI diskette in the A: drive of the PC and click OK.
7.
After the disk has loaded, another box will appear with “ESI IVX TAPI telephone” under the
model category. Click Next.
Select the COM port (as chosen in Step 1) to which the TAPI Phone’s serial cable is connected
and click Next.
8.
After the PC finished loading the modem software, click Finish. The Modems Properties box will
appear.
9.
Click Dialing properties. Enter the dialing parameters for your area and system.
Note: A comma will insert a pause after the 9 (or other line access code). Depending on the
user’s system and local telephone provider, pauses may be necessary to keep the TAPI
Phone from dialing before it has dialtone.
Note for Windows 95 users only:
If the area requires dialing 10 digits for local calls, you must also include the area code
in the “for local” space, following the 9 — e.g., if your area code is 972, enter 9,,972
(thus providing a brief pause after the line access code). Please notice that, therefore,
Windows 95 allows 10-digit local dialing to only one area code.
10.
Close the Dialing Properties, Modems Properties and Telephony boxes.
The IVX 128/IVX 20 TAPI Phone is now activated.
Testing the TAPI Phone
Here is a simple test to confirm that the TAPI Phone and PC are working together.
1.
Click Start ➜ Programs ➜ Accessories. (For Windows 98, also click on Communications.)
Click Phone dialer.
2.
Type in a phone number to call and press the Dial button. The phone should display and dial
the number (if not, confirm that you followed the software installation properly).
The IVX 128/IVX 20 TAPI phone is now ready for interfacing with the customer’s PC applications.
Note: Customers should consult their particular applications’ documentation to see what features,
such as automatic dialing and “screen pops,” the TAPI Phone can add to the applications’
operation.