e1 Assembly and User Manual - 25
30596-02A
Shock hazard.
Disconnect power before removing
any protective covers.
WARNING
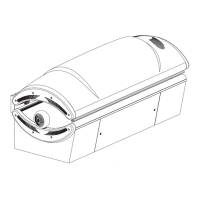
Removing / Replacing Fluorescent
Lamps
Grasp the lamp at one end and at the 1.
middle and turn the lamp one quarter
turn. Gently remove the lamp from its
holders.
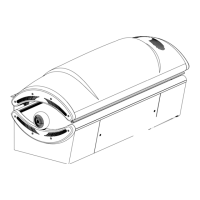
Reinstall the lamp by inserting the pins 2.
located on the ends of the lamp into the
slots on top of the lamp holders and turn
the lamp a quarter turn. It should click
into place.
Replacement Lamps
To be assured of maximum tanning effec-
tiveness, change lamps after approximately
500-700 hours of use. Lamps used longer
than that begin to lose their tanning effec-
tiveness even though they continue to light.
We recommend using the lamps specifi ed
below. Use of uncertifi ed lamps is a viola-
tion of Federal regulations and will void
your warranty.
The following lamps have been certifi ed for
use in your tanning bed:
BRONZING SUN™ PLUS
Model BSP 71-T12-100WR BI-PIN
Heraeus E400 HPT, Philips Model HPA
400/30s or CosmoTech Model 23045
(SolarMax™ IFT facial unit , if equipped)
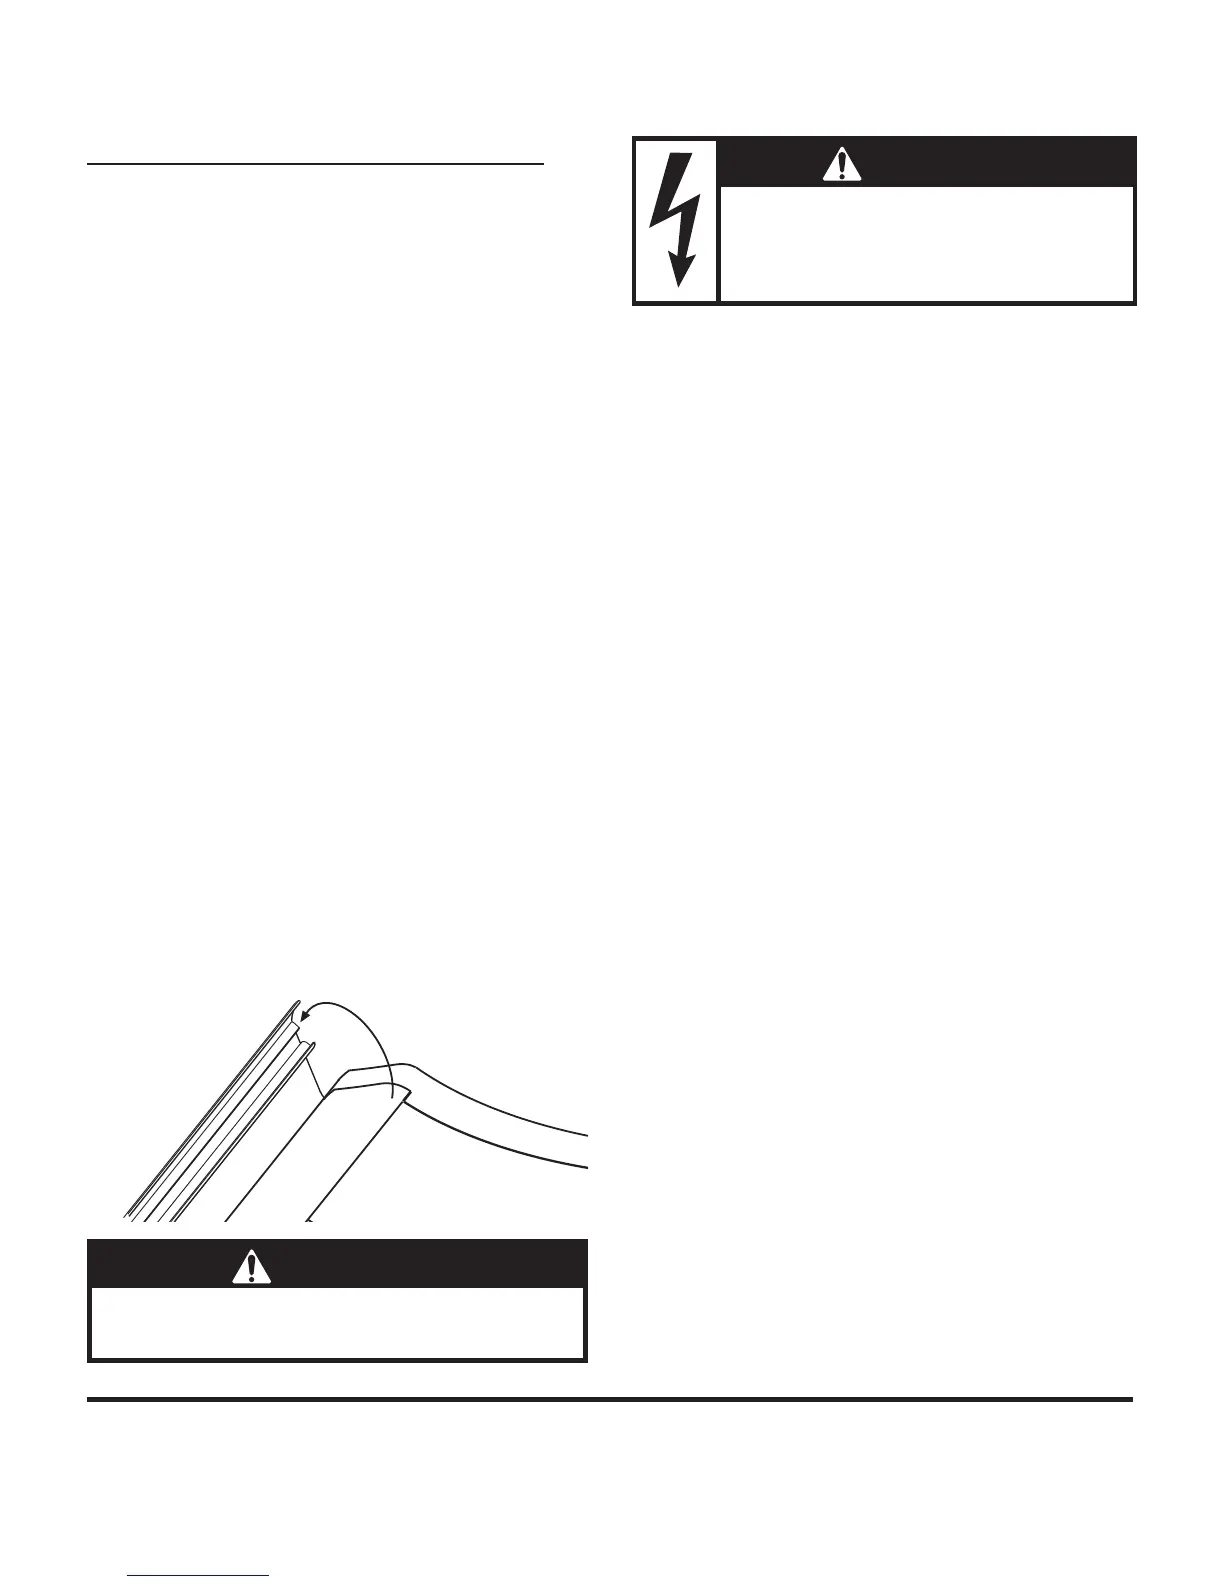
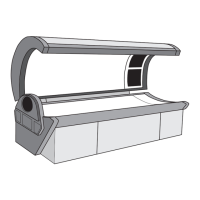
Lamp and Acrylic Replacement
Removing/Replacing Acrylic Shield
The acrylic shield in the bench and cano-
py are secured in place by hinged profi les
which run the length of the bed, both front
and back. Simply pry up on the inside edge
of the profi le, starting at the center of the
bed, until it releases its latching action (see
fi gure below). Continue to pry up the pro-
fi le across its entire length until it swings
back freely. Repeat for the other profi le. The
long edges of the acrylic shields are now ex-
posed.
Standing at the front of the unit, lift the ex-
posed edge of the acrylic slightly and care-
fully begin sliding it toward you until it is
removed from the sunbed. This might be
easier with the help of another person.
Replace the acrylic shield by carefully align-
ing it with the channels on the ends of the
sunbed and sliding it into place. Close the
hinged profi le by pushing it back into place
until it snaps tight.
Be careful. The edges of the acrylic shield
may be sharp.
CAUTION