10 Access Point Installation Procedures
Figure 2-3 Mounting the AP3935 to a Flat Wall.
6. PlacethebackoftheAPagainstthewallwiththeprotrudingmountingscrewheadsfitting
throughthekeyholeslotsonthebackoftheAP.SlidetheAPdownuntiltheAPrestsonthe
mountingscrewheads.
7. WhenmountingtheAPonawallorflatceiling,aKensington
lockprovidesextrastability.
Mounting the AP using the Optional Mounting Bracket
WhenmountingtheAPtoaflatceiling(orawall),usethemountingbracket(30513,
WS‐MBI‐WALL03)andtwometalscrews.Figure 2‐4showsanexplodedviewofthemounting
bracketmethod:
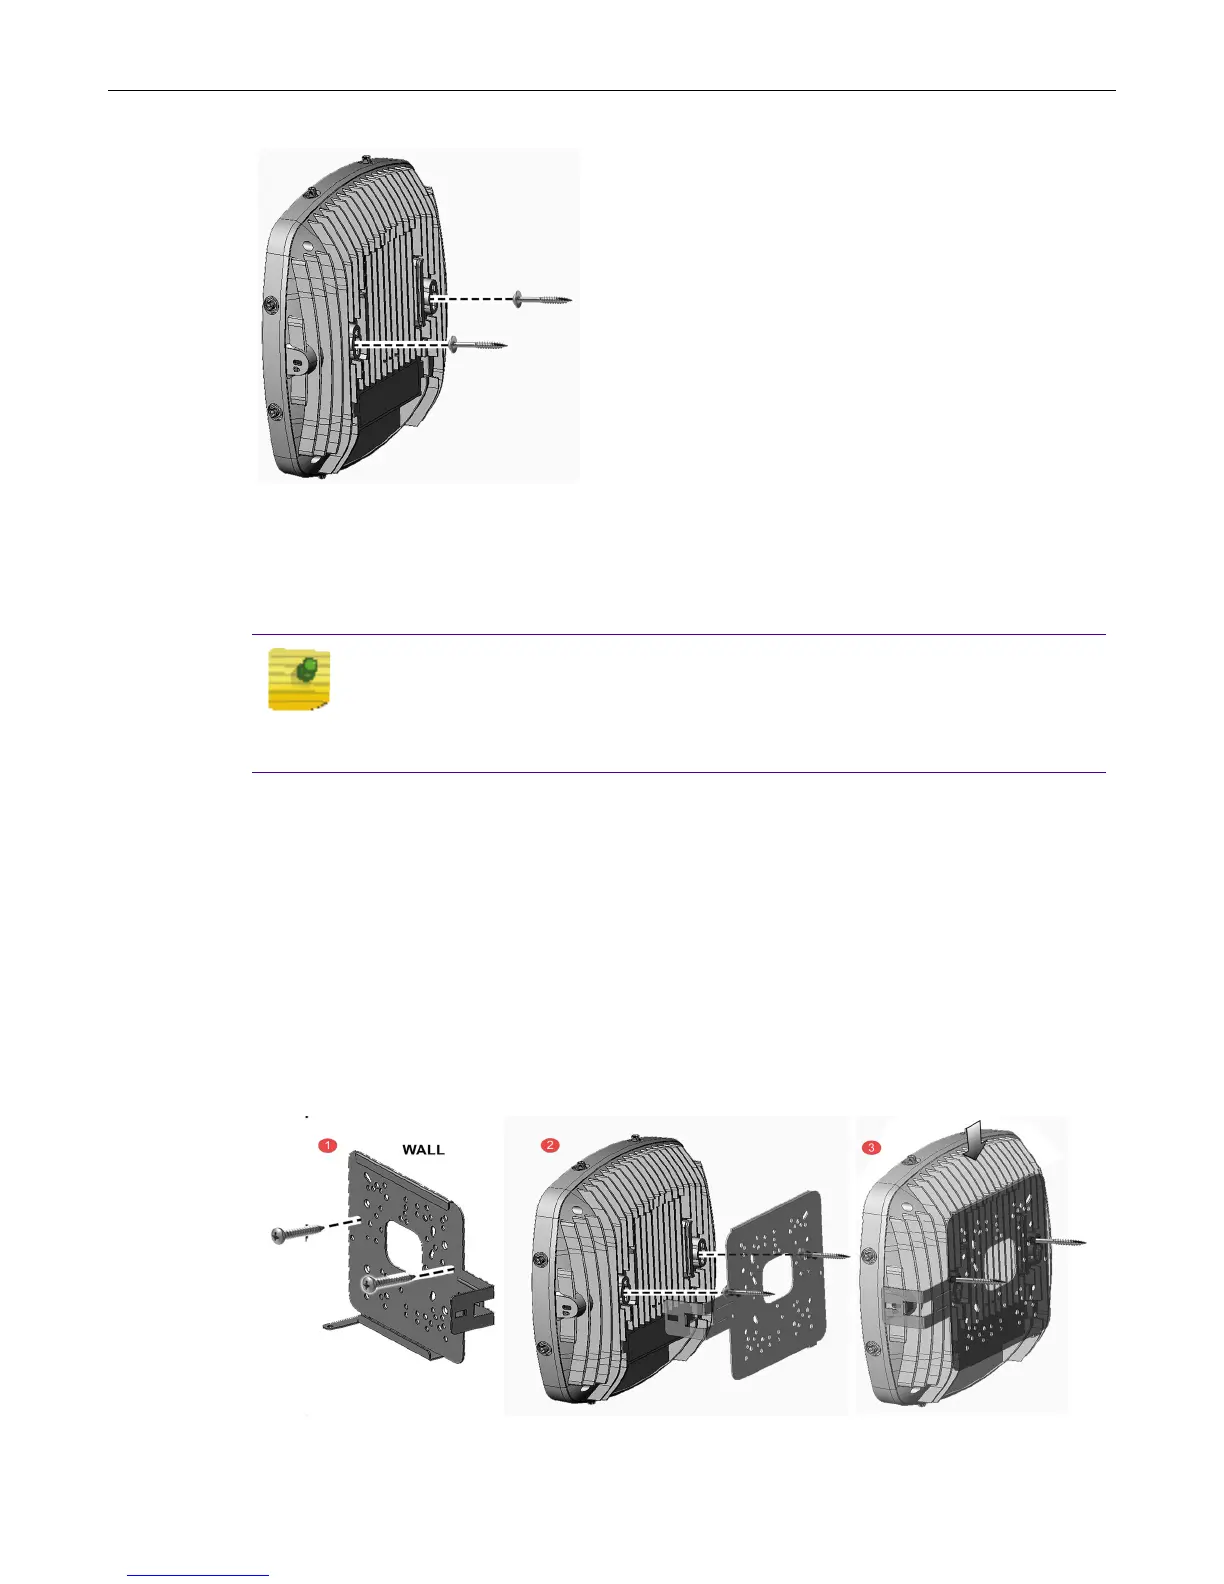
1. Thewallbracketprovidesfourattachmentholes.Usingthebracketasatemplate,placethe
bracketand
markthedrillholes.
2. HoldtheAP/bracketassemblysothedrilledholesareinthecenterofthebracketholes.
3. Insertandthreadthescrewssotheysupportthebracket.
Figure 2-4 Mounting sequence with mounting bracket (30513, WS-MBI-WALL03)
4. AligntheAPonthepostsandslidedown.
NOTE
The mounting bracket (30513, WS-MBI-WALL03) is optional when mounting
the AP on a wall. If mounting the AP on a flat ceiling, we recommend using the
mounting bracket (30513, WS-MBI-WALL03) for added security.

 Loading...