MLC Plus 50/100/200 Series • Hardware Features and Installation 14
3. For models with knobs, install the new knob as follows (see figure 11):
a. Align the ridge inside the knob with the channel on the metal knob assembly.
b. Press the knob toward the unit, allowing the magnet in the knob to fasten it to the
unit.
4. Align the openings of the new faceplate with the buttons, knob, and Volume LEDs and
place the faceplate against the unit. The magnetic catches fasten the faceplate onto the
unit.
TIP: You can wait until the unit is mounted to the junction box or mud ring before
placing the new faceplate on the unit.
Replacing Button Labels
You may wish to customize the button labels. The labels can be changed at any time.
Follow these steps to change the translucent button labels:
1. Remove the faceplate as mentioned in step 1 of Replacing a Faceplate on
page12.
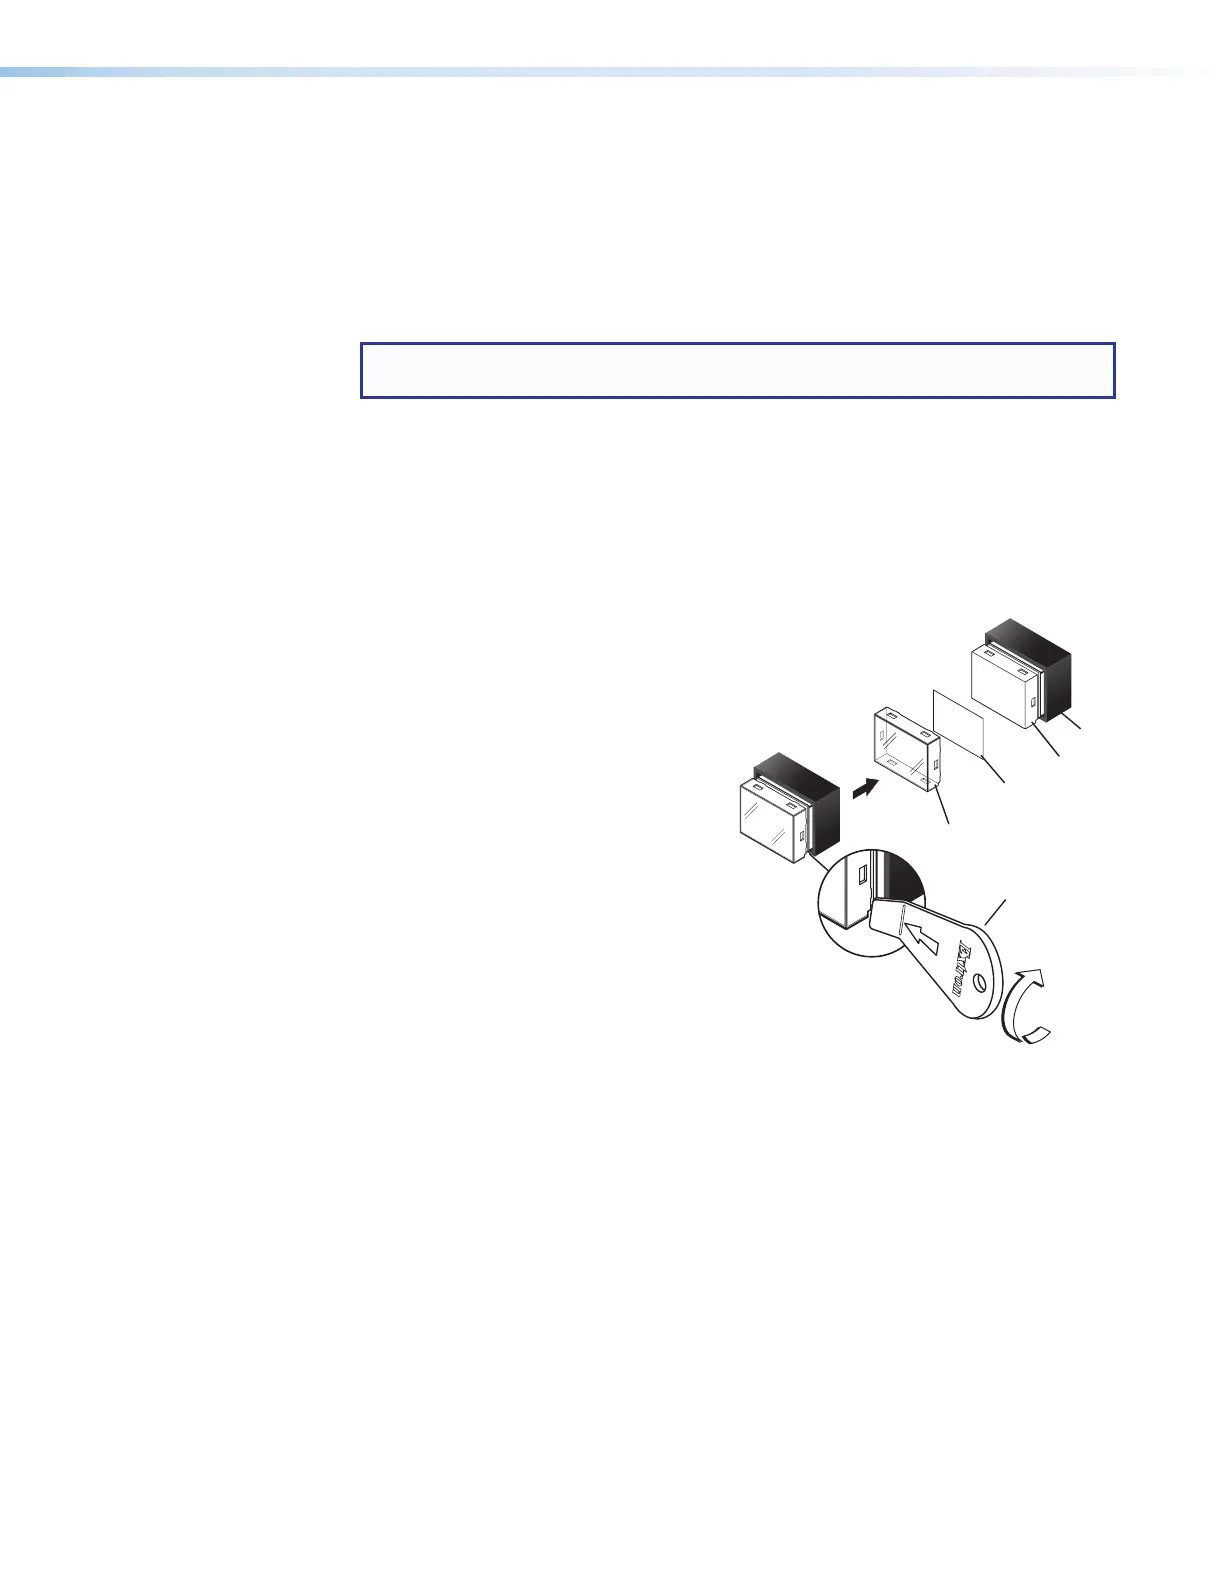
2. For each button label to be replaced, use the
provided Extron removal tool to gently
separate the clear button cap (lens)
from its white diffuser backing as
follows: insert the end of the
removal tool into the corner
notch and gently twist the
tool.
3. Remove the label insert from
the transparent button cap.
4. Select one of the button
labels from the printed label
sheets included with the
MLCPlus. Remove the label
from its backing and remove
the clear, protective film from
the front of the label.
5. Insert the button label into the button cap.
Check for correct label orientation.
6. Align the cap with the white diffuser and press the
clear cap into place on the button.
7. Reattach the faceplate to the controller (see step 2 in “Replacing a Faceplate” on
page13).
TEXT
Separate the two-
piece button here at
the corner.
y the two
t.
Clear Lens
Removal Tool
2
Diffuser
Insert
button label.
5