Network Button Panels • Hardware Features and Installation 8
Installation Step 1: Get Ready
Use the following checklist to prepare for the installation.
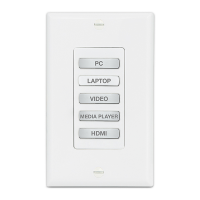
Familiarize yourself with the features of the button panel (see Front Panel Features on
page21 and Rear and Side Panel Features and Cabling on page15)
Download and install the latest version of the software, firmware, and device drivers
needed to discover, configure, or program the control processor or HCR receiver (or
other Extron collaboration system control product) to interact with the NBPs and control
the connected AV products. See the IPCP Pro Series User Guide, IPL Pro Series User
Guide, or HC 400 Series User Guide (avail able from www.extron.com) for details on
software and drivers.
Obtain network information for the unit from the network administrator. You need the
following details for each IPLinkPro device, including the IPCP Pro, IPL Pro, HCR102
(or other collaboration system receiver), and each NBP:
DHCP setting (on or off) Subnet mask User name
Device (NBP) IP address Gateway IP address Passwords
Write down the MAC address of each IPLinkPro device (such as the NBP) to be used.
Obtain model names and setup information for the AV devices to be controlled in the
system.
Each NBP button panel comes with a factory-installed Secure Sockets Layer (SSL)
security certificate. If you intend to install a different SSL certificate, contact your IT
department to obtain the certificate or for instructions on how to obtain one. See
Secure Sockets Layer (SSL) Certificates on page34 for requirements and
guidelines regarding SSL certificates.