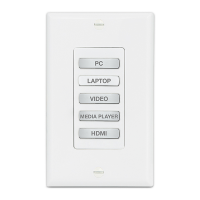
Network Button Panels • Operation 26
Reset Features and Resetting the Unit
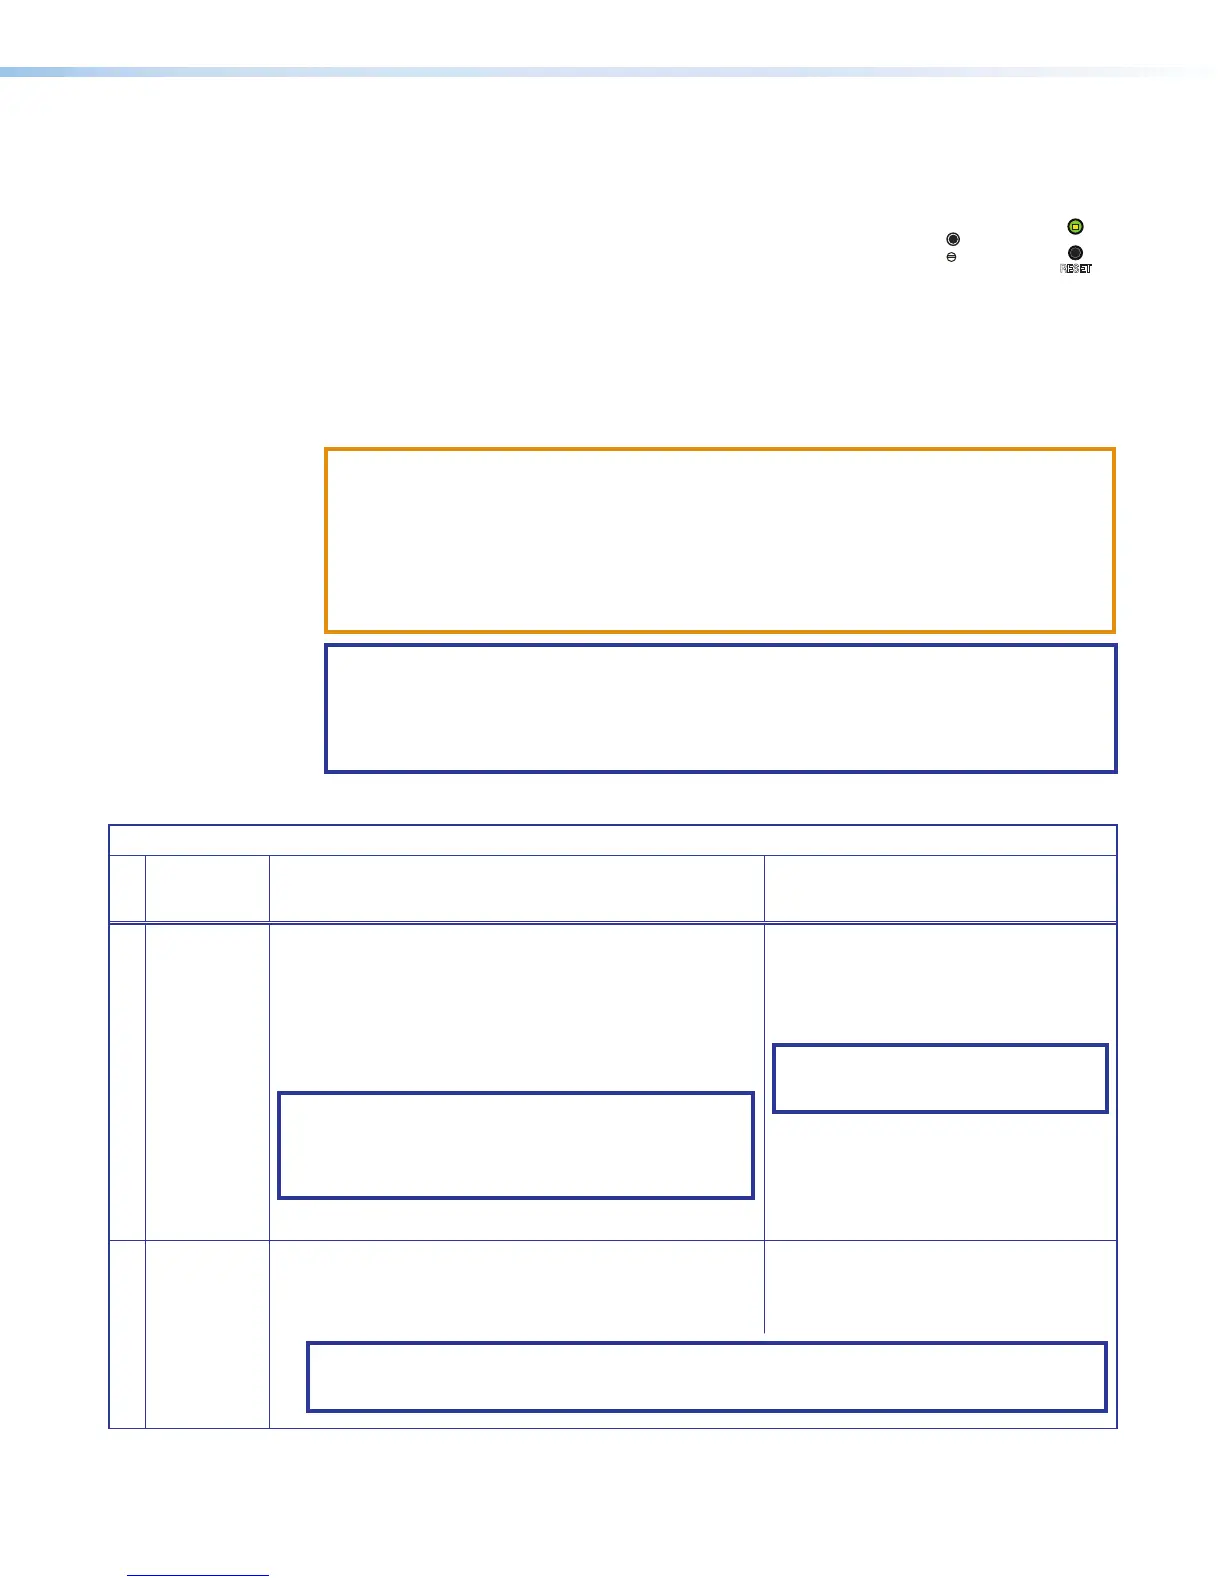
Locating the Reset Button and LED
The Reset button and LED (shown at right) are located on the
front panel of each unit, behind the wallplate or faceplate (see
figure 23,
F
, on page23 for the locations).
Resetting the Unit
There are several reset modes that are available by pressing the Reset button. The Reset
button is recessed, so use an Extron Tweeker, a pointed stylus, or a ballpoint pen to access
it. See the following reset modes table for a summary of the modes.
ATTENTION:
• Review the reset modes carefully. Using the wrong reset mode may result in
unintended loss of flash memory programming, port reassignment, or a unit reboot.
• Analysez minutieusement les différents modes de réinitialisation. Appliquer
le mauvais mode de réinitialisation peut causer une perte inattendue de la
programmation de la mémoire flash, une reconfiguration des ports ou une
réinitialisation de l’unité.
NOTE: If you press and hold the Reset button continuously, the LED blinks every
3seconds, and the unit enters a different mode, from the Reset All IP Settings mode
through the Reset to Factory Defaults mode. For Reset to Factory Defaults mode
the LED blinks three times, the third blink indicating the last mode. The modes are
separate functions, not a continuation from one mode to the next.
NBP Series Reset Mode Summary
Mode
Use This
Mode to...
Activation Result
Use Factory Firmware
Temporarily
boot up the
unit with
factory-
installed
firmware for a
single power
cycle in the
event that
a firmware
update has
failed or if
incompatibility
issues arise
with user-
loaded
firmware
To start the Use Factory Firmware reset mode and replace
firmware:
1. On the NBP, press and hold the recessed Reset button
while applying power to the unit. Hold the button down until
the Reset LED blinks twice, then release the button. The unit
enters factory firmware mode, and the LED blinks quickly.
2. Upload new firmware to the unit as desired (see Updating
the Firmware on page37 for details).
NOTE: Do not continue to operate the NBP button panel
using the factory firmware version. If you want to use
the factory default firmware version, you must upload
that version again (see the Toolbelt Help File or Global
Configurator Help File for firmware upload instructions).
The button panel reverts to the factory
default firmware. Event scripting does not
start if the unit is powered on in this mode.
All user files and settings such as button
configurations, adjustments, and IP settings
are maintained.
NOTE: To return the unit to the firmware
version that was running prior to the
reset, cycle power to the unit.
Toggle DHCP Client
Enable or
disable the
DHCP client
To enable or disable the DHCP client for the LAN port:
1. Press the Reset button five times (consecutively).
2. Release the button. Do not press the button within 3seconds
following the fifth press.
• The Reset LED blinks 6 times if the DHCP
client is enabled.
• The Reset LED blinks 3 times if the DHCP
client is disabled.
NOTES:
• By default DHCP is off and the unit uses a static IP address.
• When you disable DHCP, the unit reverts to using the previously-set static IP address.
RESET
US Gang
Decorator
-style