64
CARE AND MAINTENANCE
4. Dry air filter
4.1 Vacuum check
Operation_Pic_number:1
Text-module
Function check:
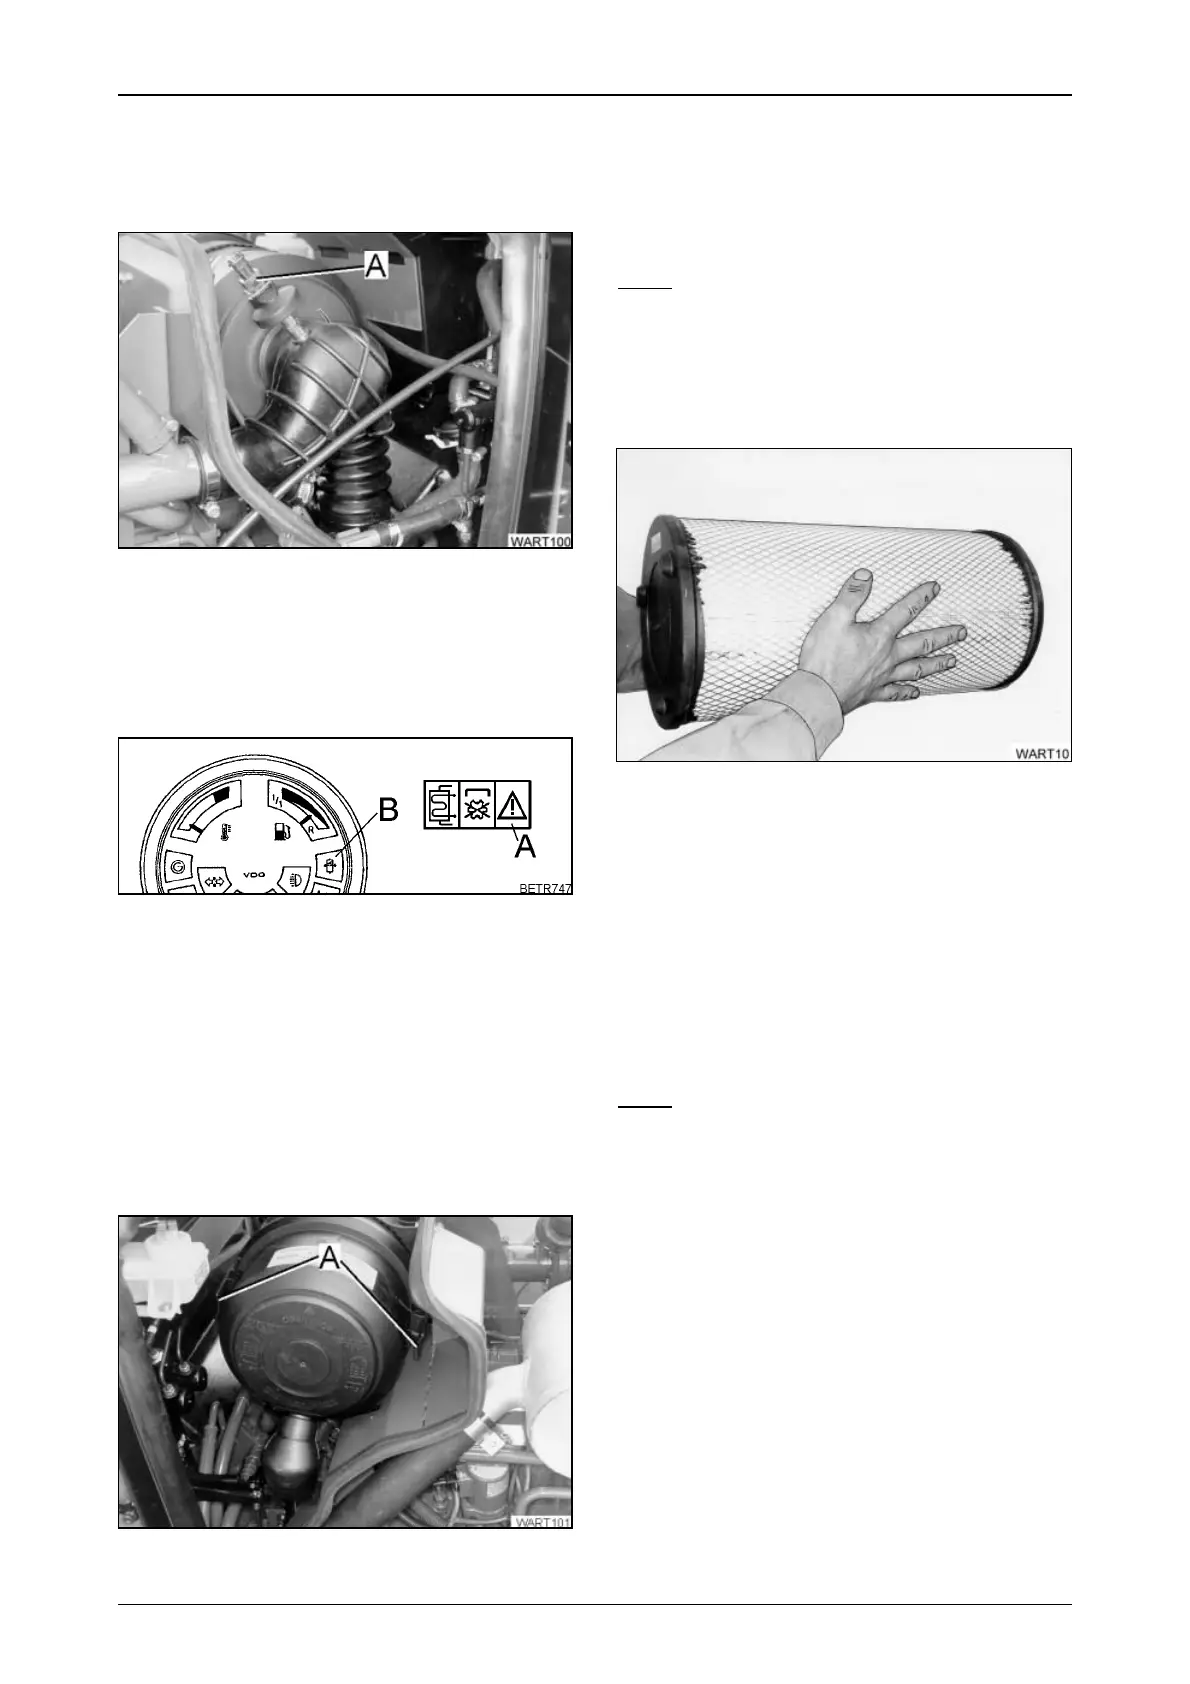
● Remove cable plug(A) from vacuum switch
and and connect it to earth.
● Turn ignition key to position "I".
Operation_Pic_number:1
After approx. 5 seconds the warning light (A)
should flash and the symbol for "lack of intake
air" (B) in the central console should light up.
Text-module
● Check air filter intake hoses and intake sy-
stem for seal integrity, and tighten the con-
nections if necessary.
4.2 Replacing main cartridge
Removal and insertion
Operation_Pic_number:1
● Release snap hooks (A) and remove cover.
Fig.9
Fig.10
Fig.11
● Clean filter housing, ensuring sealing surfa-
ces are perfectly clean.
● Remove main cartridge.
● Reinsert main cartridge and replace cover.
● Ensure that the snap hooks are seated cor-
rectly.
Note:
The main cartridge must be replaced after it
has been cleaned 5 times, or after 2 years at
the very latest.
4.3 Cleaning the main cartridge
Operation_Pic_number:1
Tapping the unit clean (interim measure):
● Tap the cartridge against the heel of the hand
only.
Text-module
Cleaning by blowing
● Blow out filter from the inside outwards using
dry compressed air (maximum 5 bar, at a mi-
nimum distance of approx. 5 cm).
● Carefully blow the air through the inside of the
cartridge.
Note:
After every cleaning process, check filter car-
tridge for:
external damage, leakages, damaged paper
bellows (shine light through the cartridge
from the inside).
Fig.12



 To Next Page