© FJDynamics. All rights reserved. 18
FJDynamics AT2 Auto Steer System Hardware Installation Manual
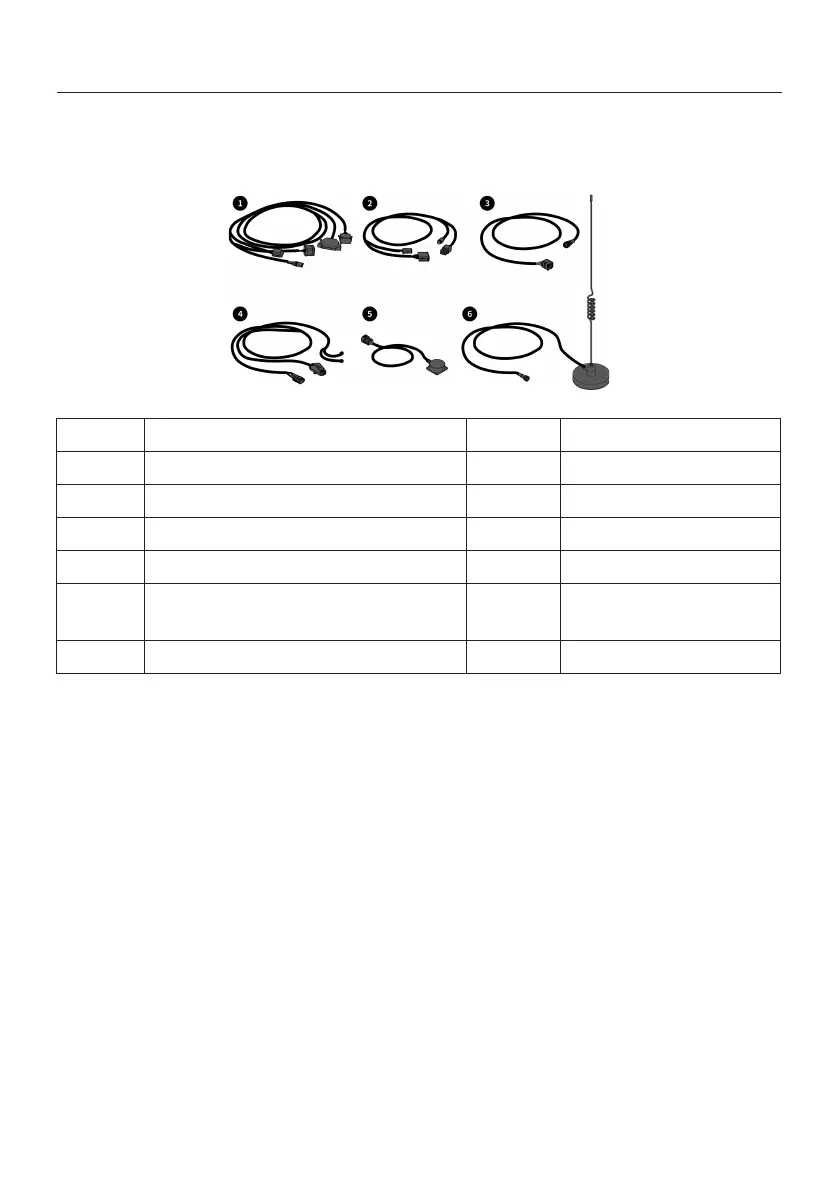
4.7.1 Components
4.7.2 Installation Steps
4.7 Installing Wiring Harness
No. Name Qty. Remarks
1 Main wiring harness 1
2 Spare main wiring harness 1
3 GNSS receiver wiring harness 1
4 Power wiring harness 1
5 Attitude sensor wiring harness 1
6 Radio antenna 1
Install the wiring harnesses according to the figure below.
Notes:
1. Do not plug or unplug the harness connectors or connect equipment when the power is
on. Ensure that the machine and the battery are turned off.
2. Avoid high temperature and rugged places when wiring.
3. Connect the power wiring harness to the negative terminal first, and then connect it to
the positive terminal and other wiring harnesses.
4. Keep the radio antenna away from the GNSS receiver, and ensure that it is firmly sucked
and unobstructed.
Installation Tips:
1.
Main/Spare wiring harness: Lock the door on the right side of the cab, and then sort out
the wiring harness and fix it on the right door handle or the A-pillar at the right front of the
cab with nylon cable ties.