3.3.2 Calibrating the Camera
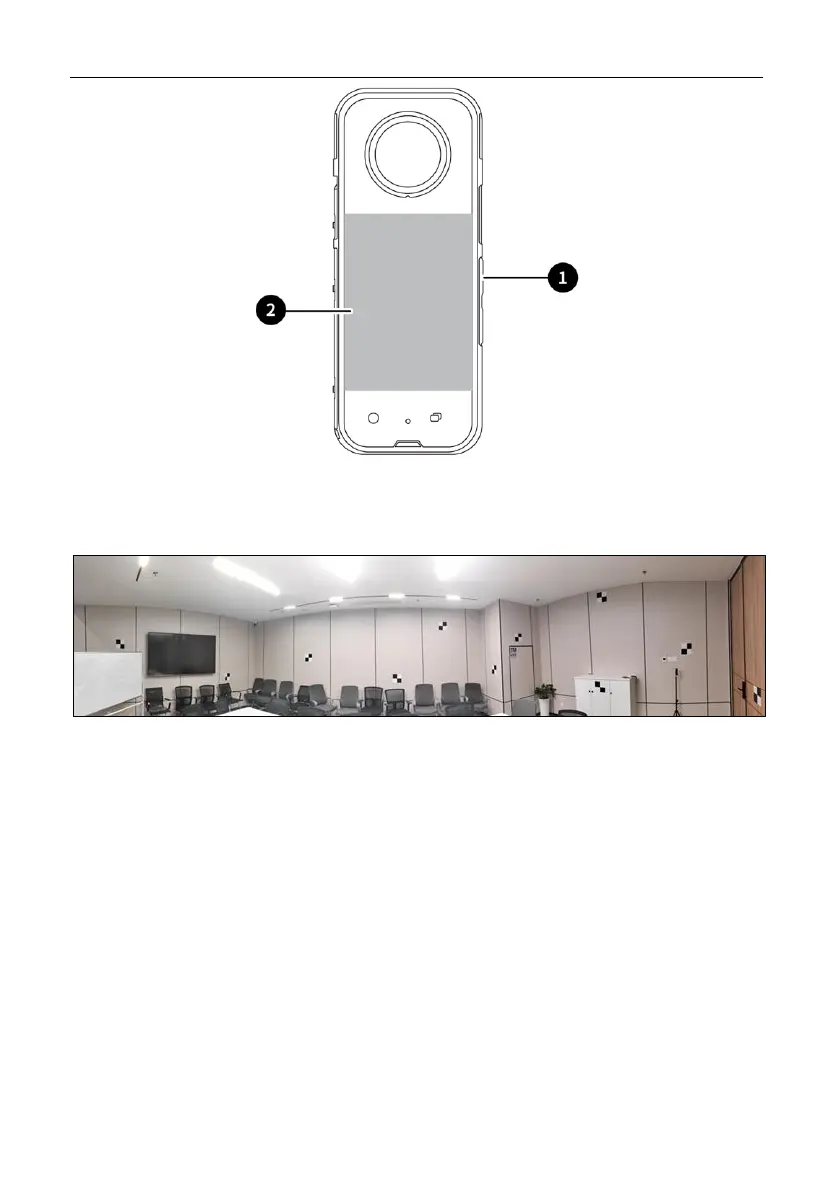
1 Deploy targets: As shown in Figure, randomly distribute target papers with a
spacing of 1-2 meters on the four walls of the space.
2 Starting and connecting the Device:
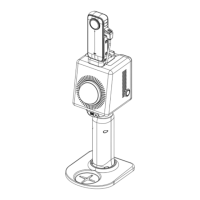
a) Start the scanner: Please refer to Chapter 3.2.1~3.2.3.
b) Press and hold the power button on the right side of the camera for 2–3s to
power on. After about 5–10s, a communication connection is automatically
established between the camera and the P1 via the USB Type-C cable. If the
connection is normal, the camera icon is green in the Trion Scan. To start
recording, tap or click the scan button.