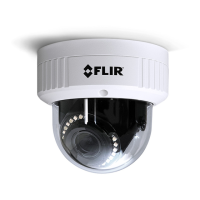
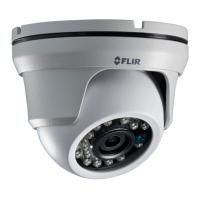
Loosen the tilt lock screws, adjust the tilting position in a range of 65 degrees, and tighten the tilt
lock screws. Rotate the black liner to adjust the panning position in a range of 360 degrees until
getting the desired surveillance angle.
Reinstall the lower dome and tighten the screws.
5.4 Powering the Camera
The camera is powered by an 802.3af PoE (Class 3) connection over the unit’s network cable.
Figure 12: Power Connection
Caution:
1. This product must be connected only to a PoE network.
2. The PoE supply’s rated output is 48VDC, 0.2A.
3. If the camera is installed for outdoor use, the PoE supply must be installed with proper
weatherproofing.
4. As a Listed Power Unit, the PoE should be marked as “LPS” or “Limited Power Source”.
5. This product shall be installed by a qualified service person. Installation shall conform to all
local codes.
Attention:
1. Ce produit doit être connecté uniquement à un réseau PoE.
2. La puissance nominale de l'alimentation PoE est 48VDC, 0.2A.
3. Si la caméra est installée pour une utilisation extérieure, l'alimentation PoE doit être installé
avec l'étanchéisation appropriée.
4. Comme une unité d'alimentation «Listed», le PoE doit être marqué comme «LPS» ou «Limited
Power Source".
5. Ce produit doit être installé par un technicien qualifié. L'installation doit se conformer à tous
les codes locaux.
 Loading...
