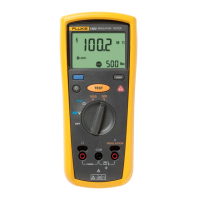
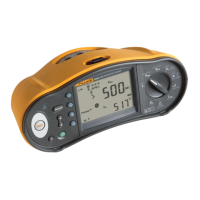
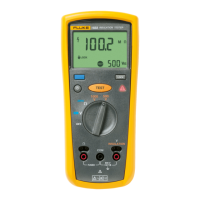
Insulation Testers
Disassembling and Reassembling the Meter
15
7. While holding the LCD assembly (face down) in one hand, position the PCA (fuse
side up) over the bezel; match the guide holes in the PCA with the plastic guide pins
on the bezel and the translucent light dispersing back panel. After the LCD assembly
is in position, lock it in place by pressing (below the display) the bezel against the
PCA; listen for the tab on the bezel to snap (lock) into position on the PCA.
8. Secure the PCA to the LCD assembly by installing the two screws that attach the
PCA to the bezel. These screws also ensure contact between the glass LCD display,
the elastomeric strip, and the PCA.
Reassembling the Meter
To reassemble the Meter, logically reverse the previous disassembly procedures. In the
process, make sure to re-establish all electrical connections; specifically, the elastomeric
strip for the LCD, the red and black plastic shields for the input terminals, and the two
spring contacts for the Insulation Test Probe. Also make sure all parts are correctly
aligned and positioned; do not force-fit any of the parts into position.
Downloaded from Elcodis.com electronic components distributor
 Loading...