3332
Batterychargelevelcheck
1
2
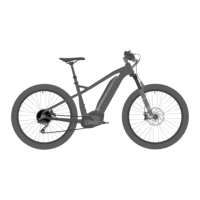
1LEDbatterychargeindicator
Showsthee-bikebattery’sremainingcharge.
2Controlbuttonforbatterychargelevel
LettheLEDbatterychargelevelindicatorblinkto
verifytheremainingbatterypower.
3Chargerconnector
4Rubbercap
Protects the charger connectors when the battery
isnotbeingcharged.
To check if the battery is charging, press the con
-
trol button on the battery to be shown the charge
level.
Charge
thebatterywhennotallofthevecharge
indicator LEDs light up. Only use the original
charger.
Neverusechargerssuppliedbythird-partycom
-
panies.
A
fast-ashingLEDindicatesthatthebatteryhas
beencompletelydischarged.
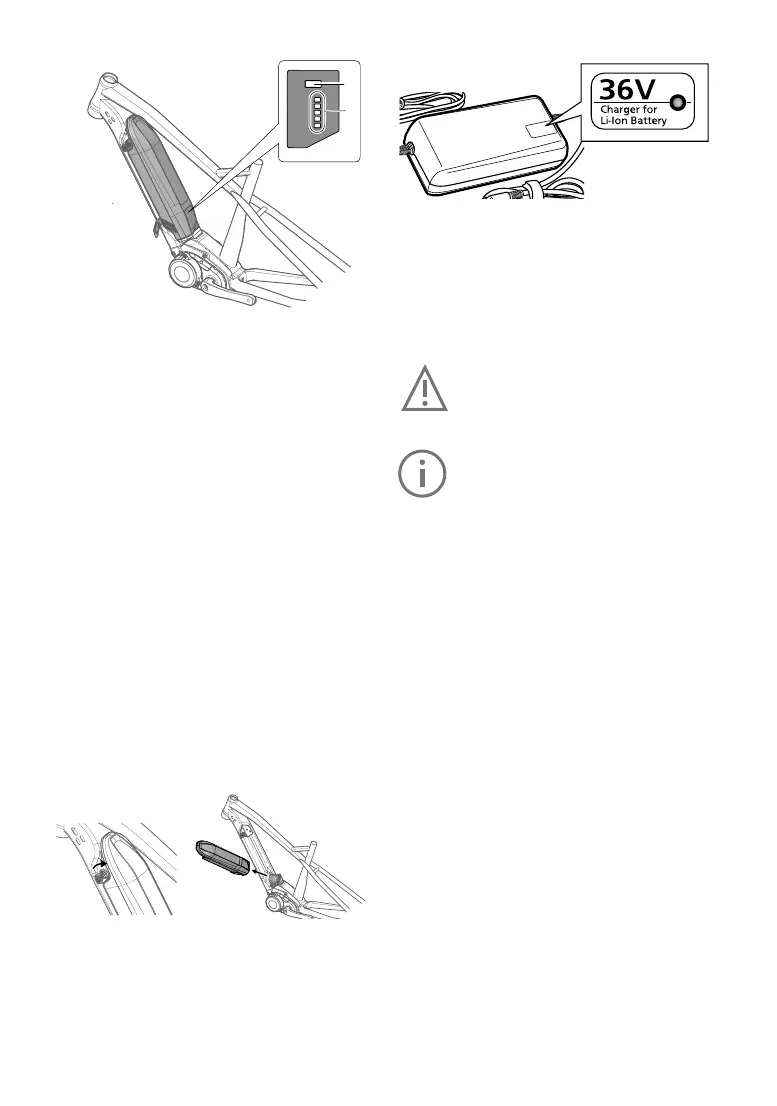
Removingthebattery
1.Switchofftheelectricalsystemrst.Todothis,
presstheon/offbuttononthedisplay.
2.Unlockthebatterywiththebatterykeyandre
-
move
itfromtheholder.Holdthebatteryrmly,
asitisheavy.
Chargingthebattery
The battery can be charged while it is installed in
thee-bikeoronceithasbeenremoved.
Safetywarningforthebatterycharger
The name plate on the charger refers to warning
notes and other safety information in connection
with handling the charger. Be sure to read this
beforeuse.
UseonlytheoriginalPanasoniccharger
supplied along with your e-bike. Only
this charger is designed for the lithi-
um-ion
batteryusedonyoure-bike.
Completely charge the battery using the
chargerbeforetherstridetoensurefull
batteryperformance. Read and adhere
to the operating instructions for the
chargerwhenchargingthebattery.
The battery can at any time be charged outside
or installed in the bicycle without reducing its life
span.Interruptingthechargingprocessdoesnot
damagethebattery.
Thebatteryisequippedwithatemperaturemon
-
itor that permits charging only within a tempera-
ture
range of 0 °C to 40 °C. If the battery tem-
perature
istoo high, the batterywillnot charge.
Inaddition,ifyoupressthecontrolbuttonforthe
LEDbatterychargelevel,
the LED at the very top [F] and bottom [E] will
blink.
Inthiscase,separatethebatteryfromthecharger
and wait until it has reached operating tempera
-
ture.
Only reconnect the charger when it has
reachedthepermittedoperatingtemperature.
The charger itself can also indicate problems via
theredLEDashing.
Blinking
patternof
chargerLED
Description Action
Blinking red
Charging er-
ror
An
errorhas
occurred in
the battery
orcharger.
Charging
cannot be
continued.
Remove any
dirt from the
terminals and
plugs.Ifthe
problem per
-
sists, contact
your
FLYER
specialist
retailer.