Part number 550-142-850/0716
106
FreeStyle
®
WALL MOUNT GAS-FIRED WATER BOILER — Boiler Manual
33 Maintenance (continued)
Figure 140)NSPECTINGANDCLEANINGHEATEXCHANGER
Inspect and clean the heat exchanger
Wait until heat exchanger/boiler is cooled down
BEFOREPROCEEDING&AILURETODOSOCANCAUSE
severe injury.
1. See Figures 140 and 144.
2. Use a 10mm wrench or socket to remove the five (5) nuts that
secure the burner cover plate to the heat exchanger.
3. Remove the heat exchanger cover plate, gasket, burner and
its gasket.
4. )NSPECTTHEREFRACTORYFORANYDAMAGEREPLACEIFNECESSARY
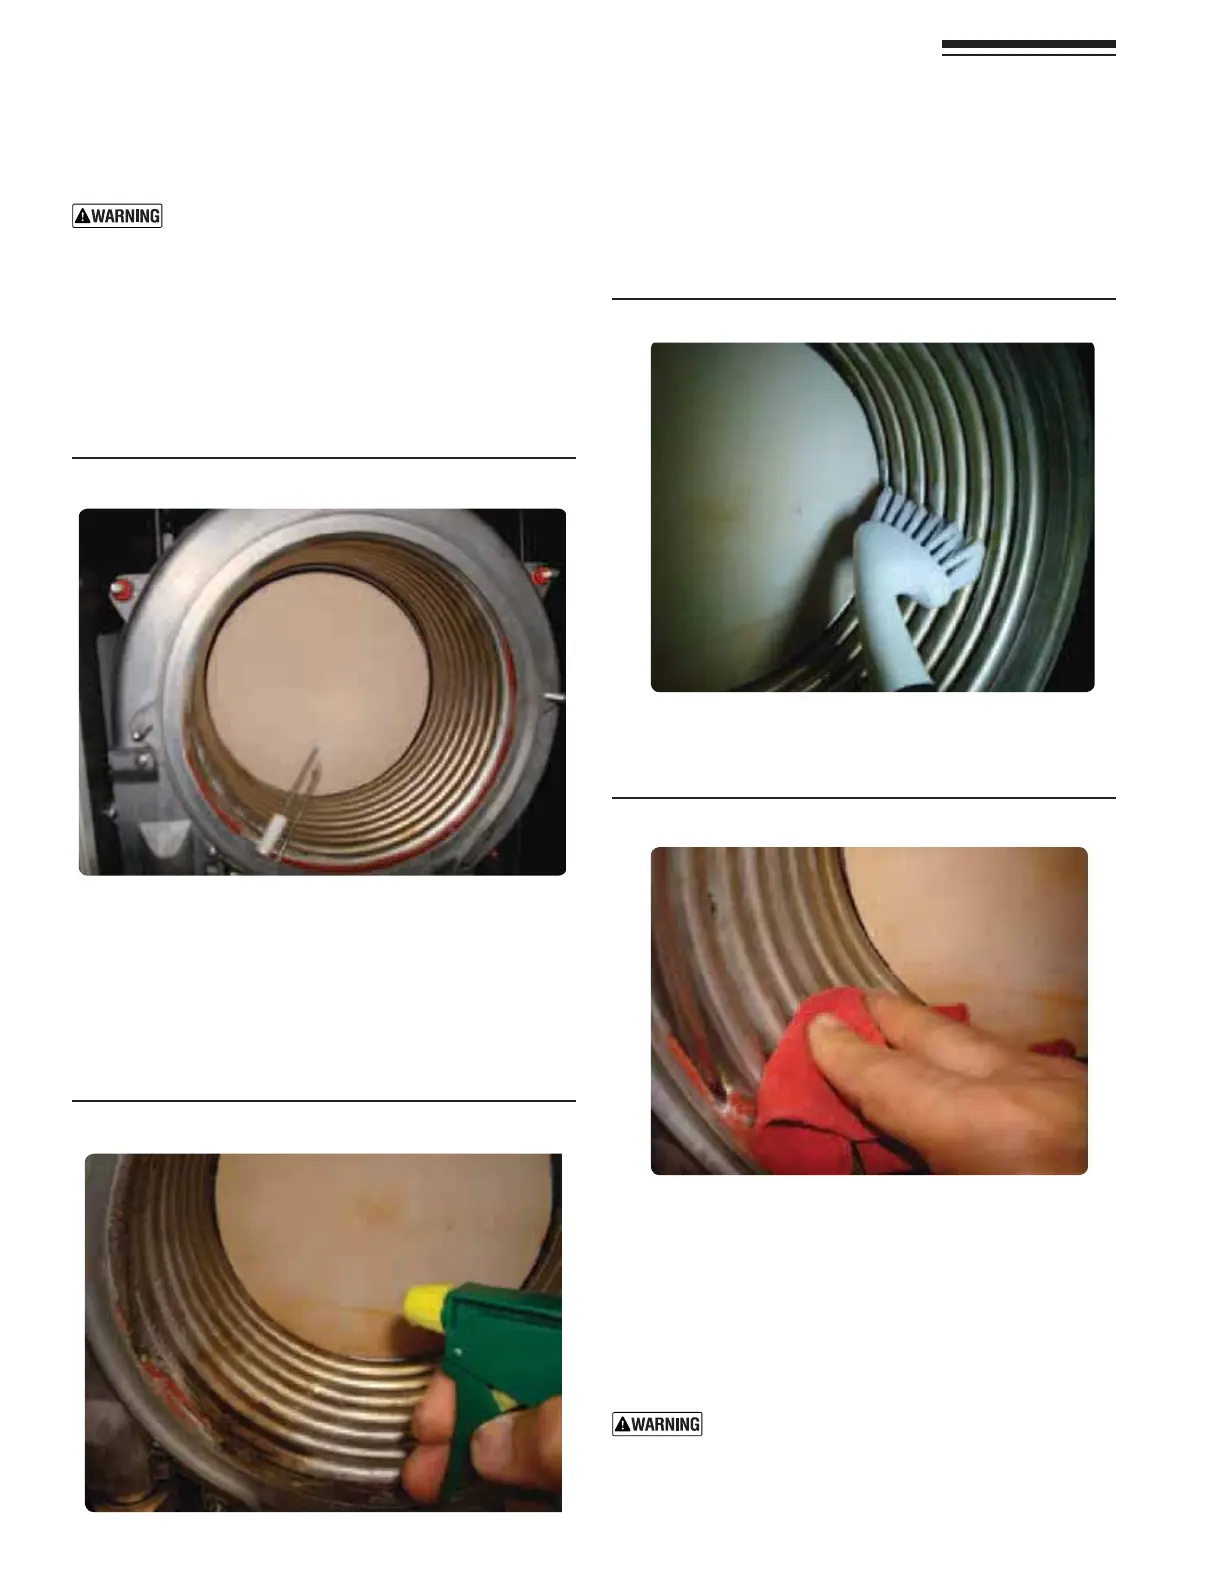
5. Remove ignitor.
6. "EFOREUSINGWATERTOCLEANTHEHEATEXCHANGERREMOVETHE
CONTROLMODULE,ABELWIRESIFTHEYARENOTLABELED3ETASIDE
2EMOVEALLCONNECTORSANDWIREHARNESSESFROMTHECONTROL
module and then remove the screw securing it to the bracket.
7. Use a vacuum cleaner to remove any accumulation on the
HEATINGSURFACES4HISINCLUDESREMOVINGANYPIECESOFREFRAC-
tory that may have dropped into the exchanger.
Figure 141#LEANINGTHEHEATEXCHANGER
Figure 142#LEANINGTHEHEATEXCHANGER
Figure 143#LEANINGTHEHEATEXCHANGER
11. Dry with a clean rag.
12. Reinstall the spring.
13. Reinstall the burner, the burner gasket and ignitor.
14. Reinstall exchanger cover plate and gasket to heat
exchanger.
15. 4IGHTENTHEHEATEXCHANGERCOVERPLATESlVEMM
nuts using a torque wrench. The nuts must be secure, but
the torque must not exceed 20 inch-pounds
0ERFORMACOMPLETESTARTUPPROCEDUREWHENPUT-
ting the boiler back into service. See page 67 and all
INSTRUCTIONSFORSTARTUPANDVERIlCATION)NCLUDEA
soap suds leak test on all interior and exterior gas
PIPINGAFTERSTARTINGTHEBOILER
8. ,IGHTLYSPRAYCLEANWATERONALLOFTHEBOILERCOILSAND
CLEANANYRESIDUEOFFWITHPLASTICONLYBRUSH"ECAREFUL
NOTTODAMAGEBACKREFRACTORYWALL
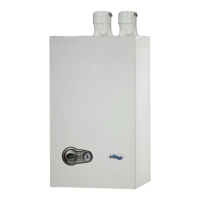
9. 7IPEANYRESIDUEOFFCOILSWITHACLEANRAG
10. Spray clean water, to finish flushing combustion chamber.