29
EN
TIG welding
General
Connecting the
gas cylinder
Secure the gas cylinder and take the protective cap off the gas cylinder
Briefly open the gas cylinder valve to remove any dust or dirt
Check the seal on the pressure regulator
Screw the pressure regulator onto the gas cylinder and tighten it
Connect the welding torch gas hose to the pressure regulator of the gas cylinder
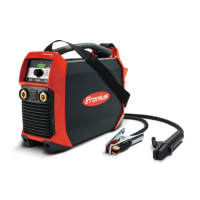
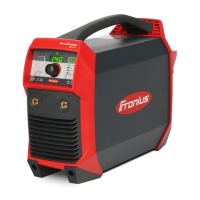
Preparations Press the On/Off button for at least 2 seconds to turn off the power source
- the indicators go off
Insert the current plug of the TIG welding torch into the (-) current socket and turn it
clockwise to latch it in place
Set up the welding torch in accordance with the welding torch operating instructions
Insert the current plug of the grounding (earthing) cable into the (+) current socket and
turn it clockwise to latch it in place
Use the other end of the grounding (earthing) cable to establish a connection to the
workpiece
Press the On/Off button for at least 2 seconds to turn on the power source
- the welding current indicator lights up
- the digital display shows the specified welding current
Setting the gas
pressure - on the
welding torch
with gas cut-off
valve
NOTE! Do not use pure tungsten electrodes (colour-coded green) if the TIG weld-
ing process has been selected.
WARNING! If gas cylinders topple over, there is a risk of very serious injury and
damage. Place gas cylinders on a solid, level surface so that they remain stable.
Secure gas cylinders to prevent them from falling over.
Observe the safety rules of the gas cylinder manufacturer.
1
2
3
4
5
CAUTION! Risk of injury and damage from electric shock. As soon as the
power source is switched on, the electrode in the welding torch is live. Make
sure the electrode does not touch any persons or electrically conducting or
earthed parts (e.g. the housing, etc.).
1
2
3
4
5
6
Welding torch with gas cut-off valve
Open the gas cut-off valve
– Shielding gas flows
Set the desired gas flow rate on the
pressure regulator
Close the gas cut-off valve
1
2
3
 Loading...